
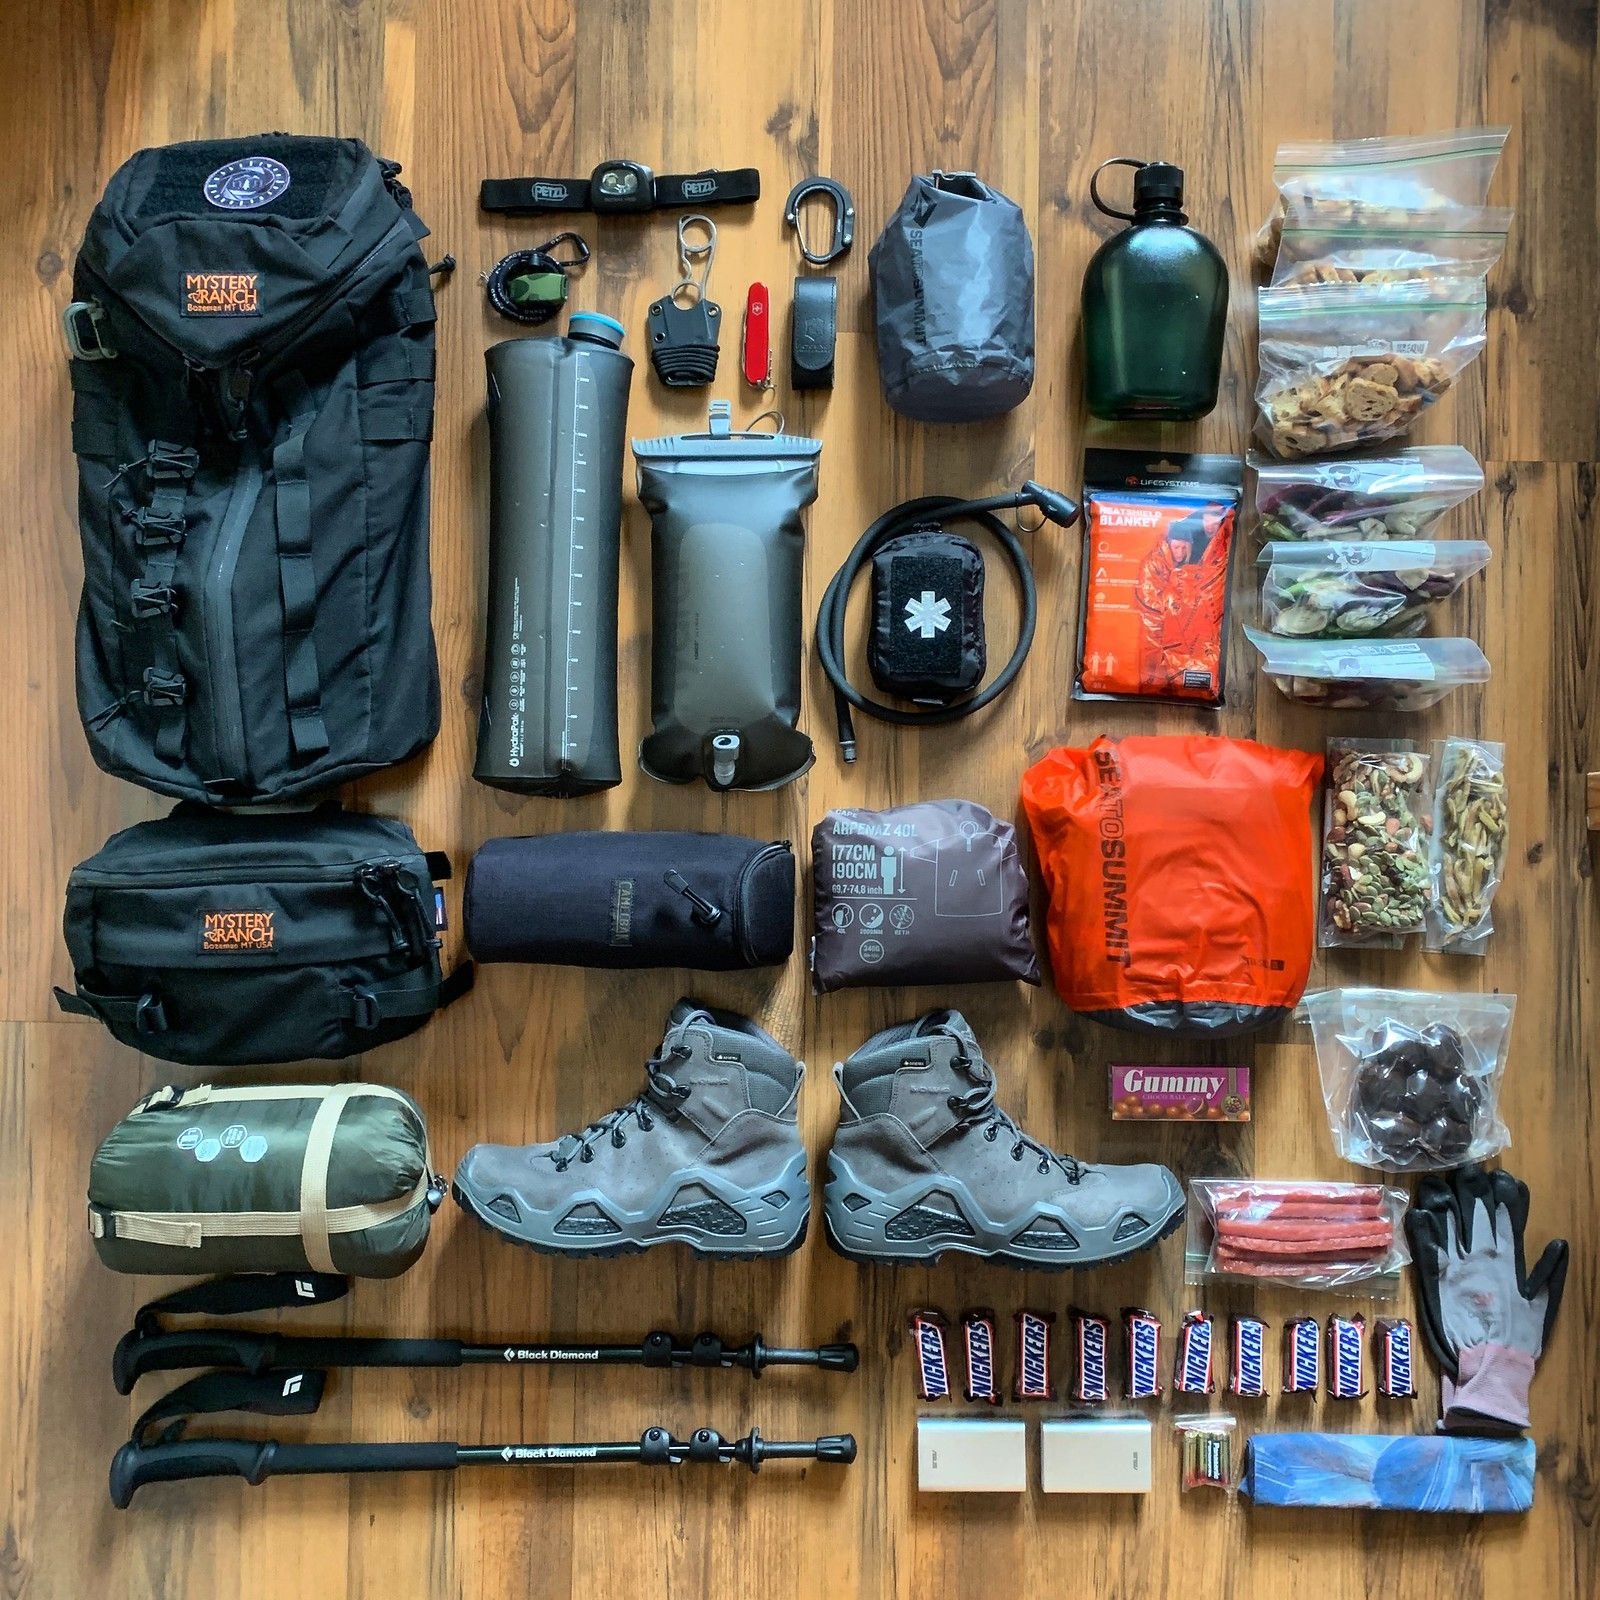
One twist, one squall, one dead phone: pockets become basecamp.
Half an hour from the trailhead, a hiker twists an ankle as clouds close in and the phone battery dips. With only pockets to draw from, decisions must be ruthless: choose multi‑use items reachable without unpacking. Prioritize immediate life‑safety — warmth, signaling, and a way to make fire or light — then short‑term mobility and minor wound care. Compact multitools, reflective shelter layers, a small light, and a whistle shorten the gap between a manageable delay and a true emergency.
- Mylar blanket — ultralight shelter and reflective warmth.
- Ferrocerium rod or disposable lighter — dependable ignition.
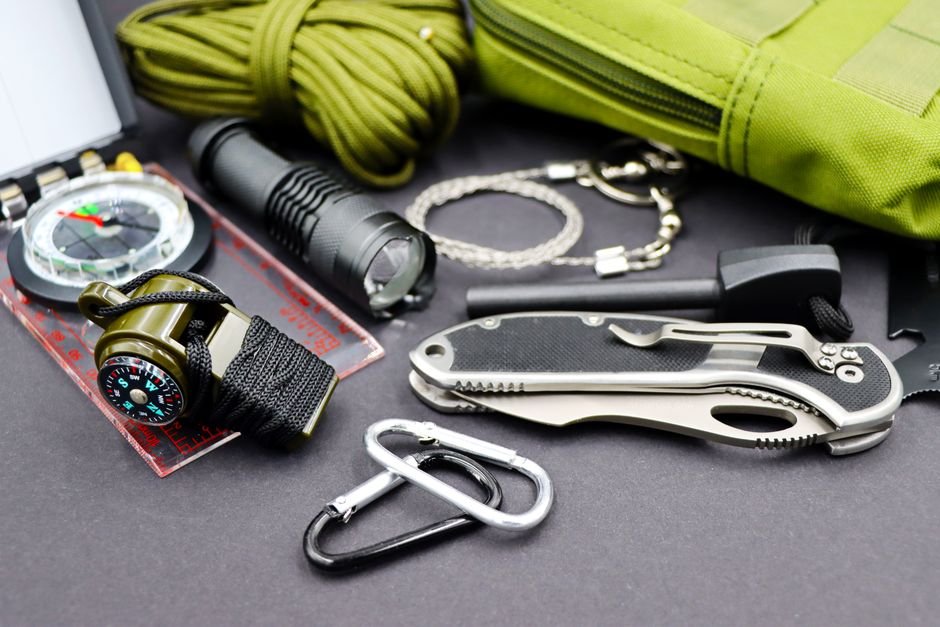
- Whistle; tiny headlamp; mini multitool — signaling, light, repairs.
How to judge an item for pocket space
- Use‑per‑ounce (utility density)
Weigh benefit against grams: choose items that deliver the most practical function for the least weight.
Look forHigh capability per gramAvoidHeavy single‑use items - Multi‑functionality
Favor tools that reliably perform several distinct tasks rather than weak ‘all‑in‑one’ gimmicks.
Look forDistinct, reliable multiple usesAvoidIneffective 'all‑in‑one' tools - Weather tolerance and maintainability
Select gear that works across wet, cold, and heat conditions and that can be inspected or repaired quickly in the field.
Look forWaterproof, durable, serviceable designAvoidDelicate or climate‑limited items - Access speed
Prioritize items retrievable and deployable with one hand or a single motion under stress; slow retrieval reduces usefulness.
Look forOne‑handed, fast deploymentAvoidRequires full pack access
Pocket survival kit checklist (by function)
-
Ignition
Include a reliable ignitor and a compact tinder source: ferrocerium rod or windproof lighter, a few waterproof matches, and a small tinder bundle (cotton treated or commercial tinder). Compact, multiple-try options increase redundancy.
-
Warmth & shelter
Pack an emergency bivy or mylar blanket, a small tarp or folded poncho, and 3–5 m of cordage. Reflective layers and a small insulating hat or glove liners add heat retention without bulk.
-
Signaling
Carry a loud whistle, a signal mirror, and a high-visibility item or small strobe. Acoustic and visual signals support locating at different ranges and lighting conditions.
-
Navigation
A compact magnetic compass plus a small paper map or digital offline map are recommended. Physical navigation aids remain useful when electronics fail.
-
Water
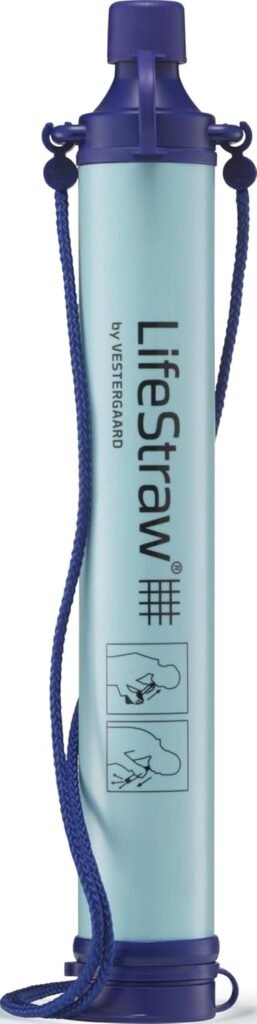
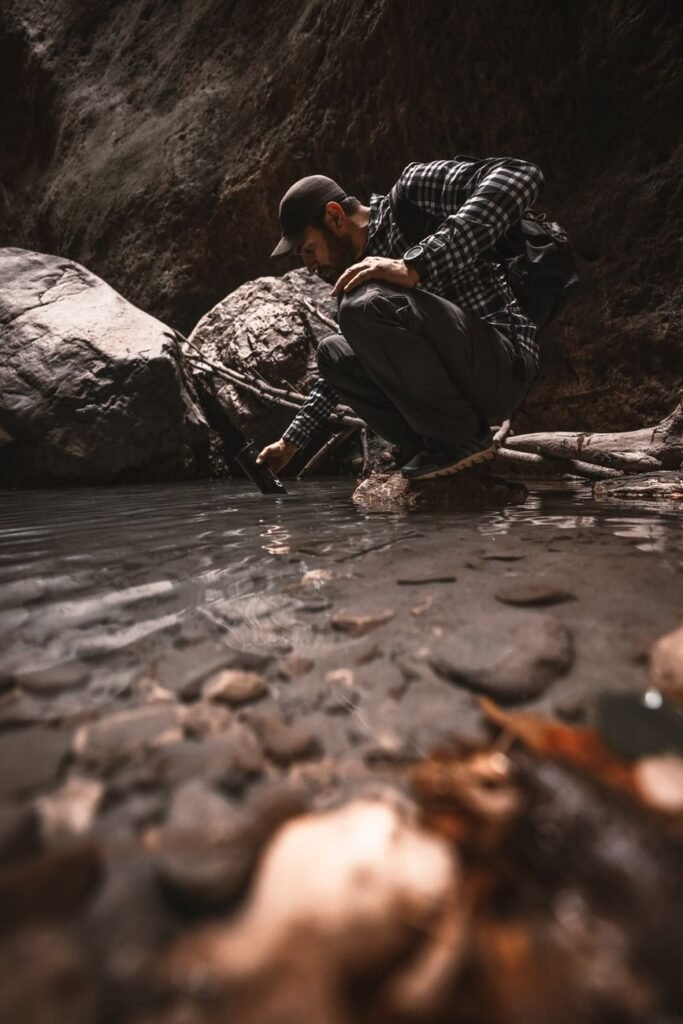
Bring a collapsible bottle or bladder, plus a purification method: microfilter straw or chemical purifiers. Prioritize lightweight, proven treatment options suited to likely water sources.
-
First aid
Small first-aid essentials: adhesive dressings, nitrile gloves, trauma dressing or compact Israeli-style dressing, hemostatic gauze and a mini tourniquet. Hemorrhage control ranks highest within first-aid priorities.
-
Repair & multi-use
A mini multi-tool, a few metres of tape (wrapped small), safety pins and spare cordage cover common kit failures and improvised repairs.
-
Illumination
A small headlamp or keychain LED with spare batteries provides hands-free light; choose a model that balances output and battery life.
Hemorrhage control should take precedence among first-aid items. Keep hemostatic gauze and a compact tourniquet accessible and gloves available to reduce contamination. Familiarity with placement and application matters more than item brand; practice with training tools where possible. For a step-by-step, pocket-focused guide, see a detailed hemorrhage-control walkthrough.
Ignition systems: sparks, fuel, and protected fire aids
Choosing by conditions and dexterity
A pocket survival kit informs fire strategy.
It balances reliability, speed, and how easily hands can work in cold or wet conditions.
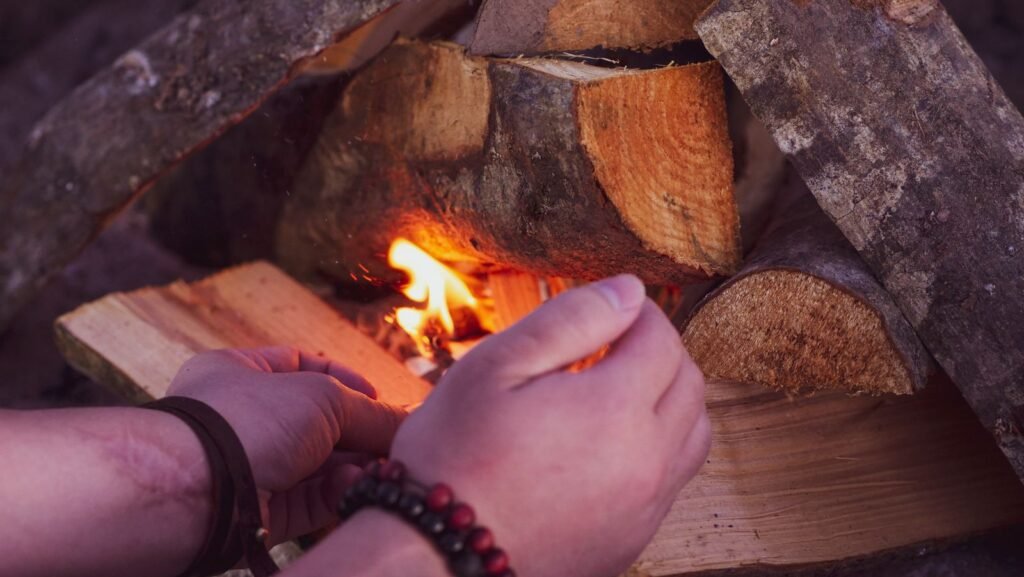
Moreover, sparks (ferro rods or flint) perform when wet and can light small protected tinder after multiple strikes.
But it requires practiced technique and fine motor control.
For recommendations on durable rods, consult the roundup of ferro rods that still spark when soaked.
In a pocket survival kit, fuel-based ignitions (butane lighters, storm-proof lighters, waterproof matches) create instant flame with less technique.
However, they can fail in extreme cold or when exposed to water, so store them in insulated, dry pockets.
Protected fire aids (waxed cotton, commercial tinder tabs, char cloth) don’t ignite on their own.
They dramatically reduce the effort to convert a spark or brief flame into sustained combustion.
Practical tradeoffs:
- Sparks: highly water-tolerant, need skill and good tinder.
- Fuel: fast and low-dexterity, vulnerable to cold/wet exposure.
- Protected aids: add weight but multiply ignition success.
Keep the chosen ignition tool immediately accessible, such as in an outer pocket or zipper pouch.
Additionally, pair it with at least one protected tinder option, forming a pocket survival kit for tough conditions.
Meanwhile, for techniques when everything is damp, see guidance on lighting wet tinder when conditions are soaked.
Store ignition in the same pocket as a small waterproof container of tinder.
Test ignition and tinder together at home until the method works reliably under gloved or cold conditions.


Comparing micro‑shelters
Micro‑shelters trade weight and pack size against warmth, weather resistance, and setup complexity. Below are practical strengths and weaknesses to guide selection.
Quick comparison
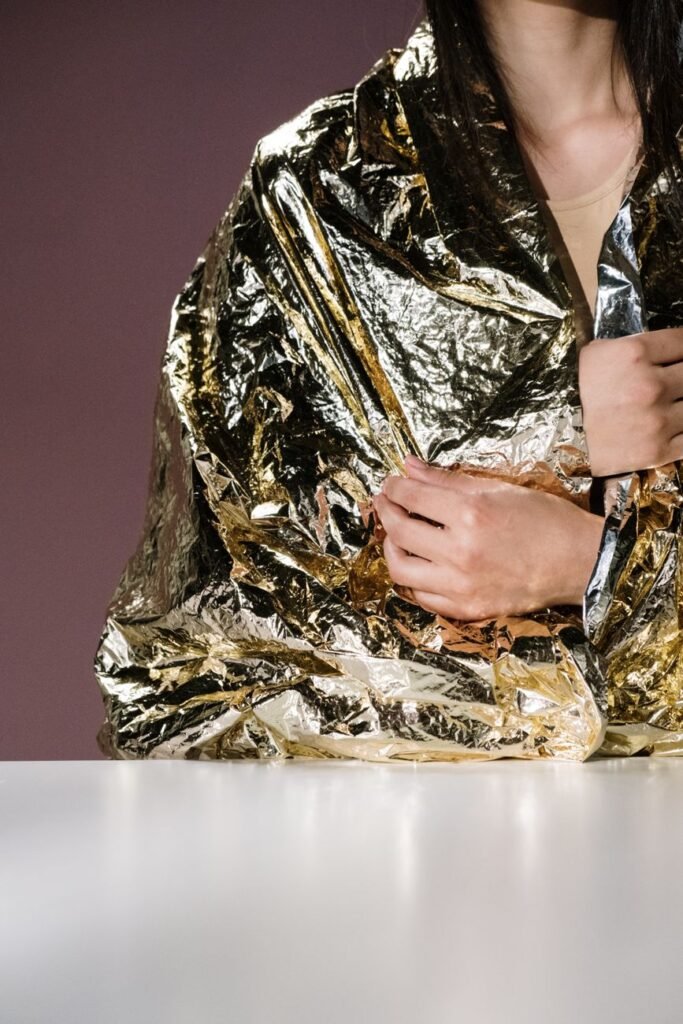
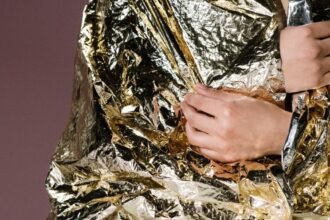
Mylar emergency blanket — Ultralight, lay-flat pack profile, and excellent at reflecting radiant heat. Best as a baseline option for day hikes; vulnerable to tears, offers little wind/precipitation protection, and can trap condensation.- Ultralight bivy — Provides an enclosed shelter and insect barrier with far better retention of body heat than mylar. Heavier and bulkier; breathability varies, so condensation can be an issue in damp conditions. For a nuanced comparison, see whether a mylar can replace a bivy.
- Small tarp — Low weight for the coverage provided, versatile for wind and rain when pitched properly; requires cordage and some skill to rig. It doesn’t enclose heat like a bivy but beats a mylar for sustained precipitation.
Simple decision rule
Make a mylar the baseline, and include a pocket survival kit for emergencies. Upgrade to a bivy when enclosure, insect protection, or sustained cold is likely. Then choose a tarp when wind, rain, or the need to shelter multiple people is the primary concern.
Additionally, for a short product-driven comparison of compact options, consult the small shelters comparison.
Mylar as baseline; bivy for enclosure/cold; tarp for rain and versatile shelter. Consider exposure duration, remoteness, and setup skill before upgrading.

Carry water or treat on trail?
The main trade-off for day hikes is clear. However, carry more water and skip treatment, or carry less and treat on the trail with a pocket survival kit.
Options at a glance
- Tablets — lightweight, compact; require a wait time and can affect taste; different chemistries vary in spectrum and contact time. For a detailed comparison, see water purification tablets vs UV pen.
- UV pen — fast and compact; needs clear water and charged batteries; treats individual bottles quickly.
- Tiny filters — straw or inline hollow-fiber filters remove bacteria and protozoa without chemicals; pore size and maintenance matter. Read about real-world performance in do pocket water filters actually make hike water safe?.
Practical limits: pocket treatments suit single-day outings with frequent, clear sources; when water is scarce, fast-paced, or very hot, favor carrying extra volume and spare consumables.
Carry spares. One extra dose or battery can turn a plan into a solution.
Practice once. Use the tablet/UV/filter at home so on-trail use is quick and reliable.
Signaling When Phones Fail — and What First Aid Fits in a Pocket
What methods attract attention when a phone is useless?
Sound, light, and contrast remain the most reliable signals. Repeated short bursts—commonly three blasts or three mirror flashes—are internationally recognized distress patterns and cut through background noise or daylight. Smoke or a controlled fire helps by day; strobes and bright chem lights are superior at night.
Which compact signaling tools and patterns fit a pocket kit?
A pea-less emergency whistle, a small signal mirror, a folded mylar space blanket, and a chem light or mini strobe cover nearly every scenario. Learn simple patterns—three blasts, three mirror flashes, or three repeated torch pulses—and store them where they can be reached instantly; see tradeoffs for range and bulk in the loudness vs bulk tradeoffs for pocket whistles.
What first aid realistically fits in a pocket for bleeding?
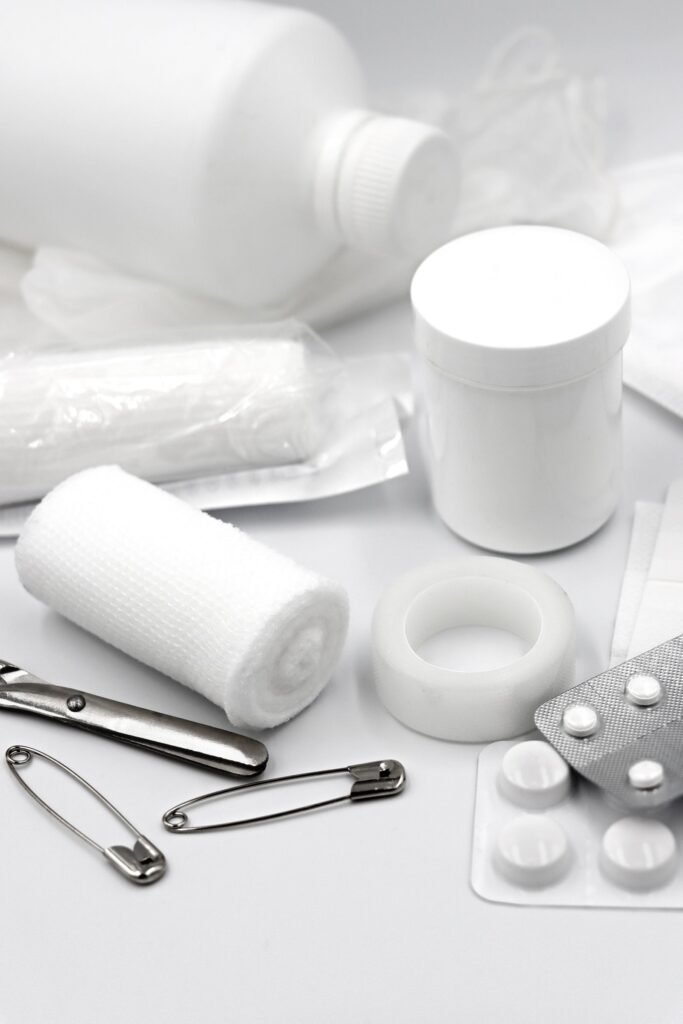
Pocket first aid should prioritize items that stop or slow bleeding: compressed gauze, a compact hemostatic gauze packet, a small emergency dressing, a mini tourniquet option, and nitrile gloves. These items can help prevent escalation of hemorrhage and keep a hiker mobile until evacuation or further care; for foot‑specific maintenance, consult pocket blister options like those in the compact blister treatment roundup.
How should hemorrhage control be prioritized in a pocket kit?
Prioritize tools that enable immediate, sustained compression and limb control to preserve mobility. Compact dressings and a reliable tourniquet option reduce the chance of bleeding worsening and convert a rapidly deteriorating problem into a stabilizable one, buying time for self‑evacuation or rescue.


Priority steps for pocket repairs and routine maintenance
- 1. Fix cordage and knots first
Restore load‑bearing lines or lashings before cosmetic fixes. Use a simple knot that holds under tension (e.g., water‑resistant bowline variant) and trim frayed ends; consider a temporary splice with duct tape until a permanent repair is possible.
- 2. Emergency sewing
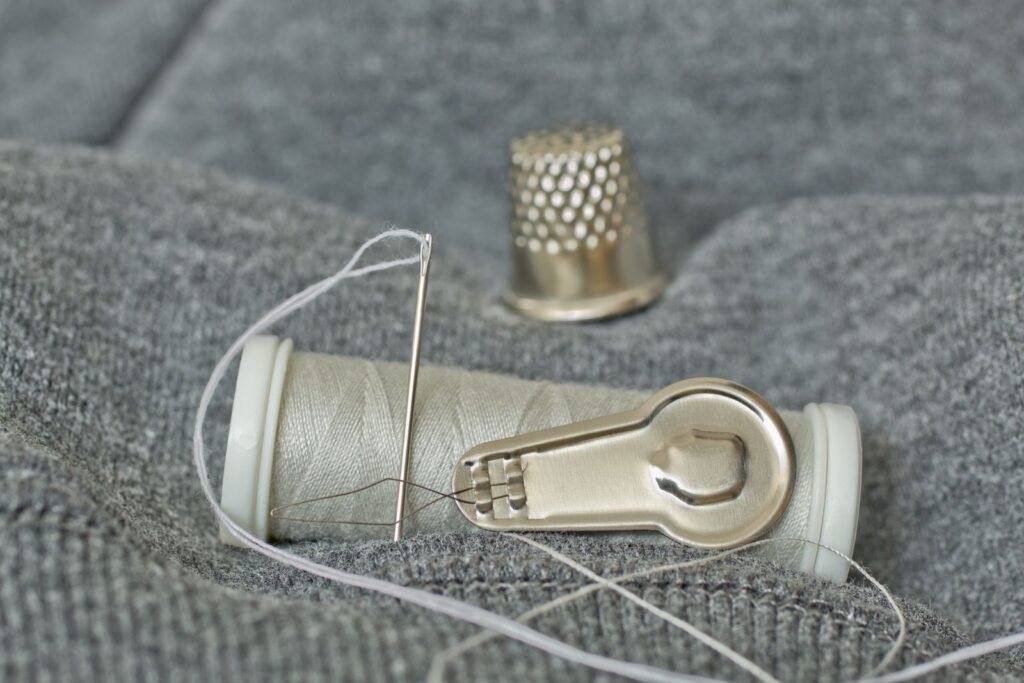
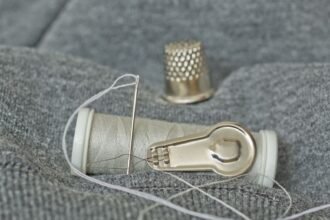
Carry a short needle, waxed thread or dental floss, and a safety pin for rapid tack stitches to stop seam failure. For techniques and quick patterns that work with pocket items, see the emergency sewing techniques.
- 3. Quick waterproof patches
Apply layered tape patches, adhesive fabric patches, or a folded plastic patch sealed with tape to cover holes. Patch edges that will see abrasion with extra tape and keep the repair low‑profile to remain pocketable.
- 4. Maintenance rituals
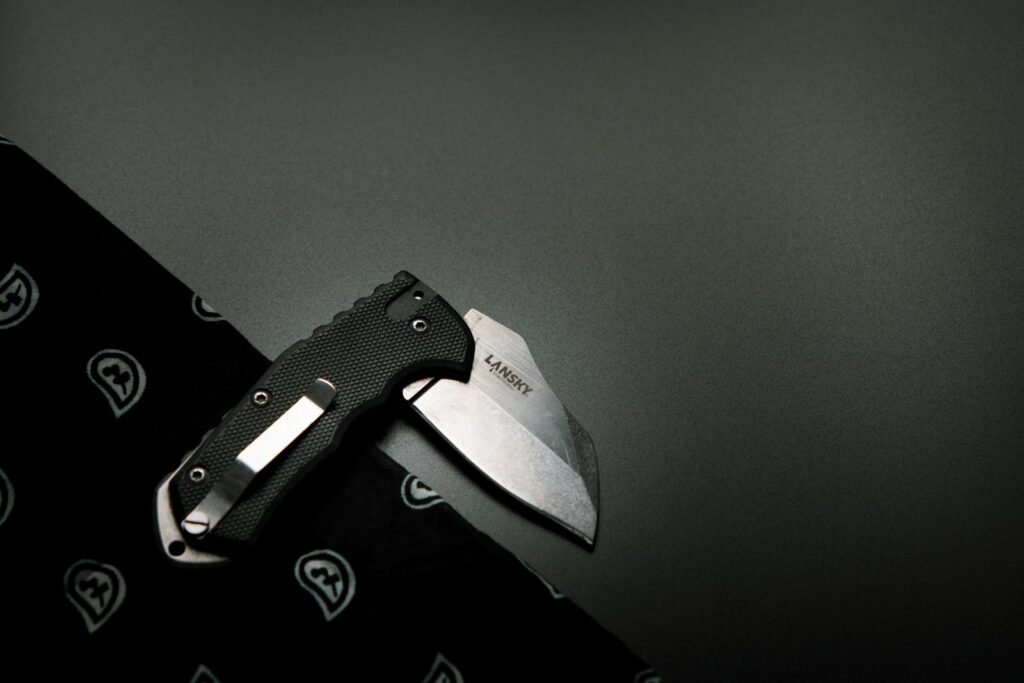
Prevent failures by packing silica gel, using small oil drops on folding blades, and storing metal pieces in a moisture barrier. Regularly test function and inspect wear; guidance on how to protect pocket gear from rust helps extend service life.
Keep a tiny repair kit (needle, floss, small tape roll) in a labeled pouch; replace consumables seasonally and run a quick function check before every hike.
Pre‑hike Quick Routine
- Checklist Run Run the pocket checklist top‑to‑bottom: confirm ignition, signaling, hemorrhage control, shelter, and water items are present and immediately reachable.
- Function Tests Perform three rapid function tests: ignite (strike or spark), sound device (short whistle blast), and shelter deploy (unfold a mylar or shake a tarp) to verify operation.
- Practice Skills Practice one or two core skills until smooth—lighting tinder with limited dexterity, applying a compact bandage, or tying a simple shelter knot.
- Minimum Kit Carry this absolute minimum in a pocket: ignition, small cutting tool, whistle, mylar shelter, and a compact hemorrhage‑control item. Add staged upgrades for conditions.
Final Checklist and Upgrades
- Run the pocket checklist and test key items before every hike.
- Verify ignite, whistle, and shelter deployment function quickly.
- Start with a five‑item minimum; add upgrades by weather, terrain, and party experience.
A short pre‑hike routine prevents most pocket‑kit failures. Run the checklist, test three functions (ignite, whistle, shelter), and practice one or two skills until action is smooth.
The absolute minimum listed above suits typical day hikes; staged upgrades—water treatment, a bivy or tarp, a more robust fire system, or enhanced signaling—are chosen based on expected exposure, distance, and group capability.

3 Comments
Quick question: for the ignition systems section, when you say “keep ignition instantly accessible,” do you mean clipped outside my pack or in an inside pocket? I usually stuff things deep and then can’t find them when I actually need them.
Love the pocket hemorrhage-control emphasis. Can someone recommend a compact tourniquet that will actually fit a jeans pocket? Seems like most are too bulky.
Good point — most commercial windlass tourniquets are bulky. For jeans pockets, consider a compact CAT-style velcro tourniquet (sometimes sold as a “mini CAT”) or a stretch-rigid strap tourniquet like the SOF-T. They compress smaller and can be carried flat. Practice deploying on a pack strap before relying on it. If pocket space is super tight, a 1–2