
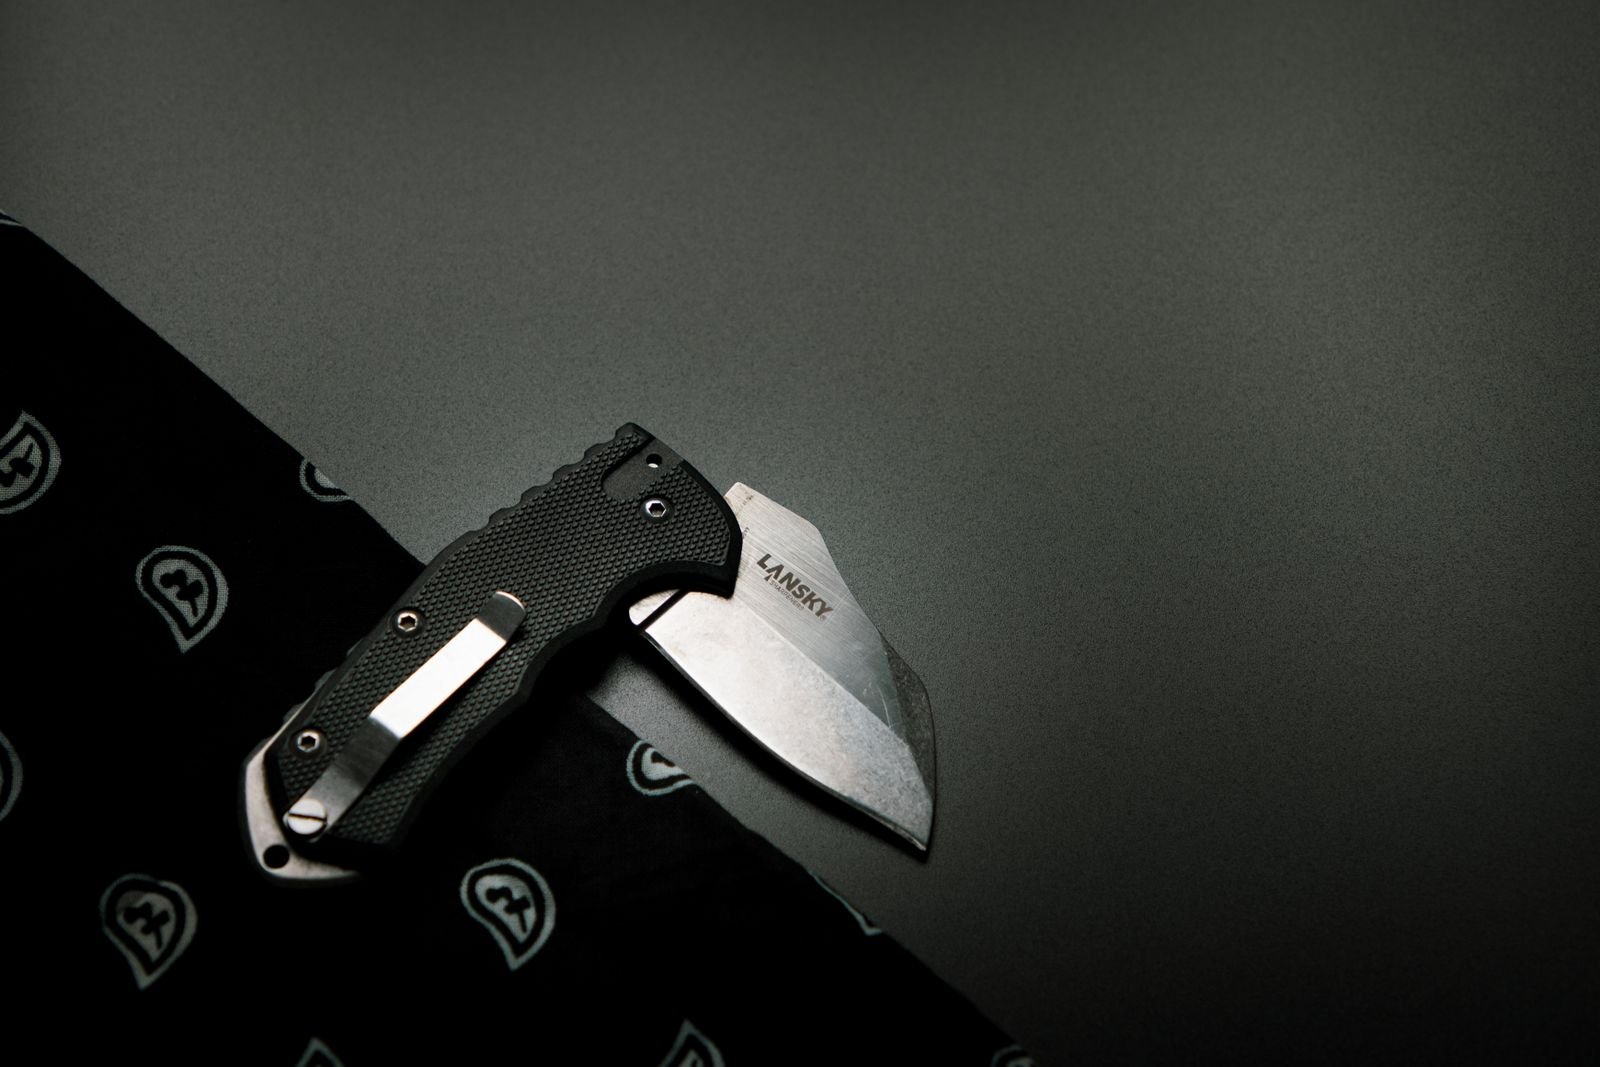
A dry-looking pocket can keep steel wet long after the rain has stopped.
By the second or third day outdoors, a pocket knife, multitool, flashlight clip, or steel pen may be sitting against fabric that is warm, damp, and salt-laden. Sweat supplies chlorides; wet clothing holds moisture in the narrow gap around the tool; body heat speeds the electrochemical reaction. Oxygen still reaches exposed edges, pivots, screws, clips, and stamped markings—so corrosion can begin where it is least visible.
Stainless steel slows this process, but it is not immune, particularly when grime and salts remain in crevices. A tool can look clean at camp while rust starts under a pocket clip or inside a pivot. The useful habit is a repeatable cycle: separate gear from wet fabric, wipe off moisture and salts, let it dry with moving air, then apply a very thin corrosion barrier to vulnerable metal before it returns to the pocket.
- Prioritize pivots, clip contact points, screw heads, blade tangs, and seams: these trap moisture longer than broad polished surfaces.
- Salt contamination can matter more than visible water; a brief freshwater wipe can interrupt the corrosion cycle.
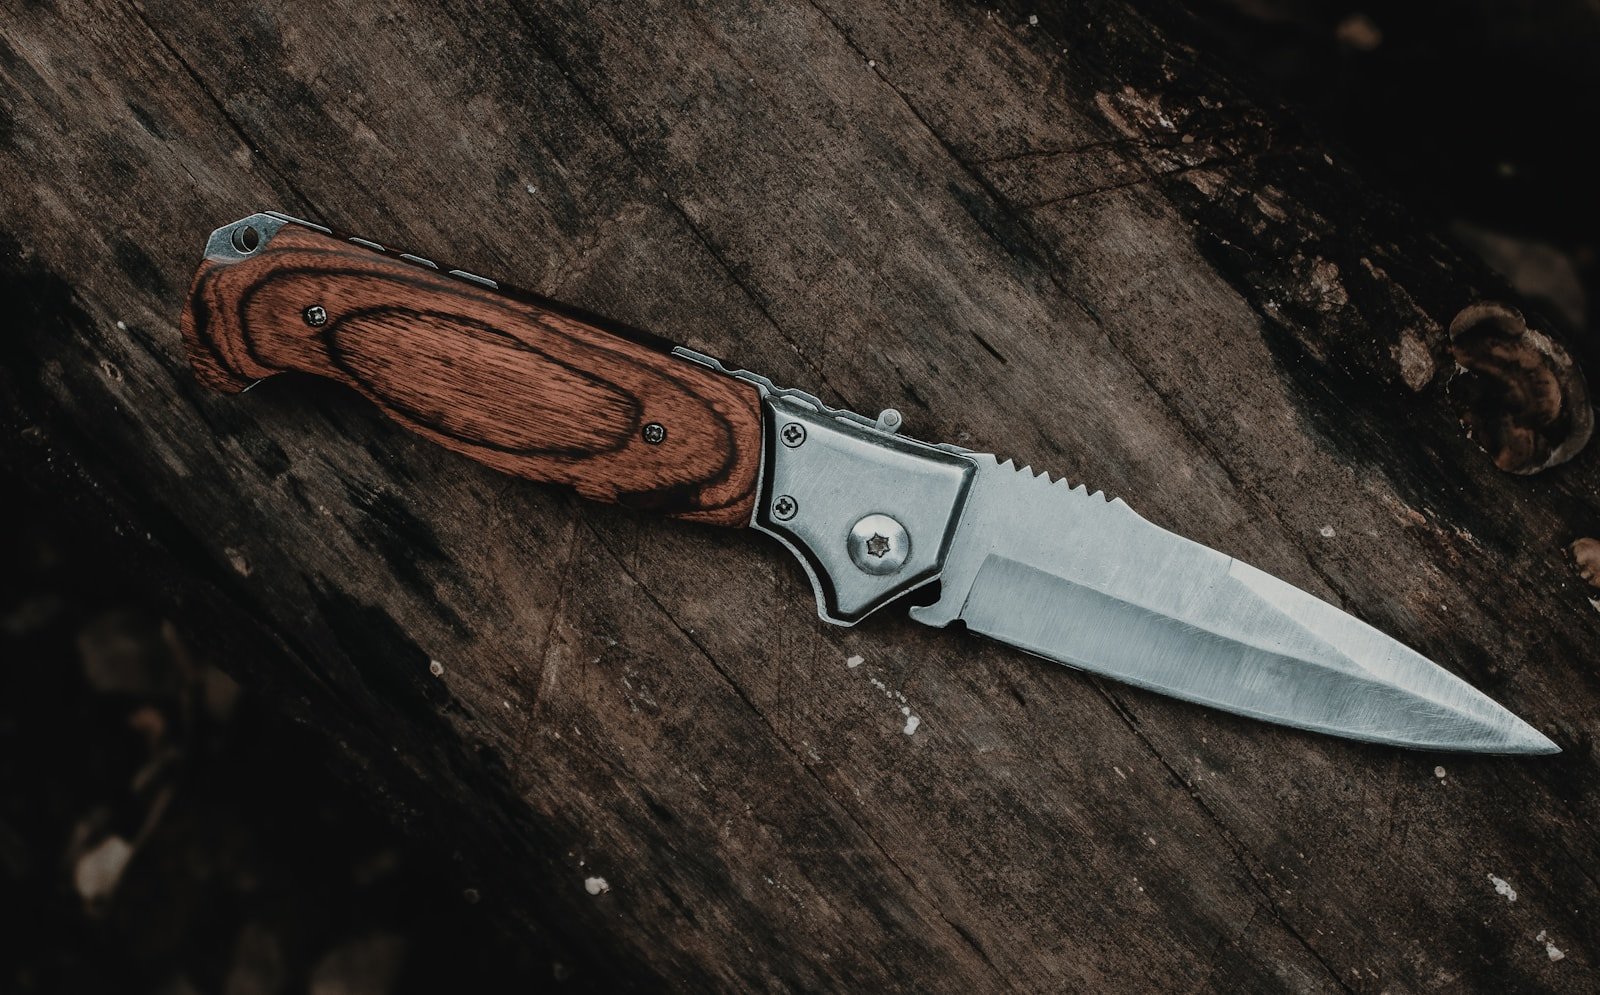
Inspect failure points before packing
Corrosion resistance is a material-and-design advantage, not immunity: salt, lint, skin oils, and trapped water can still defeat a stainless tool in an unventilated joint. Before departure, lay out the compact kit beside the pocket survival kit checklist and inspect its small components one by one.
Parts that deserve a close look
- Carbon steel and plain tool steel: knife edges, saw teeth, striker surfaces, and black-oxide fasteners can show the first orange bloom.
- Stainless steel: inspect blade pivots, lock faces, springs, and serrations; lower-grade stainless and salt-contaminated crevices remain vulnerable.
- Aluminum, brass, and coated parts: look for white oxidation, dull green deposits, chipped coating, or bare edges where dissimilar metals meet.
- Threads and joints: open screw-cap containers, bit holders, flashlight tail-caps, folding-tool pivots, and shackle pins. Grit or a stiff action signals moisture retention.
Mixed assemblies deserve extra attention: a stainless blade paired with a carbon-steel spring, plated hardware set into an aluminum body, or a steel clip resting against damp fabric can each corrode well before the rest of the tool shows any sign of trouble.
A clean, dry edge indicates readiness. Freely moving threads are better indicators than a corrosion-resistant label.
Reset gear before it goes in the pack
A corrosion inhibitor works only when it reaches bare, dry metal. It cannot displace every trace of sweat, saltwater, pocket lint, or moisture, and those residues can be trapped under a scale, beneath a pocket clip, or inside a pivot. Sealing them in with oil or wax can leave an active corrosion cell unseen.
Begin with a lint-free cloth suited to the item’s materials.
Additionally, wipe both faces, then work through joints and interfaces.
Open folding tools fully.
Clean the blade tang and lock area.
Loosen removable clips or scales where the manufacturer permits.
Use a soft brush, wooden pick, or compressed air to clear debris from screws and grooves.
Avoid aggressive abrasives on coated blades.
Additionally, avoid abrasives on anodized aluminum and plated hardware to prevent damage.
Drying deserves its own step.
Additionally, cloth-dry first, then leave gear open and separated until pivots, threads, and seams are dry.
Gentle moving air is more reliable than closing an item while it still feels mostly dry.
Apply a thin, compatible film only afterward.
- Light corrosion-inhibiting oil: pivots, steel tools, and threaded hardware.
- Wax or dry-film protectant: exposed steel where lint attraction or oil transfer matters.
- Silicone-free treatment where required: avoid contaminating surfaces intended for later bonding, finishing, or certain repairs.
Remove excess.
However, a wet-looking coating collects grit. It can migrate into fabrics, but a thin continuous film is usually sufficient.
If moisture is suspected under a scale, clip, gasket edge, or pivot, expose and dry that area first. Protection applied over water is not protection of the metal beneath it.
Build a storage system that can breathe
A watertight pouch is useful during a downpour or river crossing, since it protects gear from rain and splashes. However, it becomes counterproductive when damp gear stays inside overnight, risking mildew, odor, and continued moisture that can worsen gear performance.
To achieve this, the system uses graduated protection that adapts to conditions. A close layer prevents abrasion and sweat transfer, while an outer layer blocks weather, and it allows the contents to air when conditions permit.
Match the container to the item
- Small folding tools and needles: A lightly oiled cloth wrap or treated leather-free sleeve limits metal-on-metal contact. Store it in a zip bag only for short wet exposures; open the bag during a dry stop.
- Ferro rods, bits, hooks, and loose hardware: Small screw-cap tubes or divided tackle capsules prevent loss and isolate sharp pieces. Add a tiny desiccant packet only when the contents are dry; silica gel cannot dry a visibly wet tool quickly.
- Knives and multi-tools carried in pockets: A breathable synthetic sleeve or fabric organizer is usually safer than a sealed pouch against body moisture. Avoid leaving carbon steel in a wet leather sheath.
- Complete kits: Use a water-resistant outer organizer, with individual sleeves or tubes inside. This prevents one wet item from humidifying every component.
Desiccant is a humidity buffer, not a substitute for drying.
Additionally, Indicating silica gel can reveal when it needs regeneration or replacement.
Additionally, on multi-day trips, open organizers during a sheltered, dry interval.
Wipe condensation from smooth metal surfaces to prevent a sealed damp chamber from developing.
Give pocket gear a two-minute reset each evening
-
Empty pockets before sheltering in
At camp, remove the knife, multitool, flashlight, and spare hardware before they spend hours against damp clothing or inside a humid tent pocket. Open folding tools only as far as needed to expose pivots, liners, clips, and other moisture-catching gaps.
-
Dry surfaces and seams, not just the obvious face
Use a clean, dry cloth to wick water from joints, screw heads, pocket clips, lanyard holes, and the inside of a sheath or pouch. A few gentle shakes and several minutes in moving air can clear residual moisture that a quick wipe leaves behind.
-
Run a brief condition check
Look for orange spotting, dull fingerprints that will not wipe away, gritty pivot movement, wet grit, or a sheath lining that still feels cool and damp. This is a triage check, not a nightly disassembly: its purpose is to catch new contamination while it remains easy to remove.
-
Vent wet carriers separately
Leave a damp sheath, pouch, or organizer open where air can circulate, while keeping the metal item on a dry cloth or in a breathable pocket. Repacking a dry tool into a wet carrier simply restarts the corrosion cycle at the contact points.
-
Repack only after the gear feels dry and clean
Return each item to its assigned breathable storage layer, separated from food residue, wet textiles, and salt-contaminated clothing. If staining, sticky residue, or persistent grit appears, reserve a fuller cleaning and protective-film renewal for the next suitable stop rather than relying on repeated wipes.
A small daily reset limits moisture dwell time; deeper cleaning is for contamination, persistent corrosion, or rough mechanical action.
Recover pocket gear before corrosion gets established
- Remove gear from every carrier
Take tools, lights, and metal accessories out of pockets, pouches, sheaths, and organizers immediately. A carrier can look dry at its surface while its seams, padding, and folds hold a humid film against metal for hours.
- Flush away salt and grit
After seawater, coastal spray, or heavy sweat exposure, a prompt fresh-water rinse is more useful than simply wiping the surface. Chloride residue is hygroscopic: it can draw moisture back from the air and sustain corrosion after the gear appears dry.
- Open every moisture trap
Extend blades, open tool handles, loosen removable caps, and expose clip interfaces, pivots, threads, and battery compartments where appropriate for the item. Blot first, then use moving air to clear crevices; heat can drive moisture deeper into tight assemblies or damage lubricants and seals.
- Dry the carrier separately
Turn pouches and sheaths inside out where possible, spread their layers open, and allow them to dry away from the gear. Repacking a dry tool into a damp carrier simply restarts the corrosion cycle.
- Inspect, then renew protection
Once fully dry, cycle moving parts to confirm that grit has not entered, remove any new residue, and apply a thin compatible protectant to exposed steel, pivots, and threads. Excess oil attracts abrasive dust, so only a light film is needed.
Sweat, surf, and coastal mist deserve faster attention than ordinary rain. Their dissolved salts concentrate as water evaporates, especially under pocket clips, inside pivots, and within wet fabric. A closed sheath or zip pouch slows evaporation rather than stopping exposure.
Stop cross-contamination before it starts
A compact pocket kit can be dry when packed and still corrode, because another item unexpectedly carries the problem. This hidden risk grows when components press together, sharing moisture, salt, and friction that damage finishes over time and reduces reliability.
Moreover, wet textiles can wick salt and grit into seams, while leftover food, fish bait, and adhesive residue may leave conductive films behind, and loose hard items can rub coatings away. To minimize this, keep metal tools in separate sleeves, isolate wet fabric in a ventilated bag, and never return soiled dressings to the same pouch as tools.
Leaking batteries deserve immediate separation. Additionally, their alkaline electrolyte can etch plating, attack aluminum, and contaminate nearby steel. Remove the cells, avoid spreading residue, and clean the affected carrier before repacking.
Stainless steel resists rust.
However, it is not maintenance-free.
Chlorides, abrasion, and oxygen-starved crevices can still stain or pit it.
Oil cannot arrest established corrosion.
It may mask moisture.
Rust must first be removed, debris flushed away, and the surface dried before a thin protective film is renewed.
Rust Prevention: Common Questions
How often should I clean pocket gear to prevent rust on a multi-day trip?
A quick two-minute reset each evening is enough on most trips: empty pockets, dry joints and seams with a clean cloth, check for early spotting or gritty movement, and vent any damp sheath or pouch separately before repacking.
Does stainless steel pocket gear still need rust prevention?
Yes. Stainless steel resists corrosion but is not immune, especially when salt, sweat, or trapped grime sit in a pivot, seam, or crevice. Cleaning and drying it on the same schedule as carbon steel tools prevents staining and pitting.
Will adding more oil fix gear that has already started to rust?
No. Oil protects clean, dry metal, but it cannot remove existing corrosion or the moisture and grit trapped beneath it. Rust needs to be cleaned off and the surface fully dried before a fresh protective film is applied.
Is a sealed waterproof pouch the best way to store pocket gear on a wet trip?
A watertight pouch is useful during a downpour or river crossing, but leaving damp gear sealed inside overnight can trap moisture and cause mildew or continued corrosion. A breathable layer that can be opened during dry stretches works better across a multi-day trip.
Finish the Cycle at Home
At home, unpack pocket gear before it disappears into a drawer. Open every blade, bit holder, clip, sheath snap, and threaded compartment; wipe away salts and inspect shaded faces, spring channels, liners, and hardware heads. A faint orange bloom can often be lifted with a suitable nonaggressive rust remover or very fine abrasive, followed by residue removal and complete drying. Pitting, flaking coatings, or binding mechanisms merit closer evaluation rather than concealment under oil.
Then renew the protective film on clean, dry metal, using a product compatible with the tool’s materials and intended food-contact use where relevant. Air-dry or launder carriers, replace saturated desiccant, and keep storage breathable. This closes the loop: unpack, inspect, treat, protect—a routine that preserves the next trip’s starting condition.


7 Comments
Good checklist. The “stainless still needs care” line is worth repeating—people hear stainless and assume it is magic armor. Saltwater had other ideas 🙃
I’m a little skeptical about adding oil every evening on a multi-day trip. It seems like a great way to collect trail dust and grit around pivots, especially with a multitool that gets handled constantly.
Would a dry wipe plus opening the tools to air out be enough unless the gear was actually soaked? I like the two-minute routine, just not another tiny bottle leaking in my pack.
That’s a fair concern, and you’re right not to use oil as a substitute for cleaning. For an ordinary dry day, wiping off pocket moisture, opening the pivot briefly, and ventilating the carrier is usually the whole evening reset. Reapply only a very thin, material-compatible film after washing, a saltwater exposure, or when the previous protection has clearly been wiped away; excess oil is grit bait.
I decant a few drops into a tiny dropper vial and use less than I think I need. One drop on a cloth, then wipe the pivot area, has been plenty for me. But on dusty trips I mostly just clean and dry like the admin said.
The reminder to dry the carrier separately was the bit I needed. I used to wipe down my folding knife after rain, then put it right back into the same damp pouch… basically sending it back into a tiny humidity sauna. Do you prefer leaving the pouch open overnight in the tent, or hanging it outside under cover?
Exactly—the carrier can undo all the work you did on the tool. If conditions allow, I open or turn the pouch inside out under cover where it gets airflow, rather than leaving it exposed to dew. In a tent, keeping it open near moving air (not pressed against a damp wall or sleeping bag) is the better fallback.
Same lesson here. Mine was a leather slip, which stayed damp forever. Switched to a simple fabric organizer for wet trips and save the leather for day hikes.