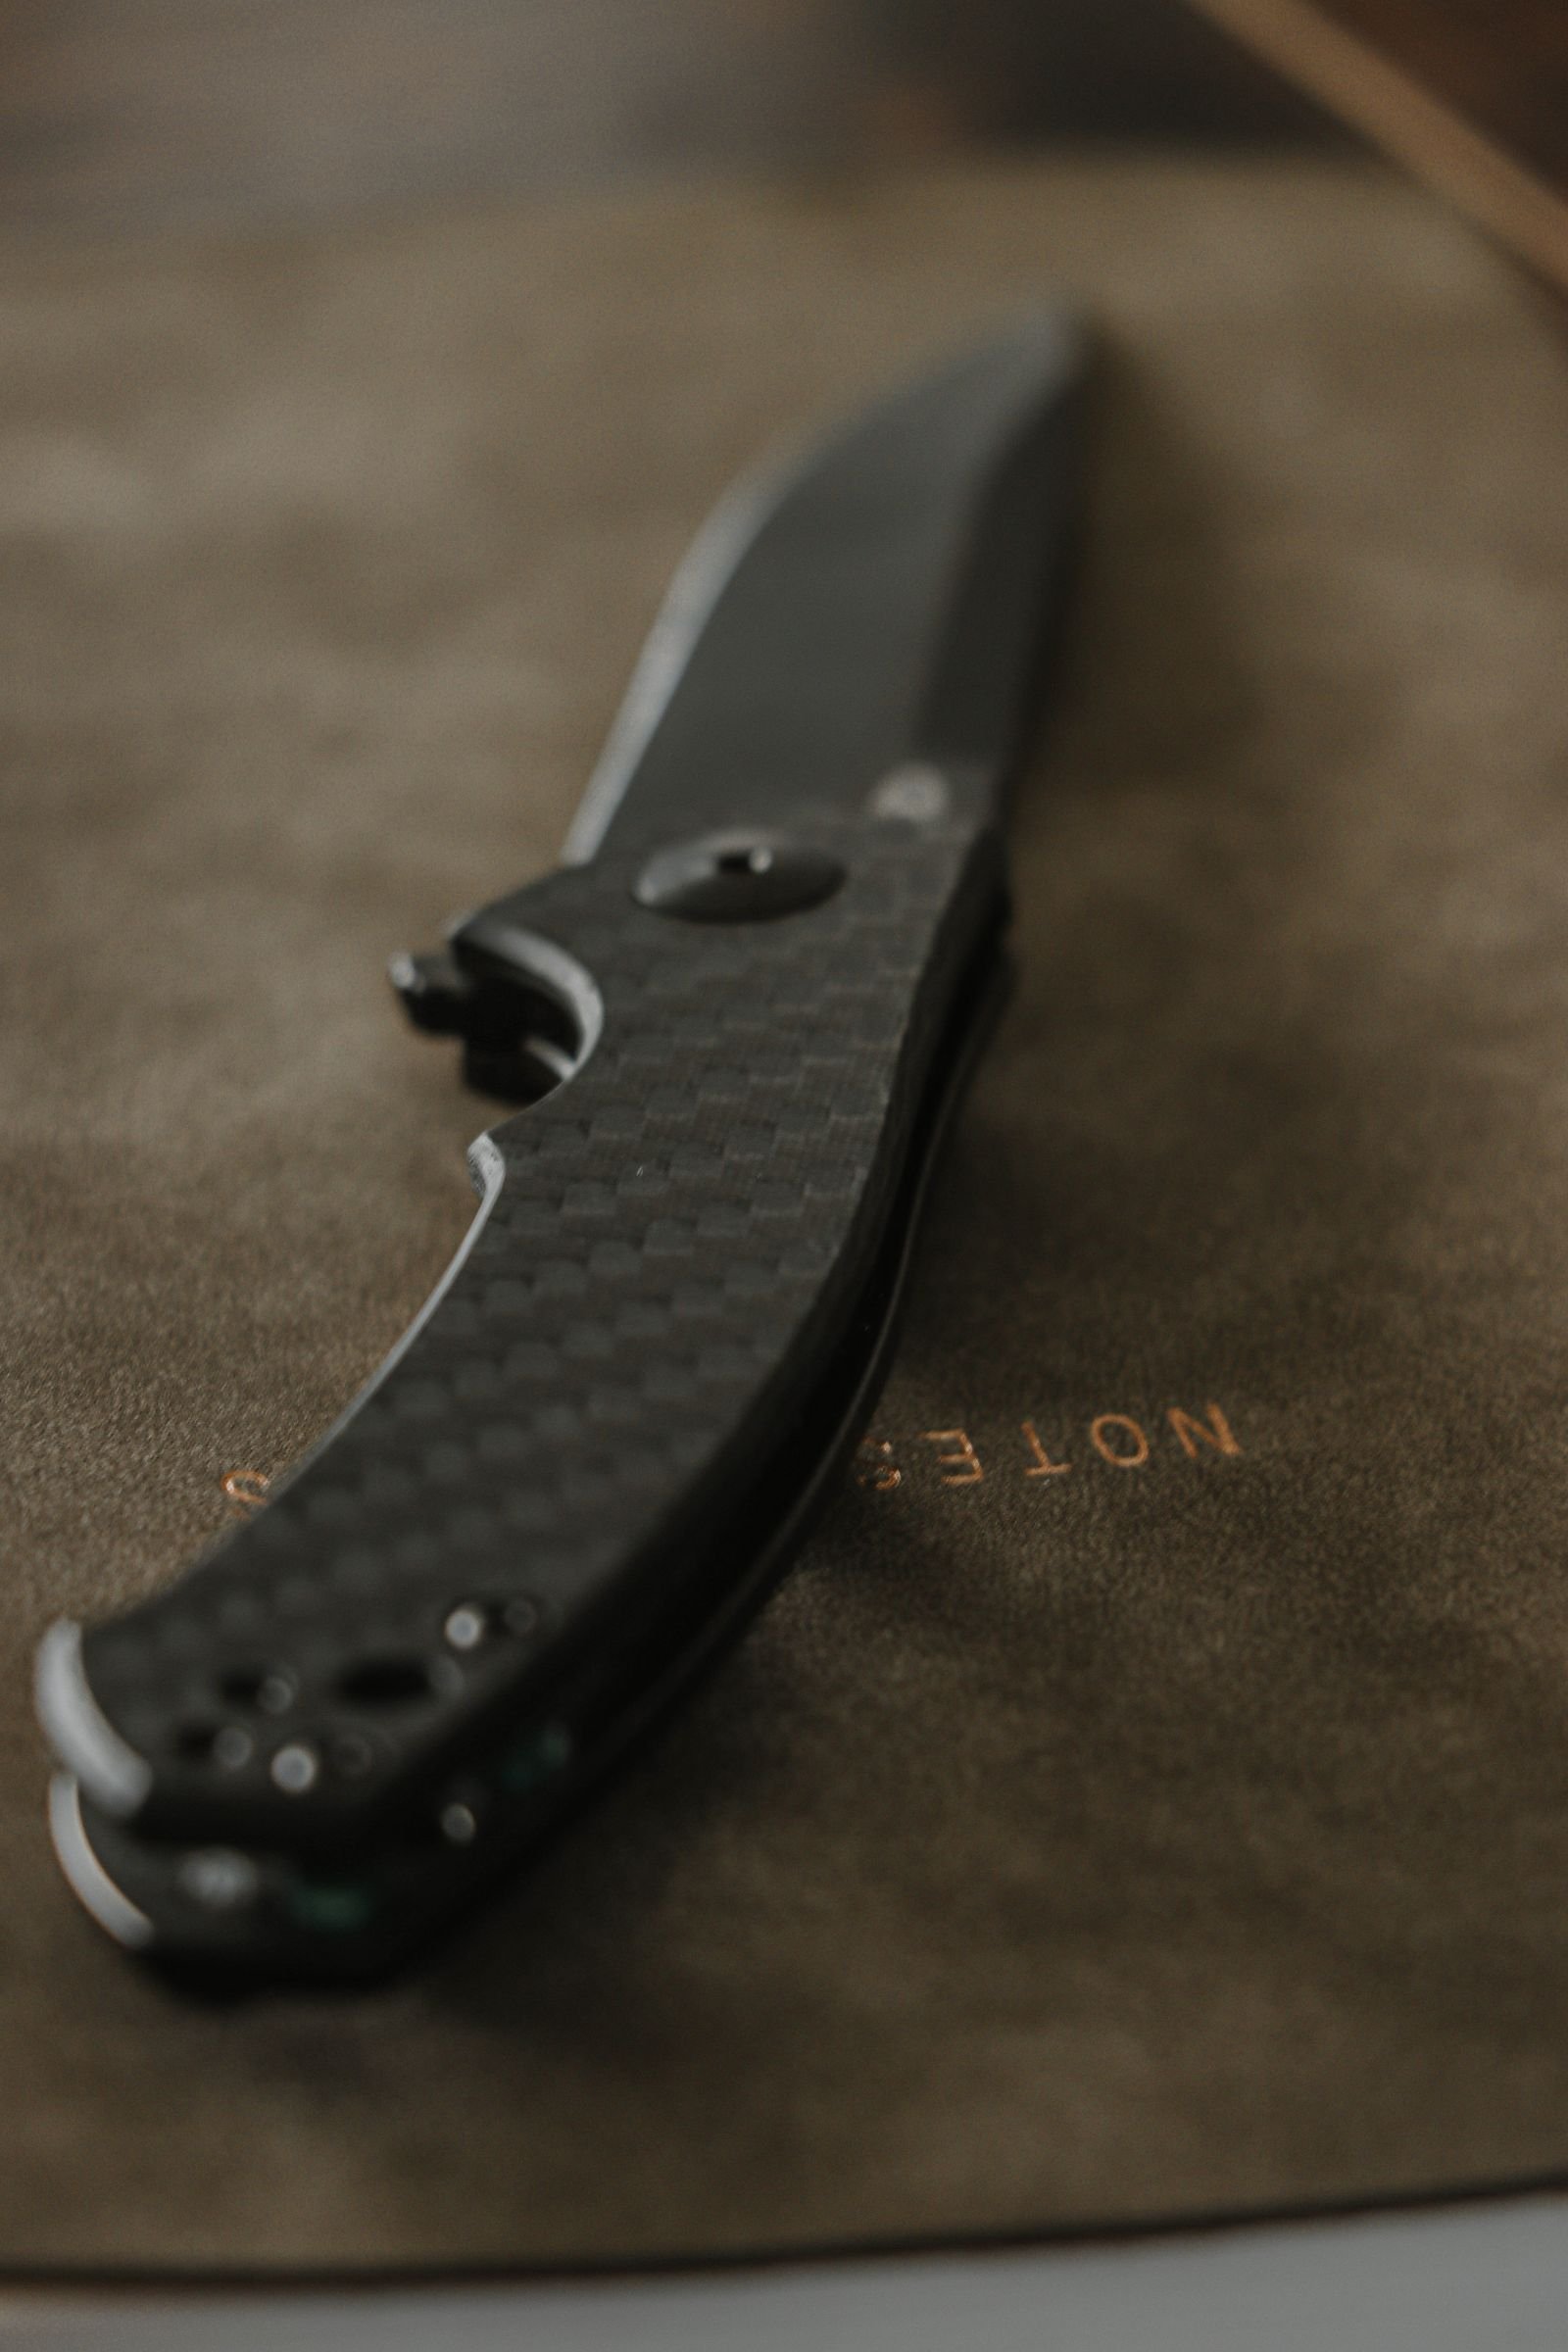
Package work rewards a blade that stops exactly where expected.
A carton arrives cinched with plastic straps, its contents sitting just beneath the top seam. The challenge is not simply getting through the material; it is controlling tip depth, direction, and follow-through while repeating the cut throughout a shift.
A Wharncliffe’s straight edge makes contact along flat seams without much wrist rotation, which can help keep shallow cuts predictable. Its pointed tip, however, demands care around merchandise. A drop point offers more belly for slicing shrink wrap and making longer draw cuts, while its lowered spine can make the tip easier to index. Either shape becomes hazardous when used as a pry bar or pulled toward the body. Cut away from hands, expose only the necessary edge, and replace or sharpen a blade that starts requiring extra force.
What the blade profiles change
- Wharncliffe
A mostly straight cutting edge meets a spine that descends toward a low tip. The low point can start cuts precisely and keep more edge against flat cardboard or tape.
- Drop point
A convex spine drops toward the point, while the edge commonly has more belly. That curvature supports rocking and draw cuts but concentrates contact on a smaller section of edge.
- Contact angle
The blade’s approach angle determines whether the tip, belly, or longer edge section meets the package first. It affects control and the chance of cutting contents beneath a seam.
- Modern Wharncliffe variants
Many current designs add slight belly, clipped or reinforced tips, and altered spine curves. The profile name alone does not guarantee a perfectly straight edge or needle-fine point.
Neither outline determines overall cutting performance by itself. A thin grind and sharp, undamaged edge may pass through corrugated board with less force than a thicker blade of the supposedly more suitable profile.
Handle shape and texture also influence tip placement and depth control. For package work, compare edge geometry, blade thickness, sharpness, grip security, and tip position alongside the profile name.
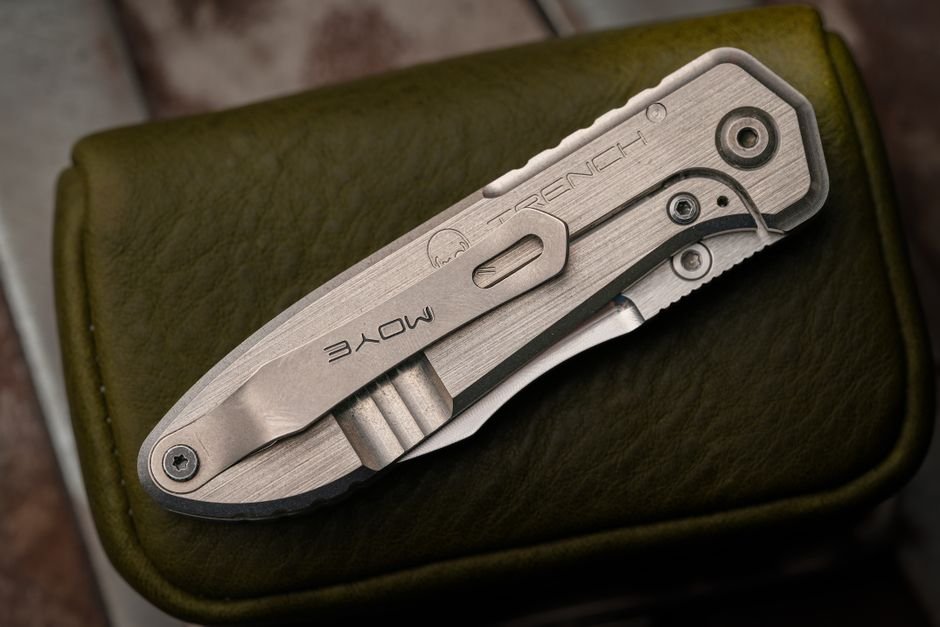
Where a Wharncliffe earns its keep
A Wharncliffe’s straight cutting edge can meet a flat taped seam with consistent contact. Its low point also sits close to the edge line, making the tip easier to reference against a carton’s surface than a higher, more upswept point.
On center seams, only a small section of the tip needs to enter before the edge begins slicing tape. This can support controlled scoring with less wrist rotation, especially when opening long, flat runs or trimming labels and film on a work surface.
That geometry does not provide automatic depth control. A sharp, narrow tip can pass through tape and corrugated board quickly, potentially reaching merchandise, inner packaging, or the supporting hand. Pressing harder than necessary also turns a tape cut into a carton puncture.
For routine package work, technique and blade condition remain decisive. The cut should begin over a known empty area, use minimal tip exposure, and travel away from hands. A sharp drop point used at a shallow angle may perform just as effectively when its curved edge and higher tip suit the operator’s grip and cutting path.
Start with the blade nearly parallel to the seam and apply only enough pressure to break the tape. If the tip disappears into the cardboard, penetration is already deeper than most tape cuts require.
Where a drop point pulls ahead
A drop point’s curved belly keeps more edge moving through material during a draw cut. That can make long cuts through cardboard, cordage, and food feel smoother than cuts made with a mostly straight edge. The rounded profile also adapts readily to varied daily tasks, which helps explain its popularity as a general-purpose shape (Blade HQ’s blade-shape guide).
Rope particularly benefits from a slicing motion: the belly can enter progressively while the blade is drawn, rather than relying mainly on downward pressure. On fruit, sandwiches, or other food, the curve supports a rocking or sweeping stroke, though blade thickness and grind still affect performance.
The compromise appears at the tip. Because many drop points place the point higher and behind a rising edge, starting a shallow slit in packing tape may feel less exact than with a low-tipped Wharncliffe. Tip angle, blade width, and grip position can amplify or reduce that difference.
For controlled tape starts:
- Choke up only if the handle permits a secure grip.
- Lay the blade nearly parallel to the box.
- Use minimal pressure, then transition to the belly for the longer slice.
Task-by-task package performance
The table assumes comparably sharp blades with similar edge geometry. A thick Wharncliffe can require more force than a thin drop point, while a worn edge can erase either profile’s expected advantage.
| Task | Wharncliffe | Drop point | What can change the result |
|---|---|---|---|
| Tape seams | Often easier to place flat and track along a seam | Works well, but the belly may climb away from a shallow cut | A low angle and light pressure matter more than speed |
| Single-wall cardboard | Straight edge gives predictable push cuts | Belly can feel smoother during long draw cuts | Thin stock and a keen edge reduce drag |
| Double-wall cardboard | Controlled starts, but thick blades may wedge | Curved belly can sustain a slicing stroke | Multiple shallow passes are safer and cleaner than forcing either blade |
| Shrink wrap | Low tip can lift or nick film precisely | Belly slices readily once an opening exists | A guarded film cutter better limits contact with goods |
| Plastic strapping | Straight edge concentrates contact at one point | Belly may keep slippery strap against the edge | Tensioned strap can snap back; dedicated strap cutters are generally preferable |
| Label removal | Low tip supports careful corner lifting | Rounded profile offers less precise tip placement | Neither is ideal on finished surfaces; a plastic scraper reduces scratching risk |
| General slicing | Excels where straight-line control is useful | Often favors longer draw cuts through flexible material | Edge sharpness, blade thickness, and material support can reverse the comparison |
For thin film, zip ties, or awkward packaging, multitool scissors may be preferable to a blade, particularly near cables or soft contents. Whichever profile is used, cuts should travel away from the body, with the free hand kept outside the cutting path.
Plain edge or serrations?
A sharp plain edge usually makes the cleaner, more predictable cut through packing tape, labels, and cardboard seams. It tracks smoothly, leaves fewer torn fibers, and can be restored in the field with a flat stone or compact sharpener. For routine package work, the choice between plain and serrated edges for cardboard often comes down to maintenance habits.
Serrations can keep cutting after the exposed points have lost some sharpness because their recessed sections receive less direct contact. That remaining bite may help with fibrous strapping, cord, or neglected edges. The tradeoff is control: teeth can catch corrugations, pull tape, and leave a ragged cut, especially when shallow slicing is required.
Cardboard is surprisingly abrasive. Mineral fillers, recycled material, dust, and embedded grit can wear an edge faster than clean food or rope. Thin grinds generally slice with less resistance but may be more vulnerable to rolling or chipping if twisted through staples or dense packaging. More robust grinds tolerate rougher handling, though they tend to wedge and require more force.
For predictable performance:
- Wipe adhesive residue off promptly; it can trap moisture and contaminants against the steel.
- Dry the blade before storage and apply an appropriate corrosion protectant when needed.
- Touch up a plain edge early rather than waiting for severe dullness.
- Use a tapered rod or manufacturer-recommended tool for serrations, preserving the original scallop shape.
A repeatable way to open packages
-
Stabilize the package
Place it on a clear, non-slip surface rather than against the body. Prevent rolling or shifting before exposing the blade.
-
Check grip and deployment
Dry or clean a slippery handle, then confirm that the opening mechanism works with the gloves being worn. See the practical considerations for opening a work knife with gloves on.
-
Keep the free hand clear
Hold the box behind the planned cut and outside any likely blade path. Never brace the package on a thigh or pull a seam toward the torso.
-
Start with a shallow pass
Use only enough tip or edge to pierce the tape. Several light passes offer better depth control than one forceful cut, especially when contents sit near the seam.
-
Cut in a controlled direction
Move away from the body, bystanders, and the stabilizing hand. Stop and reposition the package whenever the safe cutting direction changes.
-
Secure the knife afterward
Retract the blade or close the folder before moving packaging. On locking folders, verify full lock engagement before cutting and complete closure before pocketing.
A low Wharncliffe tip may help limit penetration, but it cannot compensate for poor traction, an insecure lock, excessive force, or a hand in the cutting path. Edge condition, handle control, mechanism reliability, and technique remain essential.
Choose the knife around the workflow
- Match the dominant cut
Repeated tape scoring often suits a Wharncliffe’s low tip and straight edge; mixed cutting may justify a drop point’s curved belly.
Look forA profile aligned with the cut performed most often.AvoidChoosing by blade shape alone when tasks vary widely. - Assess breakdown geometry
For deep cardboard breakdown, stock thickness, edge grind, blade length, and handle leverage may matter more than the profile name.
Look forManufacturer-supported dimensions plus a thin, accessible cutting edge.AvoidAssuming every Wharncliffe or drop point slices alike. - Check control and mechanism
The handle should permit a secure grip without hot spots, while the lock or slip joint should operate consistently and resist accidental closure during the intended work.
Look forAdequate traction, neutral wrist position, and an inspectable mechanism.AvoidSmall handles, awkward lock access, or looseness at the pivot. - Account for access and upkeep
Workplace rules, local carry restrictions, pocket space, opening method, clip orientation, and sharpening access can rule out an otherwise suitable knife.
Look forLegal carry, practical deployment, and an edge that available tools can reach.AvoidBuying before checking policies, dimensions, weight, and maintenance needs.
Lists of pocket knives under $50 can narrow the field, but price should follow suitability. Compare manufacturer-published specifications, warranty terms, construction, lock design, and replacement availability; inexpensive hardware that slips, binds, or cannot be sharpened conveniently may offer poor value.
-
Match the dominant cut
For mostly shallow seam starts, favor Wharncliffe tip control. For varied draw cuts, a drop point may feel more natural.
-
Test scrap first
Use discarded packaging to check hand hot spots, edge snagging, puncture depth, and any tendency to lose control.
-
Compare realistic alternatives
Include a dedicated cutter among practical package-opening options when an exposed blade or deep penetration creates avoidable risk.
-
Check the fundamentals
Choose a sharp, appropriately sized knife permitted at the worksite; profile names cannot compensate for poor fit, grip, or edge condition.
Let the work decide
A short scrap-packaging trial is more informative than choosing by blade-profile reputation alone. Select the option that stays controlled during typical cuts without snagging, excessive penetration, or uncomfortable pressure.
Blade shape is one variable among several, and how to choose an EDC knife places it alongside the lock, the steel and the carry method that decide whether the knife gets used at all.