Published dimensions describe a box; everyday carry rarely packs like one.
A multitool may match a pouch’s listed length and width yet still jam the zipper. Seam allowances reduce the interior, stacked items create extra depth, and curved corners leave nominal capacity unusable. Measure the complete loadout as packed, including clips, charging cables, key rings, and protective caps—not each item separately.
Fit also depends on where the pouch will ride. Its exterior footprint, attachment spacing, and loaded thickness must suit the belt, bag panel, or pocket without blocking movement. Finally, check access: the zipper needs enough travel for the largest item to clear the opening, while frequently used gear should remain reachable without unloading everything else.
- Mock up the loaded footprint with folded cardboard.
- Allow clearance for zipper pulls and gloved fingers.
- Test sitting, bending, and bag closure before committing.
Pack the load, not the possibility
Lay out everything carried on an ordinary day, then divide it into daily essentials and occasional gear. Size the pouch around the first group. Seasonal medication, travel adapters, or a backup tool used twice a year can live in a separate module rather than forcing a larger pouch into daily service.
Mark items that impose special placement needs:
- Rigid: power banks, multitools, and compact lights can create pressure points.
- Fragile: glasses, screens, and small electronics need separation from hard tools.
- Sharp: keys and exposed tool edges should not share an unprotected pocket with cables or fabric.
- Warm: charging electronics need the ventilation and clearance specified by their manufacturers.
- High-access: medication, transit cards, or a primary light should remain reachable without unpacking other gear.
Arrange the load on a table in the order it should sit inside the pouch. Allow room for zipper movement and finger access, but avoid buying speculative capacity “just in case”; unused volume encourages added weight and lets contents shift.
For electronics, check whether cables must remain connected while stored. A suitable layout provides a gentle path between compartments without tight bends, pinched connectors, or a zipper crossing the lead. These methods for organizing charging cables help determine whether elastic loops, a mesh pocket, or a removable cable wrap suits the load.
Never carry a loose firearm in a general-purpose EDC pouch. Safe firearm carry requires a rigid holster molded for that specific firearm, with the trigger guard fully covered; generic sleeves and universal-fit inserts do not meet that boundary.
Measure the load and the space it must enter
- Arrange the actual load
Pack only the selected EDC items in their likely orientation. Include cable bends, protective caps, attached clips, and anything that cannot be compressed safely.
- Record the packed envelope
Measure length, width, and thickness at the widest points without squeezing the load. Note rigid items that prevent the bundle from conforming to a tapered pouch.
- Measure the carry location
Check the usable opening and interior space of the pocket, bag, drawer, or vehicle compartment. Zippers, lining, rounded corners, and nearby contents can make the entrance smaller than the cavity.
- Subtract construction losses
Allow for thick seams, padding, binding, dividers, and zipper tracks. Published dimensions may describe the exterior, so internal measurements should be confirmed with the manufacturer when unspecified.
- Rehearse retrieval
Place a pouch-sized mock-up in the intended carry position and simulate opening it and removing common items. Test while the bag is packed, not while it is empty on a table.
A cardboard template or folded cloth bundle can expose fit problems before purchase.
Turn dimensions into a real fit test
Nominal dimensions are only a starting point. A practical pouch-measuring method for bag storage compares three separate envelopes: the packed load, the pouch exterior, and the smallest opening the pouch must pass through. The narrowest of those limits usually governs fit.
Match the shape to the access path
| Pouch shape | Opening behavior | Common fit issue |
|---|---|---|
| Flat | Usually opens from one edge while staying slim | Deep items stack, hide one another, or create a hard bulge |
| Clamshell | Opens broadly and presents both sides | Requires room for panels to fold apart |
| Accordion | Expands into sections for sorting | Dividers and folds consume width and may snag bulky gear |
| Boxy | Holds three-dimensional items with less stacking | Corners and depth can obstruct narrow bag openings |
The choice between a clamshell and a flat pouch for quick access therefore depends on where it will be opened. A clamshell may organize tools clearly on a desk yet feel awkward inside a crowded backpack. A flat pouch may slip into a narrow pocket more easily but require more digging.
Finally, test the motion, not just the static fit. Confirm that the zipper clears surrounding fabric, the pouch can be stabilized with one hand if necessary, and frequently used items can leave their loops without colliding with the opening. If access requires removing several other objects first, the dimensions may technically fit while the pouch remains impractical.
Choose attachment by how the pouch moves
- Loose carry
Suited to pouches transferred frequently between bags or drawers, provided the surrounding compartment limits movement.
Look forFast transfer and a dedicated compartmentAvoidUnrestrained movement around fragile or sharp items - Hook-and-loop
Useful when placement changes often or the pouch moves between compatible panels.
Look forAdequate mating area, removal clearance, and controlled peel directionAvoidSmall contact patches or crowded edges that lift - MOLLE/PALS
Favors stability on compatible webbing, although installation and removal take longer and attachment straps add bulk.
Look forCorrectly woven straps with minimal side-to-side playAvoidSkipped webbing rows, loose tails, or blocked neighboring slots - Belt carry
Keeps frequently used equipment accessible but requires checks for body clearance, seating comfort, and interference with clothing.
Look forStable mounting and unobstructed movementAvoidSwinging loads, pressure points, or snag-prone placement
Make every pocket earn its place
Organization works when every feature has a named job. Elastic loops suit slim tools with consistent diameters, such as pens, small flashlights, or bit drivers. A loop should grip without forcing a two-handed extraction or pressing switches.
Mesh pockets make small, soft items visible, but exposed edges can catch clips and corners. Sleeves are better for flat objects such as cards, folded documents, or compact notebooks. Removable panels help transfer a complete tool set, though their backing and fasteners consume depth.
An open cavity can be more useful than another divider when carrying bulky chargers, gloves, cables, or irregular objects. Empty loops and unused partitions are not free organization: they occupy space, create snag points, and may slow retrieval. The packed layout should preserve a clear path to the item needed first.
Attachment choice follows the transfer routine. Loose carry favors quick bag-to-bag movement; hook-and-loop supports repositioning; MOLLE/PALS generally prioritizes stability; belt mounting favors immediate access. The trade-offs are clearer in this comparison of MOLLE and hook-and-loop attachment. If webbing is selected, follow the correct sequence to attach a MOLLE pouch securely rather than clipping it through only one row.
Load the pouch exactly as carried, close it, and shake it in several directions. Then retrieve each item while standing, seated, and wearing normal outer layers.
Reject or revise the setup if contents rattle excessively, controls activate, zippers bind, attachments peel or shift, or clips and corners catch during withdrawal.
How construction changes fit
Denier measures yarn mass, not overall fabric strength. Within a comparable fabric family, a higher denier often brings more weight, bulk, and stiffness, but fiber type, weave, and finish also affect abrasion resistance. The practical tradeoffs between 500D and 1000D pouch fabric therefore require more than comparing the numbers.
Coatings and linings add protection but consume space. Polyurethane or similar back coatings may slow water penetration; padded or light-colored linings can protect contents and improve visibility. Both can make published exterior dimensions less representative of the interior.
Seams and zippers are common entry points for rain. Bound seams may improve durability without sealing needle holes, while coated zippers and storm flaps generally resist exposure better than uncovered coil zippers. A water-resistant versus waterproof pouch comparison should check whether the maker specifies sealed seams, zipper construction, and a defined test standard. Water-resistant does not mean safe for submersion.
Stiff panels preserve shape and make one-handed access easier, but they resist bulging around irregular objects. Softer shells may accommodate awkward loads, though they can sag or collapse.
Before comparing models, verify:
- exterior and interior dimensions;
- shell, coating, and lining materials;
- seam and zipper construction;
- abrasion or water claims tied to a manufacturer or named test source.
Terms such as weatherproof or all-weather lack a consistent performance threshold. For moisture-sensitive electronics or medical supplies, use a separately tested waterproof inner bag unless the pouch maker documents an appropriate waterproof rating and test method.
Move from measurements to a shortlist
Once measurements and carry location are fixed, narrow the field by load. Chargers favor an organized cable pouch, while exposed commutes may justify added rain protection for electronics. Tight bag openings call for a lower-profile sling pouch.
Loose drivers and bits benefit from tool-specific retention; fixed workstations may suit elastic-loop MOLLE organization. Compare every candidate’s stated dimensions with the measured load, then check opening clearance, divider placement, and attachment space. No roundup pick is universal: reject any pouch that bows the bag, blocks retrieval, or shifts at the intended carry point.
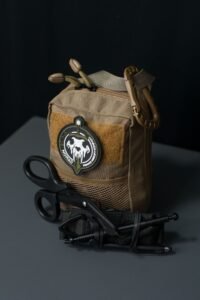

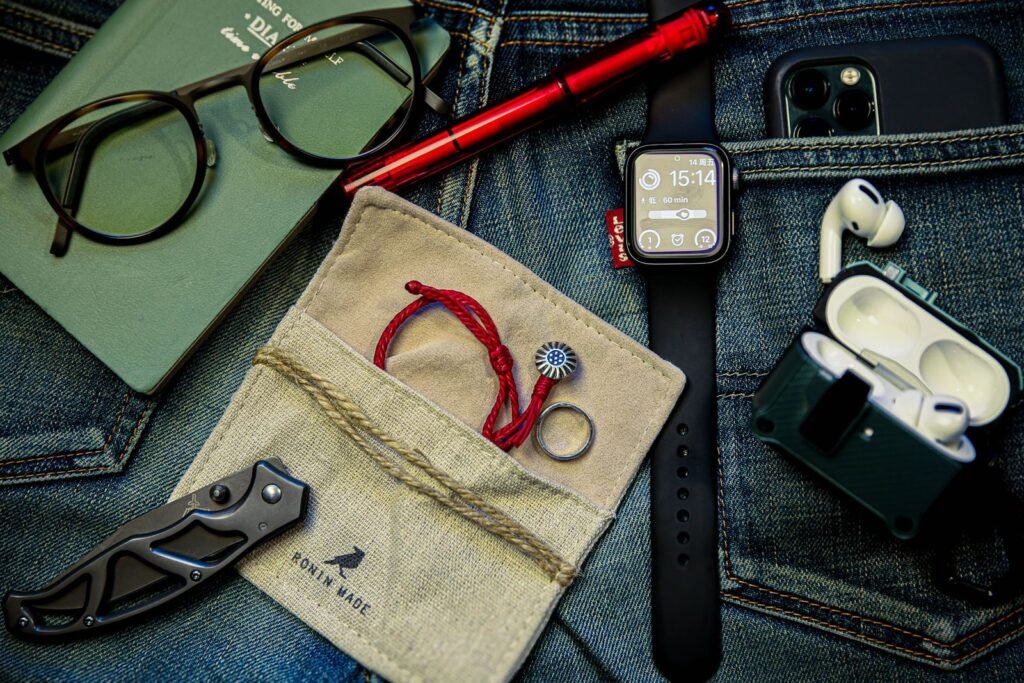
Validate the pouch with the actual load
-
Pack the exact carry set
Load every item in its intended position, including cables, caps, and small accessories. Judge the packed shape rather than the pouch’s empty or published dimensions.
-
Close it without compression
The zipper, buckle, or flap should close normally without squeezing the contents. Bulging panels or forced closure signal excess volume or poor item geometry; remove low-value bulk without sacrificing essentials.
-
Install it in the carry position
Attach or place the loaded pouch exactly where it will be carried. Check that it does not block pockets, controls, seat belts, pack openings, or adjacent gear.
-
Retrieve priority items repeatedly
Open the pouch and remove the most important items several times using the expected hand and body position. Snagging, hidden pulls, or shifting contents indicate that the layout needs revision.
-
Walk, sit, bend, and climb stairs
Normal movement should reveal bouncing, rattling, sagging, pressure points, or attachment slip. Reposition dense items, change the internal layout, or choose a different pouch geometry if instability persists.
Keep only candidates that close without strain, remain stable in the intended location, and allow repeatable access to priority items. The final decision should follow packed dimensions and carry behavior, not nominal capacity alone.
A pouch is a container for a system that already exists, so it helps to know what the system is. Working out how to organize EDC gear at home usually reveals the sizes and compartments actually needed.