A useful EDC pouch should solve problems, not become one.
When the zipper strains, the pouch catches on a seat belt, and a flashlight disappears beneath spare cables, convenience has turned into friction. The usual cause is not one large item but layers of “just in case” gear, bulky packaging, and tools that perform the same job.
The goal is function without excess: retain dependable ways to handle light, power, first aid, communication, and common repairs while removing redundant or rarely used items. Each remaining piece should justify both its weight and the space around it—not merely fit inside the pouch.
Establish a measurable baseline
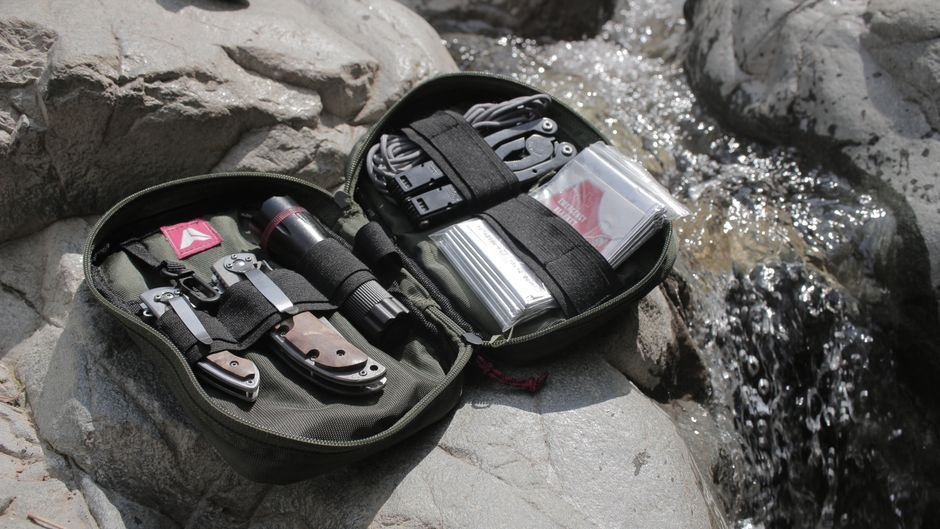
Empty the pouch onto a clear surface and group items by function: medical, repair, lighting, power, tools, identification, and other uses. Separate duplicates, expired supplies, and damaged gear, but leave removal decisions until the complete baseline is recorded.
Weigh the empty pouch and then the fully packed pouch with the same scale. Record both figures so later changes reveal whether weight came from the container or its contents. Packed dimensions should be taken with the pouch closed normally—not cinched harder than it would be in daily carry.
Capture these measurements:
- Height and width at the widest points
- External thickness at the thickest point, including bulging pockets
- Total packed weight and empty-pouch weight
- Any strained zipper, bowed panel, or compressed item
Thickness deserves priority because it often causes snagging, printing, and discomfort even when total weight seems reasonable. It is useful to measure the existing load before adding another pouch or moving overflow elsewhere.
Take a top-down photo of the grouped contents and a side-profile photo of the packed pouch beside a ruler. Repeating the same views after each revision makes improvements visible rather than dependent on memory or feel.
Decide What Truly Earns Space
Assign each item a specific routine, emergency, or task-related job. Vague “just in case” reasoning often hides redundant gear.
Frequently used items usually justify pouch space and quick access. Rarely used items require stronger justification.
Consider the practical cost of not having the item. Medical, identification, communication, or task-critical gear may remain essential despite infrequent use.
Account for reliable substitutes in a vehicle, desk, bag, workplace, or phone. An alternative counts only when it is accessible when needed.
A tourniquet, access credential, backup communication method, or specialized tool may see little use yet still deserve space. Judge rarity together with consequence and access to alternatives, not as a reason for automatic removal.
Remove Functional Overlap
Lay every pouch item on a table and assign it one primary function. Then group items by outcome—cutting, lighting, writing, charging, repair, hygiene, or first aid. Overlap becomes easier to spot when products are compared by the job they perform.
- Blades: Keep the tool suited to likely cutting tasks; move specialty or backup blades elsewhere.
- Lights: Retain separate lights only when a backup is justified by darkness-related safety or operational needs.
- Pens: Carry one reliable pen unless work routinely requires another ink type or permanent marker.
- Cables: Match cables to carried devices. A short cable and compatible adapter may replace several full-length leads.
For each duplicate, ask whether losing the primary item would create inconvenience or a meaningful safety risk. Deliberate redundancy belongs in the second category, not the first.
Consumables should reflect the amount likely to be used before the next realistic resupply. Extra wipes, batteries, ties, tape, and common first-aid supplies can be staged at a desk, vehicle, locker, or larger bag, provided storage conditions suit the item. Record those locations so reserves remain easy to replenish rather than becoming forgotten stock.
Downsize by capability, not dimensions
A smaller item saves space only if it still performs the required task. Define a minimum capability first—such as cutting cord, lighting a dark room, or tightening common fasteners—then compare candidates against it.
For flashlights, check manufacturer-published output, runtime, beam distance, impact resistance, and water-resistance data, noting whether performance follows the ANSI/PLATO FL 1 standard. A compact light may offer strong maximum output but shorter sustained runtime, less comfortable controls, or a battery that cannot be replaced in the field.
Apply the same test to knives, multitools, chargers, and first-aid equipment:
- Durability: Will reduced construction tolerate the expected load?
- Ergonomics: Can the item be operated with wet, cold, or gloved hands?
- Serviceability: Are batteries, blades, bits, or consumables replaceable?
- Compatibility: Does it work with the equipment already carried?
Novelty-sized tools often save millimeters by compromising grip, leverage, or repairability. A slightly larger single-purpose tool may therefore provide more dependable value than an ultracompact substitute.
Combination devices can reduce bulk, but one damaged battery, connector, or housing may eliminate several capabilities at once. Keep critical functions separate when failure would remove both primary and backup options—for example, lighting and emergency power.
Build the Load from the Outside In
-
Reset the pouch
Remove everything, then group flat, long, rigid, and loose items. Keep the full inventory visible so reduced bulk comes from placement rather than accidental omission.
-
Line the walls with flat items
Place bandages, cards, folded wipes, and a slim notebook against the front or back panels. Avoid folding soft items around hard objects, which creates rounded bulges.
-
Align long objects
Run a flashlight, pen, and compact tool parallel to the pouch’s longest axis. Side-by-side placement usually produces a flatter layer than crossed tools.
-
Stagger rigid pieces
Keep a power bank, multitool, and other hard objects from sitting directly atop one another. Place them on opposite sides or offset their thickest points.
-
Control small items
Fold cables into flat loops and secure loose adapters or batteries in elastic loops or a small internal pocket. This prevents them from settling into a single lump.
-
Protect the access zone
Place urgent items—such as medical supplies or a primary light—near the opening or in a dedicated outer compartment. Less urgent gear can fill the remaining recesses.
Close the pouch without forcing it, then repeat the original thickness measurement and reference photo.
Before: A power bank sat over a multitool, while a coiled cable filled the center and pushed the panels outward.
After: Flat supplies lined the walls; the flashlight and multitool ran along opposite edges; the power bank occupied the remaining rigid zone; and the cable filled a shallow gap. No item was removed, but the stacked center was eliminated.
Know What Packaging Must Stay
Retail cartons, hang tabs, instruction leaflets, and oversized plastic trays often add bulk without protecting the item in daily carry. Remove them only after recording any instructions, expiration dates, lot numbers, or warnings that may be needed later.
Protective containment serves a different purpose and should remain intact or be replaced with a purpose-built alternative:
- Batteries: Never carry loose cells beside keys or tools. Keep terminals isolated in a battery case specified for that cell size, and follow the battery manufacturer’s storage guidance.
- Medication: Retain required labeling, dosage information, and expiration details. Use sealed, clearly identified containers; do not mix unidentified tablets to save space.
- Sterile supplies: Keep dressings, wipes, and similar items in their sealed wrappers. A flatter item is not useful if compression has torn its barrier.
- Sharp tools: Cover blades, points, and saw edges with a secure sheath or closed mechanism. Confirm that retention prevents the tool from opening or puncturing nearby supplies.
- Firearms: A firearm must not ride loose in a pouch. It requires a rigid holster molded for the specific firearm and configuration, with the trigger guard fully covered and dependable retention.
A thinner load is acceptable only when every item can still be identified, removed, and operated safely.
Replace split battery cases, torn sterile wrappers, cracked medication containers, and loose sheaths. Bulk reduction stops where contamination, electrical shorts, punctures, accidental activation, or compromised trigger protection becomes possible.
Size the pouch last
A smaller pouch should be chosen only after the final load and access pattern remain stable through several carries. Downsizing too early can produce a jammed zipper or bury frequently used gear beneath rarely used items.
Nominal dimensions reveal only part of the fit. Internal geometry determines whether rigid tools nest efficiently, while divider and organizer thickness can consume useful depth. Zipper paths, seams, clips, buckles, and attachment hardware may also create bulk or restrict the opening.
Before switching, compare candidates using the finished load:
- Pack every retained item in its assigned position.
- Open the pouch one-handed and retrieve priority items in order.
- Check zipper tension at corners and around rigid objects.
- Wear it in the intended location; assess its profile while walking, sitting, bending, and reaching.
Run a field-test cycle
Carry the pouch through several normal days, then repeat the baseline measurements and reference photos. Note migration, pressure points, snagging, closure strain, and any item that was repeatedly difficult to reach.
Reset the load after trips, equipment changes, hard use, expired consumables, or a return of visible bulging. A periodic calendar review can catch gradual accumulation.
The repeatable rule is: measure, justify, remove overlap, flatten, and retest.
- Select by packed fit, not nominal capacity.
- Keep the original pouch until the replacement passes retrieval and carry checks.
Downsizing is the final validation step, not the first cut. A smaller pouch earns its place only when it carries the settled load without strained closures, obstructed access, or an awkward worn profile.
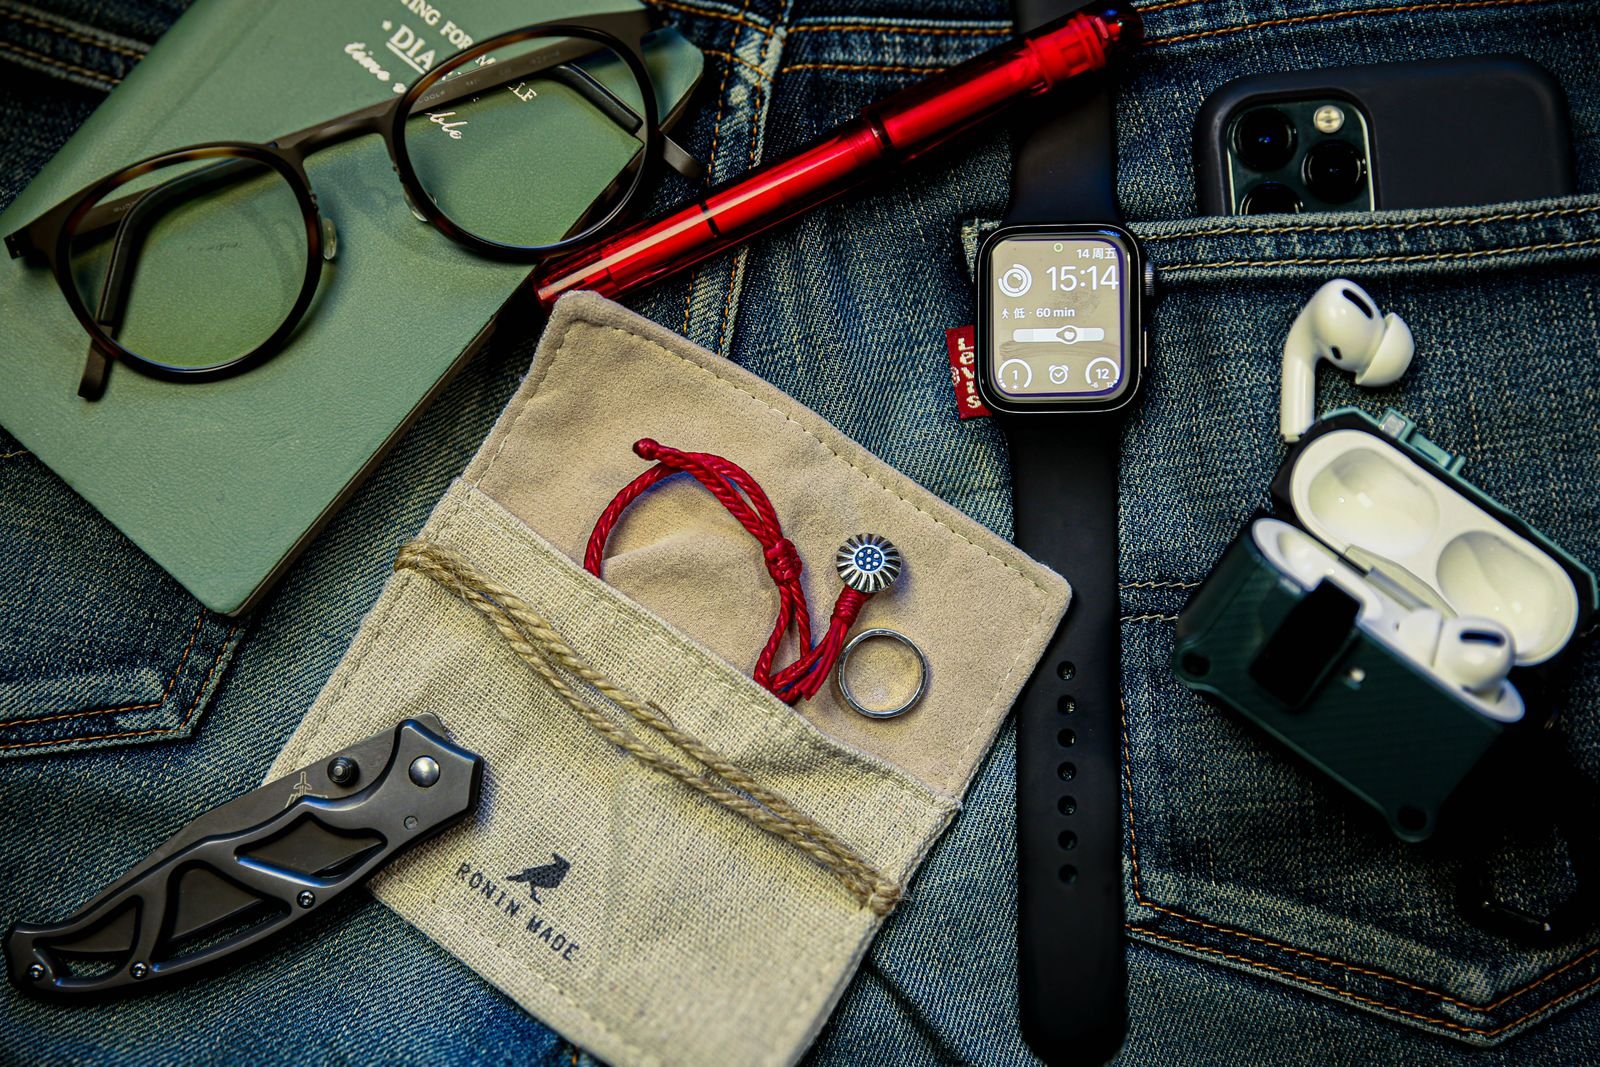
Bulk usually comes from carrying two versions of the same capability. Auditing how EDC gear is organized at home is the fastest way to find the duplicates before trimming the pouch itself.