A finished-looking attachment can still be a loose one.
The straps are snapped at the bottom, yet the pouch sags when loaded, rattles while walking, or lifts away from the carrier when opened. Those symptoms often point to how the straps were woven, not an immediate gear failure.
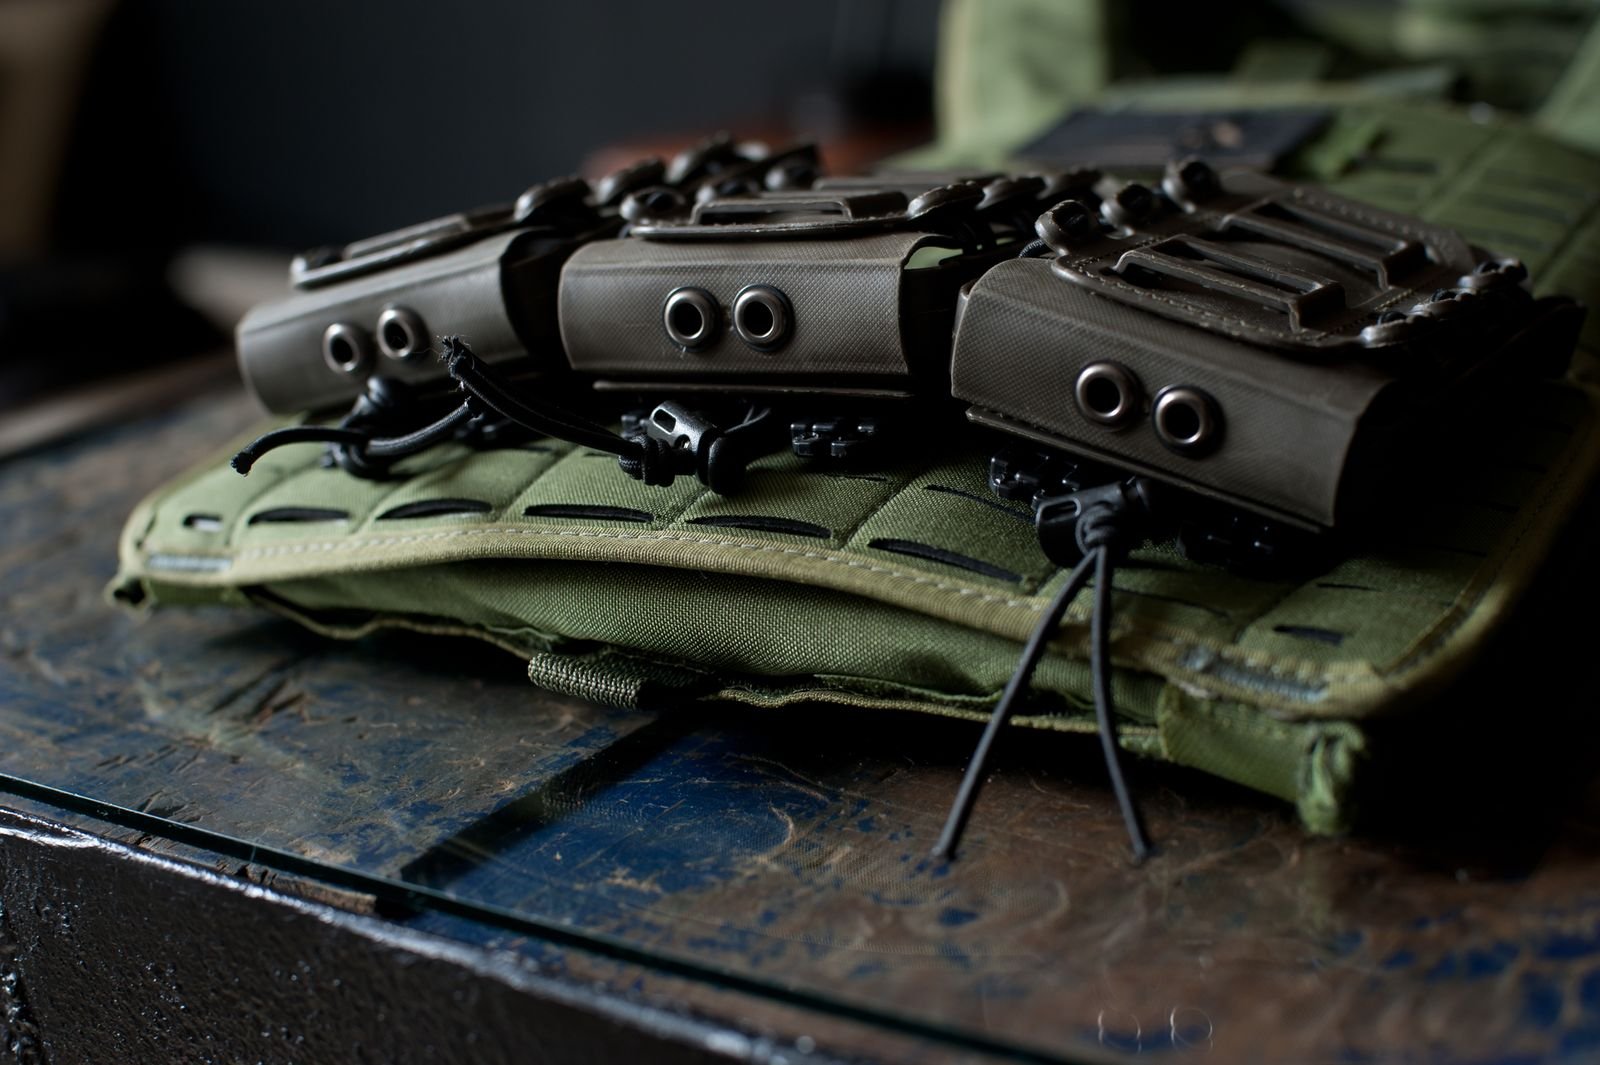
Each attachment strap should alternate through the pouch webbing and the platform’s PALS rows, keeping the pouch tight against the surface at every pass. Skipped rows create slack and leverage. Movement can also come from mounting a wide pouch across too few columns, pairing incompatible attachment systems, choosing a flexible location, or exceeding the load the pouch and platform can support. Before replacing anything, empty the pouch and inspect the weave, position, hardware, and load distribution.
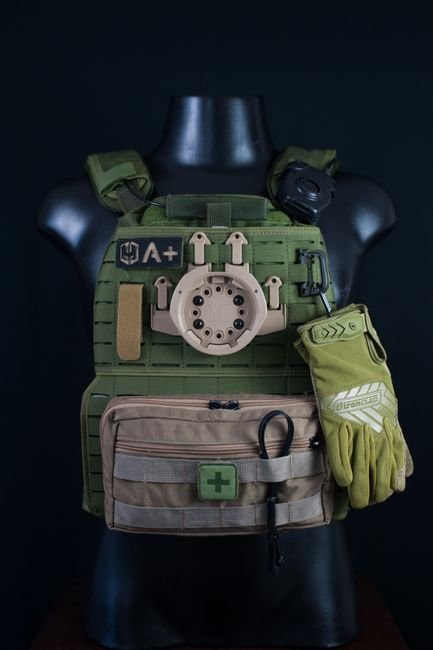
Check the attachment system
“MOLLE” commonly describes the complete load-carrying system, while PALS is the stitched webbing grid used to mount compatible pouches. Product labels often use the terms interchangeably, so the physical interface matters more than the wording.
Inspect the back of the pouch for its attachment hardware:
- Sewn straps with snaps weave through alternating pouch and host rows, then fasten at the bottom.
- Tuck-tab straps weave the same way but lock into a fabric slot instead of a snap.
- Rigid or semi-rigid clips pass through the grid and secure according to their manufacturer’s directions.
- Hook-and-loop panels require a matching loop field; they are not substitutes for woven PALS attachment. Comparing MOLLE with hook-and-loop mounting helps clarify where each method belongs.
Before loading the pouch, align it against the intended position. The straps should enter the host webbing without twisting, excessive stretching, or skipped rows. If clips are too wide, straps cannot reach their retainers, or the host has decorative webbing that is not bar-tacked into a load-bearing grid, stop rather than force the connection. Use hardware specified for both the pouch and the platform.
Inspect the pouch and webbing
Before installation, empty the pouch completely. A loaded pouch can hide torn seams, distort its back panel, and make weak hardware harder to spot.
Inspect under good light:
- Attachment straps or clips: Check for cracks, permanent bends, fraying, stretched holes, and missing retainers.
- Snaps and closures: Fasten and release each one. Look for loose snap caps, contaminated hook-and-loop, damaged zippers, or buckles that do not latch cleanly.
- Stitching: Examine bar tacks and strap anchor points for pulled thread, gaps, or tearing fabric.
- Host webbing: Check every intended PALS row for cuts, loose stitching, heavy abrasion, or stretching.
Stiff laminate or reinforced straps generally resist folding during weaving, while softer materials flex more readily and require extra care to keep each pass flat. Pouch construction also influences movement; see how fabric weight affects attachment stability. These traits affect handling, not serviceability. Do not install around damage or rely on tighter weaving to compensate for it; repair or replace the compromised pouch, hardware, or host platform first.
Choose the mounting position
Start with the pouch empty and try several positions on the vest, belt, or pack. Keep the entire attachment footprint on usable PALS webbing; letting part of the pouch extend beyond the grid reduces support and can encourage sagging or twisting.
At each position, check four things:
- Access: The closure and contents should be reachable with the intended hand, including while wearing gloves.
- Balance: Spread heavier pouches across the platform rather than concentrating weight on one edge.
- Comfort: Sit, kneel, bend, and shoulder a pack or long gun. Relocate anything that presses into the ribs, hip, or lower back.
- Clearance: Confirm that the pouch does not block buckles, zippers, sling movement, pack straps, magazines, or other frequently used equipment.
After identifying a likely position, load the neighboring equipment and repeat the movement check. An empty setup can appear clear until adjacent pouches are filled.
A handgun holster should be a rigid shell molded for the exact firearm model, with the trigger guard fully covered. Do not use a universal-fit MOLLE pouch as a substitute for a fitted holster.
Start square at the top
Lay the empty pouch flat against the platform, with its back panel fully contacting the PALS grid. Remove any twist from each attachment strap, then align the pouch’s vertical channels with the platform’s channels.
Feed both straps downward behind the same, highest usable horizontal webbing row on the platform. Start each strap through its corresponding slot before advancing either side. Check that the pouch’s top edge is level and equal lengths of strap have passed through.
Next, bring each strap back through the first available webbing loop on the pouch. This begins the alternating platform-to-pouch weave. Pull only enough slack to seat the pouch flush; hard tension on one strap can lift that side and make the remaining weave crooked.
If the straps enter different platform rows, stop and rethread them. Tightening later may reduce slack, but it will not correct the offset.
Interlock the pouch and platform rows
-
Feed both straps through the first platform row
Keep the pouch flat against the mounting surface. Pull each strap through to the same tension so the pouch does not twist.
-
Return through the pouch webbing
Bring each strap back through the next available row on the pouch. This return pass locks the pouch closely to the platform.
-
Continue the alternating weave
Pass through the next platform row, then the next pouch row. Repeat without skipping available rows or crossing the straps.
-
Advance both straps together
Complete one pass on each side before moving lower. Uneven progress can cant the pouch and trap slack along one edge.
-
Remove slack after every pass
Press the pouch against the platform and pull each strap snug. Once the final row is reached, secure the ends using the attachment’s intended snaps, clips, or retainers.
The finished pouch should sit flush, with no long exposed strap sections or loose webbing loops.
Secure the attachment hardware
Once every row is interlocked, fasten the attachment exactly as its manufacturer specifies. Different systems use snaps, tuck tabs, hook-and-loop retainers, or polymer clips; a closure that looks finished may not be fully seated.
- Snaps: Press both halves together squarely and confirm the edges are fully engaged.
- Tuck tabs: Feed the tab completely into its retaining slot, leaving no exposed corner to snag.
- Polymer clips: Engage the designated locking point rather than bending or prying the clip beyond its intended travel.
Keep closures and strap tails flat against the platform. They should not overlap zippers, shoulder straps, drawcords, magazine access, or adjacent pouch closures.
If the final row feels unusually tight, compress the pouch toward the platform and feed a small section of strap through at a time. Alternate between pulling slack from the preceding pass and advancing the closure. Do not skip the last row or use pliers, screwdrivers, or other tools to force the hardware; either approach can leave a loose mount or damage the webbing and closure.
Load and movement-test the pouch
Load the pouch with its normal contents, placing dense items where they will actually ride. Close every zipper, buckle, snap, or flap completely, then check that attachment straps remain flat and fully seated. Avoid exceeding any load guidance supplied by the pouch or platform manufacturer.
Run a short movement sequence:
- Walk briskly, turn sharply, and bend at the waist.
- Climb stairs or step onto a stable low platform.
- Perform a brief jog only where footing and surrounding conditions make it safe.
- Remove the rig and inspect the weave, closures, stitching, and host webbing.
Diagnose movement by symptom
| Symptom | Likely cause | Correction |
|---|---|---|
| Upper edge peels away | Top pass is loose, crooked, or skipped | Reweave from the first row, keeping both straps level and tensioned evenly |
| Pouch sways sideways | Too few rows are engaged, straps are uneven, or the load is off-center | Use all compatible rows, align the straps, and redistribute heavy items |
| Attachment repeatedly loosens | Snap, clip, tuck tab, or hook-and-loop closure is worn or incompletely seated | Reseat the hardware; replace damaged components rather than improvising a closure |
Separate pouch movement from contents movement. If the pouch stays against the platform but items thump or shift, add elastic keepers, dividers, or padding and remove unnecessary load. For frequently accessed small equipment, a carefully arranged MOLLE admin pouch can reduce internal shifting while preserving access.
Keep the Mount Secure
- Inspect After Use After the first loaded outing, inspect the weave, fasteners, stitching, and host webbing. Repeat checks periodically, especially after hard movement or impacts.
- Retest New Loads Changing the contents can alter weight distribution and strain. Run the loaded movement test again whenever the load changes substantially.
- Reject Forced Fits A pouch moved to another belt, vest, or pack needs a fresh fit check. If security depends on improvised ties or extreme tightening, reconsider the load, mounting compatibility, and EDC pouch selection basics.
A stable attachment comes from compatible components, a complete alternating weave, seated closures, and a realistic loaded test. Remount any pouch that shifts rather than masking poor fit with extra tension or makeshift restraints.
Weave discipline is the same skill as packing, and organizing a range bag covers the underlying habit — fixed positions for fixed items, so nothing has to be re-learned under pressure.