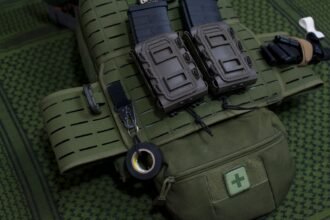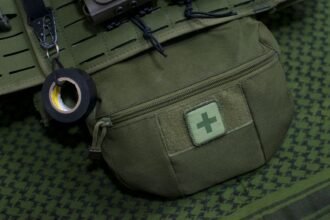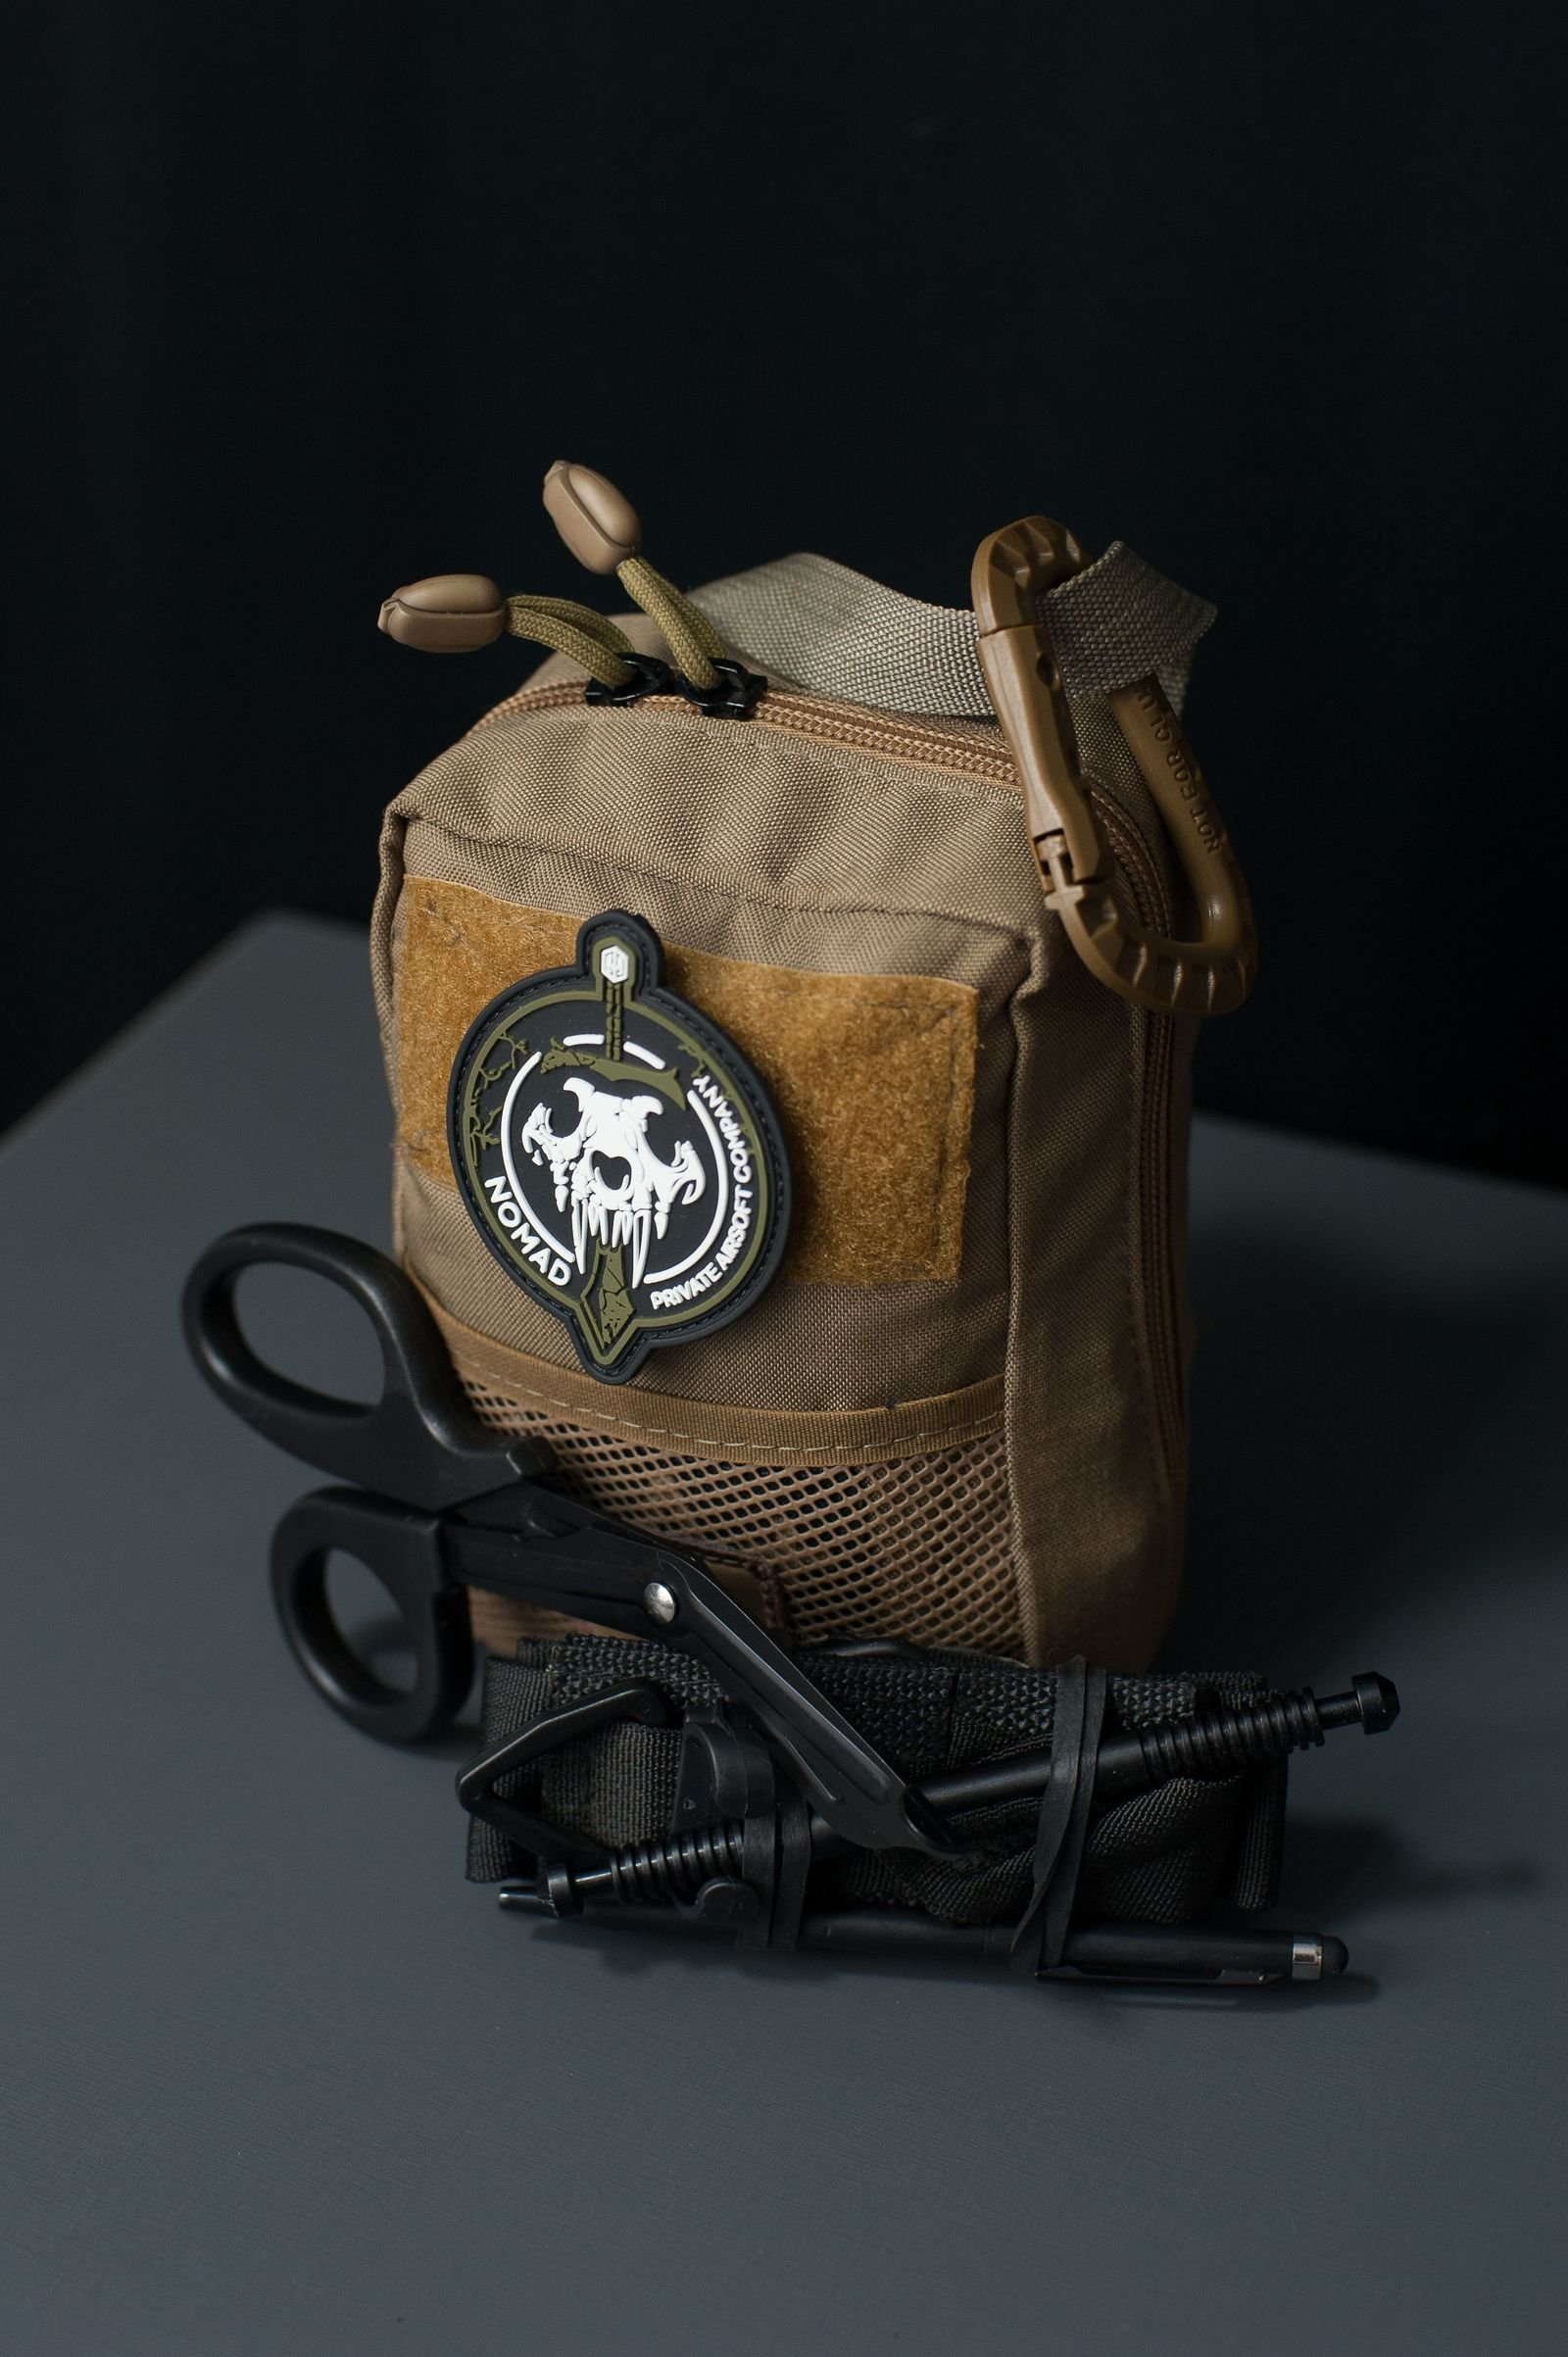
A pouch’s listed dimensions describe its shell—not the space it consumes in use.
A pouch that slips neatly into an empty compartment can become a problem after adding cables, medicine, or tools. Soft sides bow outward, packed corners become rigid, and bulky contents can push against the bag’s zipper track. The result may be a zipper that catches, a neighboring pocket that loses capacity, or a bag that no longer closes comfortably.
Measure the pouch after filling it with the intended load. Record its widest, tallest, and deepest points without compressing it, then compare those figures with the compartment’s usable interior—not merely the bag’s external dimensions. Leave clearance around zipper paths, hinges, dividers, and items that need quick access. Finally, place the loaded pouch inside, close the bag without forcing it, and remove nearby gear once. If either action requires squeezing, rearranging, or tugging, the pouch is functionally too large for that location.
- Repeat the fit check with the bag worn or carried; shifting contents can expose interference that is not obvious on a table.
Define the load and space limit
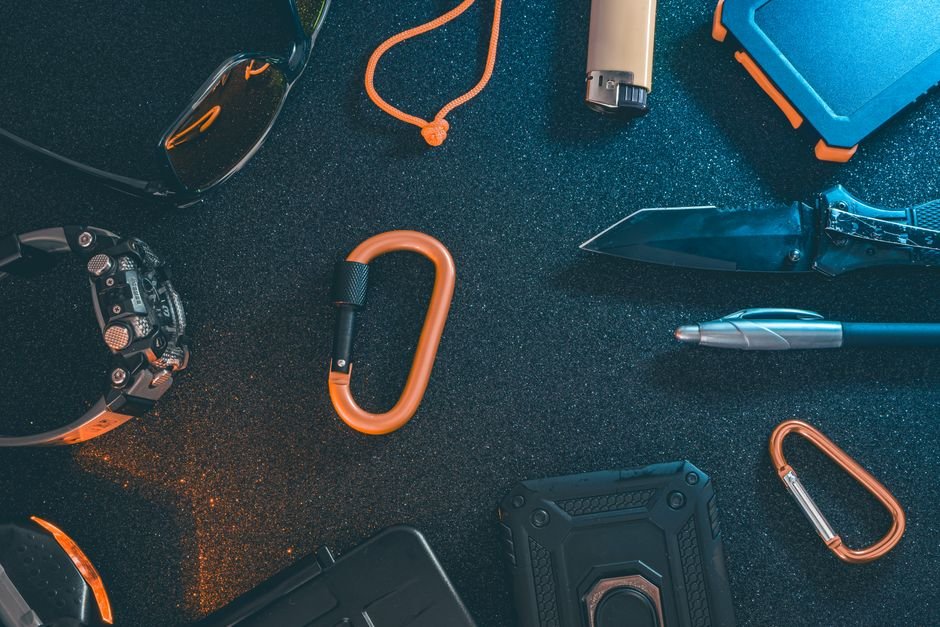
Before using a tape measure, decide what the pouch must carry on an ordinary day. Lay out the complete load, including small items that are easy to overlook, then consult the complete EDC pouch fit guide for broader fit considerations.
Mark rigid items such as battery cases, tools, and hard containers. These determine minimum length or width because they cannot bend around seams. Also flag bulky items—coiled cables, gloves, or packed gauze—which compress unevenly and often create the deepest part of the load.
Arrange the contents in the intended stacking order. A flashlight beside a notebook may form a flatter package than the same flashlight placed on top; several small hard objects can also create pressure points when stacked. Include any internal organizer, sleeve, or protective case in this trial layout.
Set an acceptable space limit before selecting the pouch. The loaded pouch should leave enough room for bag closures, dividers, and nearby equipment to function without force. A pouch that technically enters the compartment but distorts the bag or blocks access should be treated as too large.
Measure the bag’s usable cavity, not merely its advertised capacity. Keep the bag in its normal carried shape and account for tapered walls, padding, curved corners, zipper openings, and space occupied by other gear.
A firearm must be carried in a rigid holster molded for that specific firearm, with the trigger guard completely covered. A generic pouch or universal-fit holster is not an acceptable substitute.
Establish the available space
- Lay out the complete load
Include cases, organizers, and items carried only occasionally but considered essential.
- Identify shape constraints
Note the longest rigid item, the thickest object, and anything that cannot be compressed.
- Test the stacking order
Arrange contents as they would sit inside the pouch, keeping frequently used items accessible.
- Measure the real cavity
Measure width, height, and depth inside the normally shaped bag, including its opening.
- Reserve working clearance
Leave space for closures, dividers, and neighboring gear to move without strain.
Advertised volume alone does not show whether a particular pouch shape will fit.
Measure the pouch’s full exterior envelope
Use a flexible tape for curved fabric and a rigid ruler or calipers for distinct high spots. Keep the pouch on a flat surface without compressing it, and record dimensions in the same order each time: width × height × depth.
- Width: Measure the farthest left-to-right points, including side seams, piping, zipper tracks, and fixed hardware.
- Height: Measure from the lowest exterior point to the highest closed point. Include a top handle or buckle only if it cannot be folded into the pouch’s footprint.
- Depth: Measure the greatest front-to-back distance, including pockets, zipper pulls, clips, and other protrusions.
- Straps: Record removable or stowable straps separately. For fixed straps, note both their packed position and maximum extension rather than folding that length into the pouch body dimensions.
These figures describe the exterior envelope, not storage capacity. Interior measurements should be labeled separately as usable interior width, height, and depth and taken between obstructions such as seam allowances, padding, dividers, and zipper lips. Exterior dimensions should not be converted into interior dimensions by simply subtracting fabric thickness.
Shape matters alongside the numbers. A tapered pouch and a box-shaped pouch can share maximum dimensions but occupy neighboring space differently, so selecting a pouch profile that suits the bag also requires checking where each pouch widens.
Find the pouch’s true packed size
- Load it normally
Pack the intended items in their usual orientation and quantities. Avoid adding filler solely to create a fuller shape.
- Close it without force
Fasten zippers, snaps, or buckles using normal pressure. If closure requires squeezing or straining the hardware, record the load as overfilled.
- Settle the contents
Place the closed pouch on a flat surface and gently reposition it as it would sit inside the bag. Do not press down bulges.
- Measure the maximum envelope
Repeat width, height, and depth at the widest points. Record any increase from the empty exterior dimensions.
- Map localized high spots
Note where corners, stacked objects, zipper pulls, or clips project beyond the main body. Their position may matter more than the maximum dimension near a closure or divider.
Keep empty exterior, loaded exterior, and usable interior figures in separate labeled rows.
Compare the packed envelope with usable space
Use the bag’s usable internal dimensions, not its advertised exterior size or nominal capacity. Measure between the lining, padding, dividers, zipper tracks, and any inward-curving walls at the pouch’s intended location.
Next, add a reader-chosen handling allowance to the pouch’s loaded exterior envelope. The allowance is working room for insertion, removal, flex, and neighboring contents—not a correction to the pouch measurement. No single figure works universally: a stiff organizer entering through a narrow zipper needs different clearance from a soft pouch dropped into an open compartment.
A hypothetical calculation
Suppose a loaded pouch measures 210 × 135 × 55 mm. If the chosen allowance is 10 mm on every side, add 20 mm to each overall dimension:
- Required working envelope: 230 × 155 × 75 mm
- Hypothetical usable compartment: 245 × 165 × 80 mm
- Remaining clearance: 15 × 10 × 5 mm across the three dimensions
The arithmetic suggests a possible fit, but the 5 mm remainder may disappear where a zipper track, seam, or curved wall intrudes. When trying to size a slim pouch for a sling, the opening can be more restrictive than the compartment behind it.
Test whether the fit actually works
Check every plausible orientation through the actual opening. A pouch may fit flat once inside yet fail to pass through the zipper, or it may fit upright while blocking the bag’s closure.
Repeat the check with the bag loaded as normally carried, then look for functional conflicts:
- Can the pouch be grasped and removed without unloading other gear?
- Do its zipper pulls, handles, or attachment tabs remain reachable?
- Does it press against fragile items or force dividers out of position?
- Can the bag close without compression, sharp bulges, or strained seams?
- Does the pouch shift into an awkward position when the bag is carried?
Merely fitting means the closed pouch can occupy the space. Functioning well means it can be inserted, opened, identified, and removed during normal use without disrupting the rest of the load. If only one precise angle works, or access requires repeated rearrangement, the practical choice is a smaller pouch, less contents, or a different compartment.
Prove the fit under real packing pressure
-
Build the maximum-envelope mock-up
Cut and tape paper or thin cardboard into a box matching the pouch’s packed exterior length, width, and depth. Include fixed protrusions in the relevant dimension rather than modeling every contour.
-
Test the intended position
Place the mock-up in the planned compartment and load everything else around it. Close the bag normally; do not compress it beyond the force ordinarily used.
-
Inspect the surrounding load
Look for strained zippers, bowed panels, crushed dividers, or pressure against screens, lenses, food, and other fragile items. Confirm that frequently needed gear remains visible and removable.
-
Repeat with the real pouch
Pack the pouch with its normal contents, then repeat the test in the fully loaded bag. Move, lift, and set down the bag to reveal shifting that a rigid mock-up cannot predict.
-
Record the result
Classify the fit as comfortable, workable with trade-offs, or unsuitable. Save packed dimensions, orientation, clearance, and compromises beside the packing list so later pouch comparisons use the same baseline.
A mock-up checks the largest occupied envelope; the real pouch reveals compression, snagging, and movement.
A zipper that closes only under tension signals inadequate clearance. Persistent pressure can burden seams, deform the bag, or transfer force to fragile gear.
Remove or relocate contents to avoid overstuffing the pouch rather than treating forced closure as a successful fit.
Judge the trade-offs, not just the dimensions
- Retest whenever the pouch load or surrounding packing list changes.
- Keep the mock-up dimensions and final classification with the saved loadout.
The decisive measurement is the pouch’s behavior inside the complete load. A maximum-envelope model screens for obvious conflicts; the packed pouch then exposes flex, shifting, pressure points, and access failures.
Accept the fit only when its compromises are understood and repeatable.
Measuring the pouch is only useful against a known interior. The dimensions inside a lightweight commuter backpack are a realistic reference point for what will actually fit.