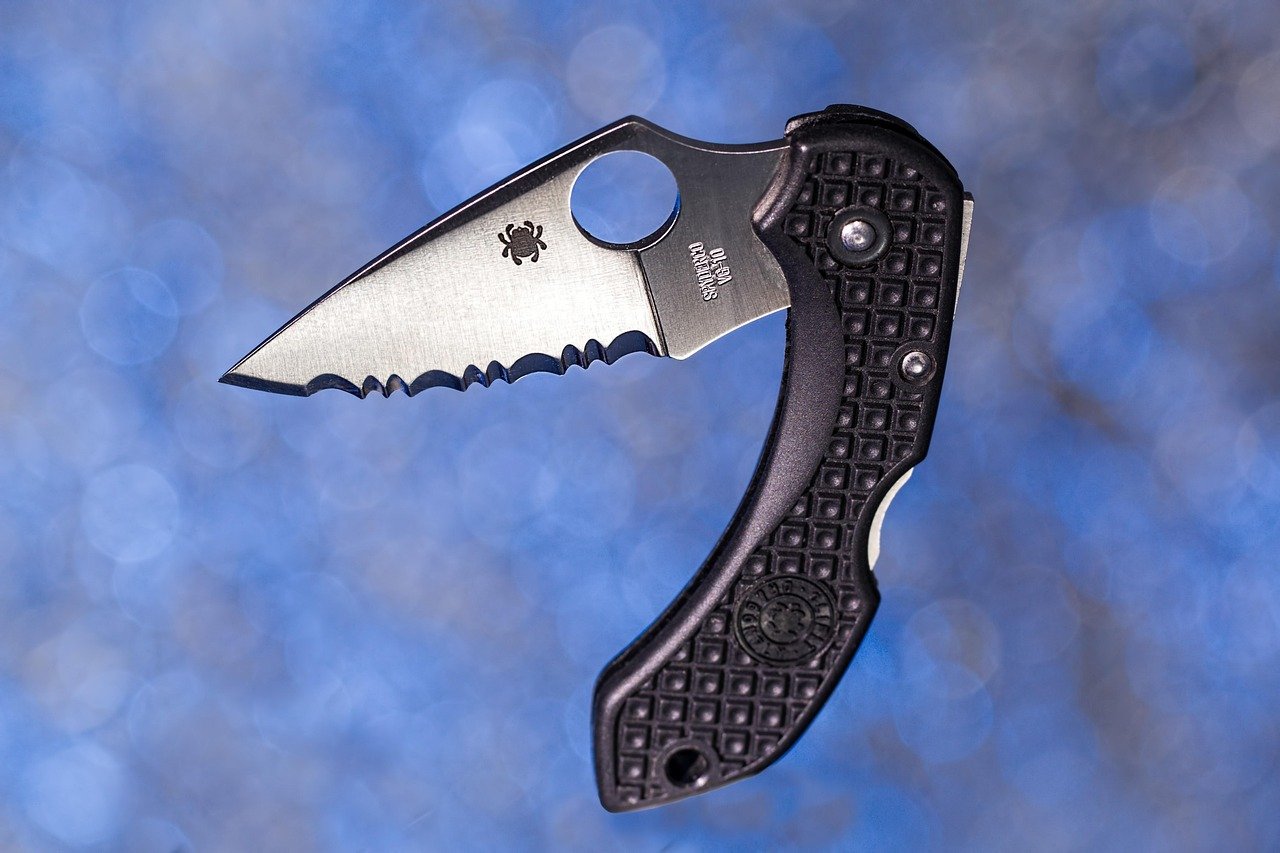
A finer edge cuts eagerly; a sturdier one leaves more room for imperfect technique.
A pocket knife may slice an apple at lunch, flatten double-wall cardboard later, then encounter a hidden staple. That mixed workload makes edge angle a practical compromise rather than a badge of quality.
At 15 degrees per side, the narrower apex generally creates less cutting resistance, which suits controlled slicing and frequent touch-ups. At 20 degrees per side, more steel supports the apex, offering greater tolerance for abrasive material, lateral pressure, and occasional rough handling. Neither angle guarantees performance: steel toughness, heat treatment, blade thickness, grind, and sharpening quality also matter. Favor 15 degrees for slicing efficiency; lean toward 20 degrees when edge stability matters more.
- A 15-degree-per-side edge has a 30-degree inclusive angle; 20 degrees per side equals 40 degrees inclusive.
What 15 and 20 Degrees Actually Measure
Degrees per side (DPS)
A 15-degree edge is typically sharpened so each edge bevel sits 15 degrees from the blade’s centerline. On a symmetrical double-bevel knife, that produces a 30-degree included angle.
Included angle
This is the total angle formed where both edge bevels meet: 30 degrees for two 15-degree sides or 40 degrees for two 20-degree sides. Some manufacturers report this total instead of DPS.
Edge bevel
The narrow surfaces that meet at the cutting apex. Their angle—not the slope of the wider blade faces—is the figure normally changed during routine sharpening.
Primary grind
The primary grind tapers the blade from the spine or blade face toward the edge bevel. Flat, hollow, and convex grinds can cut differently even when their edge bevels share the same angle.
Thickness behind the edge
This describes blade thickness immediately above the edge bevel and strongly affects cutting resistance and durability. Two knives sharpened at 15 DPS may perform differently if one has a thicker primary grind; published angles may also be nominal, rounded, or measured under a different convention.
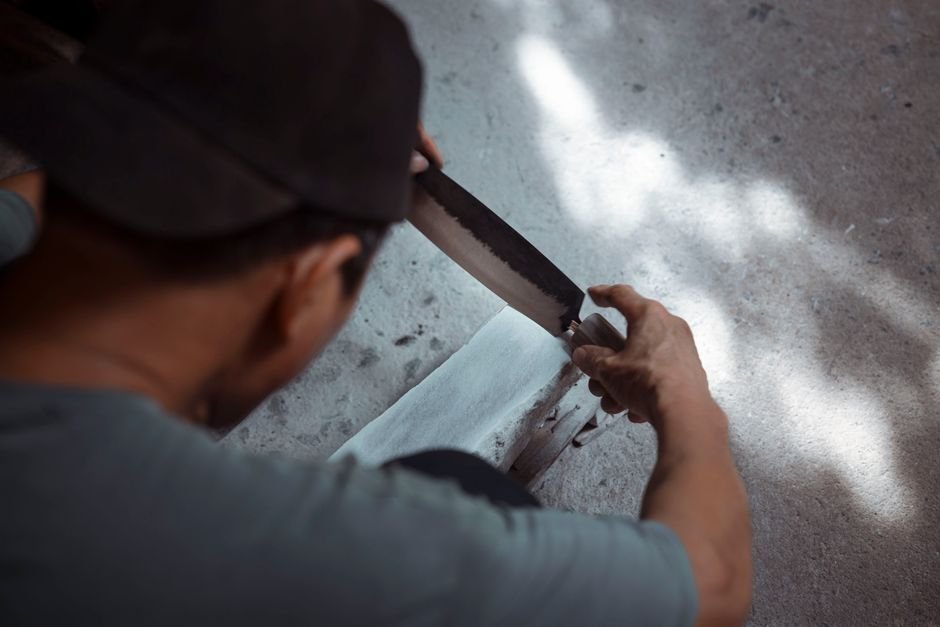
Why edge angle changes the cut
A 15-degree-per-side edge presents a narrower wedge than a 20-degree-per-side edge, assuming the blade thickness and grind remain equal. It generally separates material with less displacement, which can reduce the force required in cardboard, food, or rope. Controlled cutting-force research by McGorry and colleagues in Applied Ergonomics found that edge geometry influences measured cutting effort, although blade finish and the material being cut also mattered.
The trade-off appears at the apex. A more acute edge leaves less steel behind the cutting line, so sideways loading, twisting, staples, or contact with a hard surface can more readily produce rolling or chipping. A more obtuse edge places additional material behind the apex, improving support—but it may increase wedging resistance.
Angle alone does not predict performance. Important variables include:
- Thickness behind the edge: A thin 20-degree edge may cut more freely than a thick 15-degree edge.
- Steel and heat treatment: Hardness, carbide structure, and toughness influence whether damage appears as wear, rolling, or chips.
- Edge finish: Coarse and polished edges behave differently in fibrous and push-cutting tasks.
- Technique: Twisting during a cut stresses an apex differently from a straight slice.
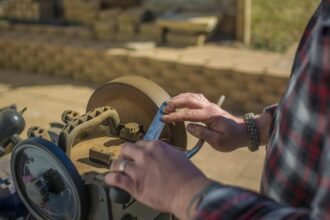
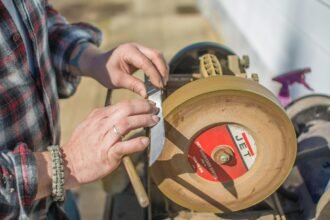
Consistent comparison requires the same blade, abrasive progression, test medium, and cutting motion. During maintenance, learning how to hold the selected sharpening angle matters as much as the nominal setting; angle drift can create a rounded bevel that obscures the intended geometry.
When 15 degrees per side makes sense
A 15-degree-per-side edge—30 degrees included—generally suits an EDC knife used mainly for slicing. The narrower apex can move through cardboard, food, tape, plastic film, and similar materials with less wedging than a more obtuse edge. Thin blade stock and modest behind-the-edge thickness help preserve that advantage.
This angle is a practical candidate when:
- Cutting consists mostly of clean, straight slices.
- The steel and heat treatment can support a relatively acute apex.
- The owner accepts more frequent inspection and touch-ups.
- Cutting technique avoids lateral pressure against the edge.
A fine edge is less forgiving when it strikes staples, gritty cardboard, ceramic plates, or other hard inclusions. Microchips or rolling may appear sooner, particularly with thin stock, coarse use, or an angle that is too acute for the particular steel. A small microbevel at roughly 20 degrees per side can add apex support while retaining much of the low-resistance geometry behind it.
When 20 degrees per side makes sense
A 20-degree-per-side edge—40 degrees included—is often the more cautious choice for an EDC knife expected to encounter mixed materials and inconsistent technique. It gives up some slicing efficiency, but the wider apex generally offers more support when cutting heavy packaging, dense rubber, zip ties, or materials that may conceal debris.
This angle may be preferable when:
- One knife handles both fine slicing and moderately demanding utility cuts.
- Edge damage matters more than maximum cutting efficiency.
- The blade is relatively thick behind the edge.
- The steel has previously rolled or chipped at a lower angle.
The extra support does not turn a folding knife into a pry bar, screwdriver, chisel, or punch. Neither 15 nor 20 degrees per side makes prying, twisting in a cut, striking the spine, or impact work appropriate. Those actions impose sideways or shock loads that sharpening angle alone cannot manage and may damage the edge, pivot, lock, or blade.
When uncertain, 20 degrees per side provides a reasonable starting point for general utility. After several sharpening cycles, edge condition offers useful feedback: persistent rolling or chipping suggests adding angle, while an undamaged edge that feels unnecessarily resistant may justify a gradual move toward 15 degrees.
Five Degrees Cannot Describe the Blade
Two blades sharpened to 15 degrees per side can behave very differently. A thin full-flat grind with little material behind the edge generally slices with less wedging; a thick blade with broad shoulders may still bind, despite sharing the same apex angle. Benchmade, for example, lists the S30V Bugout at 0.090-inch blade thickness, while its heavier CPM-CruWear Adamas is listed at 0.140 inch—before accounting for primary grind or behind-the-edge thickness.
Hardness and heat treatment affect how well an apex resists rolling, deformation, and wear. Toughness governs resistance to chipping and fracture. Raising hardness can improve strength and edge stability, but the trade-off may be lower toughness; Larrin Thomas’s controlled testing in Knife Engineering shows that heat treatment and hardness can materially change results within a steel grade.
S30V illustrates why the steel name is not a complete prediction. Crucible’s data sheet specifies 1.45% carbon and 4% vanadium, producing hard vanadium carbides that contribute to wear resistance. Yet carbide size and distribution, final hardness, edge finish, and blade geometry still influence whether a particular S30V edge holds up. Those variables belong alongside edge-geometry choices for S30V, not beneath them.
When comparing knives, check:
- Blade stock and primary grind for likely wedging
- Behind-the-edge thickness for cutting efficiency
- Published hardness range and heat treatment
- Intended loading, especially twisting, impact, or staples
A well-supported 15-DPS edge may outlast a thick, poorly finished one at 20 DPS; the reverse can also occur.
Choosing a practical starting angle
A satisfactory factory edge is usually the safest baseline. Matching its existing bevel removes less steel, shortens sharpening time, and avoids changing cutting behavior without a clear reason. The angle can be checked by coloring the bevel with a permanent marker and making a light pass: ink removed at the shoulder indicates too low a setting; ink left at the apex indicates too high a setting.
For a typical EDC folder, these ranges provide useful starting points:
- 15 DPS: controlled slicing of food, cardboard, tape, and similar materials; better suited to thin blades, stable technique, and steels that support a fine apex.
- 16–18 DPS: a practical compromise for mixed cutting when 15 DPS seems delicate but 20 DPS sacrifices more slicing efficiency than desired.
- 20 DPS: repeated utility cuts, tougher materials, thicker blade geometry, or technique that occasionally introduces twisting and side load.
Steel should influence the choice, but its name alone is insufficient. Heat treatment, hardness, toughness, carbide structure, blade thickness, and behind-edge thickness all affect whether an acute edge remains stable. Chipping suggests either excessive apex stress or insufficient support; rolling or denting may indicate that the edge is too thin for the steel, workload, or technique.
A microbevel offers another compromise. A blade can be sharpened at 15–17 DPS, then given a few very light passes roughly 1–2 degrees higher per side. This reinforces the apex while preserving much of the lower bevel’s cutting efficiency. Any adjustment is better made gradually, with cutting performance and edge damage assessed before more steel is removed.
Diagnose the edge before changing it
-
Check the maker’s guidance
Look for a published factory angle or sharpening range for the exact model. Treat nominal figures as a starting point because production bevels may vary slightly or be asymmetric.
-
Inspect both bevels in strong light
Clean the blade, then compare bevel width from heel to tip. Uneven width may indicate different side angles, an off-center grind, or previous sharpening.
-
Color the bevel with a marker
Apply marker to the existing bevel on both sides. This makes contact location visible without relying on reflections alone.
-
Make one light contact pass
With the edge facing safely away, use minimal pressure and inspect the ink. Ink removed near the shoulder means the sharpener is set too low; removal near the apex means it is set too high.
-
Adjust, repeat, and record
Change the angle in small increments until the abrasive reaches the intended bevel evenly. Fixed-angle sharpeners with adjustable settings can make later touch-ups more repeatable, especially when the angle, clamp position, and blade location are recorded.
A marker test diagnoses abrasive contact; it does not prove that the existing angle suits the knife’s steel or workload.
Removing enough steel to change the angle takes time and permanently alters the edge geometry. A reprofile is easier to justify when it addresses a specific problem—such as excessive wedging, frequent rolling, or repeated chipping.
If the current edge cuts well and remains stable, matching it may preserve blade life and simplify maintenance. Smaller changes, including a modest microbevel, can test added apex support before committing to a full reprofile.
Adjust the Edge Conservatively
If the factory edge performs satisfactorily, keep it. Let recurring work and actual damage—not a preferred number—justify changes. For clean dulling, resharpen at the current angle using sound pocket-knife sharpening technique. If the apex repeatedly rolls or microchips, add a small microbevel or increase the angle in small increments, recording each change before reassessing.
Clamp or support the knife securely, keep every sharpening and test cut directed away from the body, and use appropriate tools for chopping, prying, or scraping. A more obtuse edge adds support, but it does not turn a folding knife into an impact tool or pry bar.
Edge angle is a purchase decision as much as a sharpening one, and how to choose an EDC knife covers the geometry that determines which angle a given blade can actually hold.