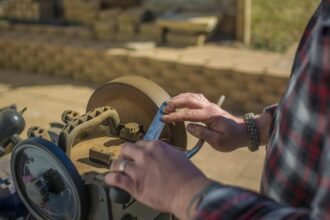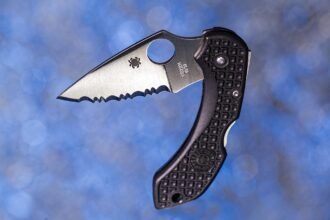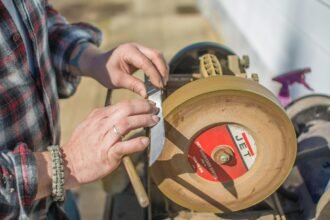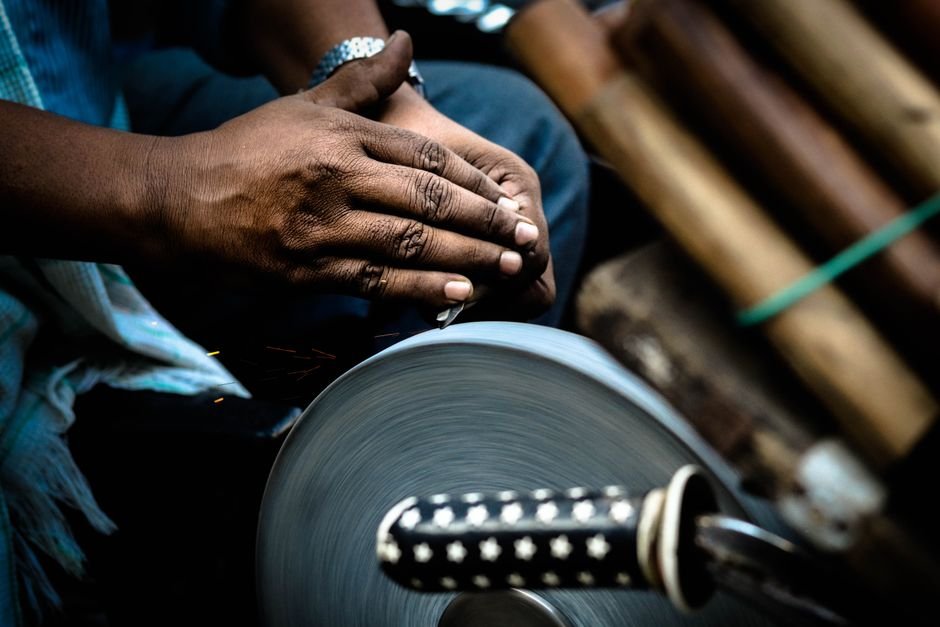
A controlled angle matters more than a mathematically exact one.
When scratches appear high on the bevel in one area and near the edge in another, the knife is rocking during the stroke. That wobble rounds or broadens the bevel, so the stone may remove plenty of steel without consistently reaching the apex.
Choose a practical angle, then make it repeatable enough: set the spine height, lock the wrists, and guide the motion from the shoulders or hips. Use light pressure, especially near the tip, where the handle often rises unconsciously. Coloring the bevel with a permanent marker can reveal whether the stone is contacting the shoulder, the apex, or both. Small variations are normal; success means keeping them narrow enough that each pass continues working the same strip of steel.
Read the angle correctly
Sharpening angles are commonly expressed as degrees per side (DPS), but some instructions give the included angle across both bevels. A 15° angle on each side produces a 30° included angle. Confusing the two can substantially change the edge geometry.
Check the knife manufacturer’s sharpening or care guidance before selecting an edge angle. Also confirm whether the stated figure applies to each side or the complete edge. If no guidance is available, matching the existing bevel with a marker is generally less disruptive than immediately grinding a new profile.
A lower angle can reduce cutting resistance, especially in controlled slicing, but it leaves less material supporting the apex. A higher angle adds support, though it may increase resistance through the cut. The practical balance depends on steel composition, heat treatment, blade thickness, and intended work: a thin slicing knife and a utility knife used near bone do not face the same stresses.
Treat published angle ranges as starting points, not universal rules. Any change should be gradual, with the scratch pattern and edge condition checked before more steel is removed.
Set up for safe, controlled strokes
A stone should sit on a non-slip base or damp folded towel on a rigid, waist-high surface. Leave enough clearance for the full stroke, with no hands, cords, dishes, or bystanders beyond either end of the stone. Positioning the stone lengthwise often allows the shoulder and elbow to move without crowding the body.
Grip the handle securely without squeezing. Place guiding fingertips flat on the blade face, behind the edge and over the stone; move them as the contact area changes. Fingers should never curl around the edge or rest ahead of its travel.
An edge-leading stroke moves the edge into the stone. It can provide clear feedback, but excess pressure or a raised angle may make the edge catch. An edge-trailing stroke moves the spine first and is less prone to digging in, though pressure should remain light to avoid encouraging a large burr.
Prepare waterstones or oilstones according to their maker’s directions, and flatten noticeably dished stones before angle practice. Coarse abrasives remove steel quickly, so controlled practice often starts on a medium grit before building an efficient grit progression.
Never try to catch a dropped or sliding blade. Step back, allow it to stop, then secure the stone and reset the grip.
Establish the starting angle
Three methods provide a repeatable starting point:
- Match the existing bevel. Color the bevel with a permanent marker, make one or two very light strokes, and inspect the remaining ink. Ink near the shoulder means the spine is too low; ink near the apex means it is too high. Adjust gradually until abrasion covers the bevel.
- Use an appropriate angle guide. Select a guide designed for the stone, blade width, and intended angle. Treat it as a setup aid rather than a substitute for control: rocking the blade or changing wrist position can still alter the angle once the stroke begins.
- Calculate spine height. Using the right-triangle relationship sin θ = opposite ÷ hypotenuse, calculate:
Spine height = edge-to-spine distance × sin(desired degrees per side)
Measure the blade width and spine height from the same points each time. Tapered blades, distal taper, and measuring from different parts of the spine can shift the result; blade thickness may also require an offset when high precision matters.
Stacked coins are only rough references. Coin thickness varies with denomination, wear, dirt, and stacking, while blade width changes along many knives. After setting the height, inspect the blade from the side to confirm the spine is level and the reference position is repeatable before beginning full strokes.
Build a repeatable sharpening motion
- Set a balanced stance
Face the stone with relaxed shoulders and enough elbow room to travel along its full length. Keep the work surface at a height that does not require hunching or reaching.
- Lock the wrist
Hold the wrist in a neutral, firm position once the bevel meets the stone. Avoid flexing it to steer the edge or add pressure.
- Preserve the spine gap
Maintain the same distance between the spine and stone throughout each pass. When following the curved tip, guide the change with the elbow and shoulder rather than cocking the wrist.
- Drive from larger joints
Move the blade with the shoulder and elbow while the hand stabilizes it. Use smooth, deliberate passes instead of short wrist-driven scrubbing.
- Keep pressure repeatable
Apply only enough force to maintain steady contact. Uneven finger pressure can rock the bevel, especially near the heel and tip.
- Rehearse before abrading
Place the bevel, pause to confirm the spine height, then make several extremely light, slow strokes. Stop and reset after any wobble; increase to normal sharpening pressure only when the motion stays controlled.
Make a controlled heel-to-tip pass
Place the heel on the stone with the chosen bevel flat and the spine at its established height. Set the guiding fingertips over the section being sharpened, safely behind the edge, and begin with light, even pressure.
Move the blade at a slow, steady pace in the selected stroke direction. As the blade travels across the stone, shift the contact point deliberately from heel through the middle and toward the belly. Let the guiding hand follow that working point; leaving pressure near the heel while the tip is being sharpened can make contact inconsistent.
Follow the curve without changing the bevel
Near the belly, the edge curves away from the stone. Compensate with a small, smooth lift and rotation of the handle so the local bevel remains in contact. Avoid abruptly raising the spine, which can steepen the angle and round the apex near the tip.
Finish while the tip is still supported by the stone, then release pressure before lifting and resetting the blade. Keep stroke length, speed, hand placement, and spine height repeatable. Periodic marker checks can confirm that abrasion remains on the same part of the bevel from heel to tip.
Follow the belly through the tip
As the contact point enters the belly, gradually raise the handle while pivoting or sweeping the blade. This motion follows the edge’s curve, keeping the local bevel aligned with the stone. It is not a separate upward lift of the spine, which would steepen the sharpening angle.
- Start the handle rise only when the edge begins curving toward the tip.
- Keep the wrists quiet and let the larger motion come from the arm and shoulder.
- Move continuously; an abrupt lift can round the tip or create an uneven bevel.
- Finish with the final curved section contacting the stone—not just the point.
A useful check is the marker pattern: removal should remain in the same part of the bevel from belly to tip. If the marker disappears only at the shoulder or apex near the tip, reduce the handle rise or smooth out the pivot.
Do not drive the tip into the stone or let it lead the stroke. Ease pressure near the end and stop before the point catches, chips, or gouges the stone.
Diagnose the angle with marker
Color the bevel with a permanent marker, then make one or two light strokes. Inspect under bright light before further sharpening; the remaining ink shows where the stone failed to contact the bevel.
| Ink pattern | Likely cause | Minimal correction |
|---|---|---|
| Ink remains at the apex | Angle is probably too low; the stone is contacting the shoulder | Raise the spine slightly, then retest |
| Ink remains near the shoulder | Angle is probably too high; contact is concentrated at the apex | Lower the spine slightly, then retest |
| Ink remains in patches | Angle or pressure varies through the stroke; uneven factory geometry may also contribute | Slow down, reduce pressure, and test heel, belly, and tip separately |
Scratch patterns should reinforce the marker result. Scratches confined to one band suggest stable but misplaced contact; scratches wandering across the bevel indicate rocking or changing wrist position. A consistent stroke often produces an even sound and smooth resistance, while sudden changes in pitch, scraping, skipping, or a rocking sensation warrant another marker check.
Burr formation provides confirmation, not a target size. A fine burr developing continuously from heel to tip suggests that abrasion has reached the apex. Once that occurs, follow sensible guidance on when to switch sharpening sides rather than grinding for a larger burr. If one section develops a burr much earlier, use shorter, lighter strokes on the lagging area and recheck the ink.
Make angle control repeatable
-
Lock down the stone
Set it on a nonslip base and confirm that neither stone nor board shifts under light pressure.
-
Rehearse the motion
Make several edge-trailing passes without pressure, keeping the spine height and wrist position steady.
-
Practice on a utility knife
Build consistency on a less-valuable blade before sharpening a thin, hard, or costly edge.
-
Check, then adjust
Inspect marker wear after a few passes. Change spine height slightly between passes rather than correcting abruptly midstroke.
-
Clean and store safely
Clean the stone as its maker directs, dry the knife, and let water stones dry fully before storage. For stone preparation, grit progression, and burr removal, follow the complete pocket knife sharpening guide.
A stable setup and rehearsed stroke matter more than constant correction. Practice slowly, inspect often, and make small changes only when the abrasion pattern shows they are needed.
Angle control matters most when there is damage to remove, and how to remove chips from a knife edge covers the heavier grinding where a wandering angle does lasting harm.