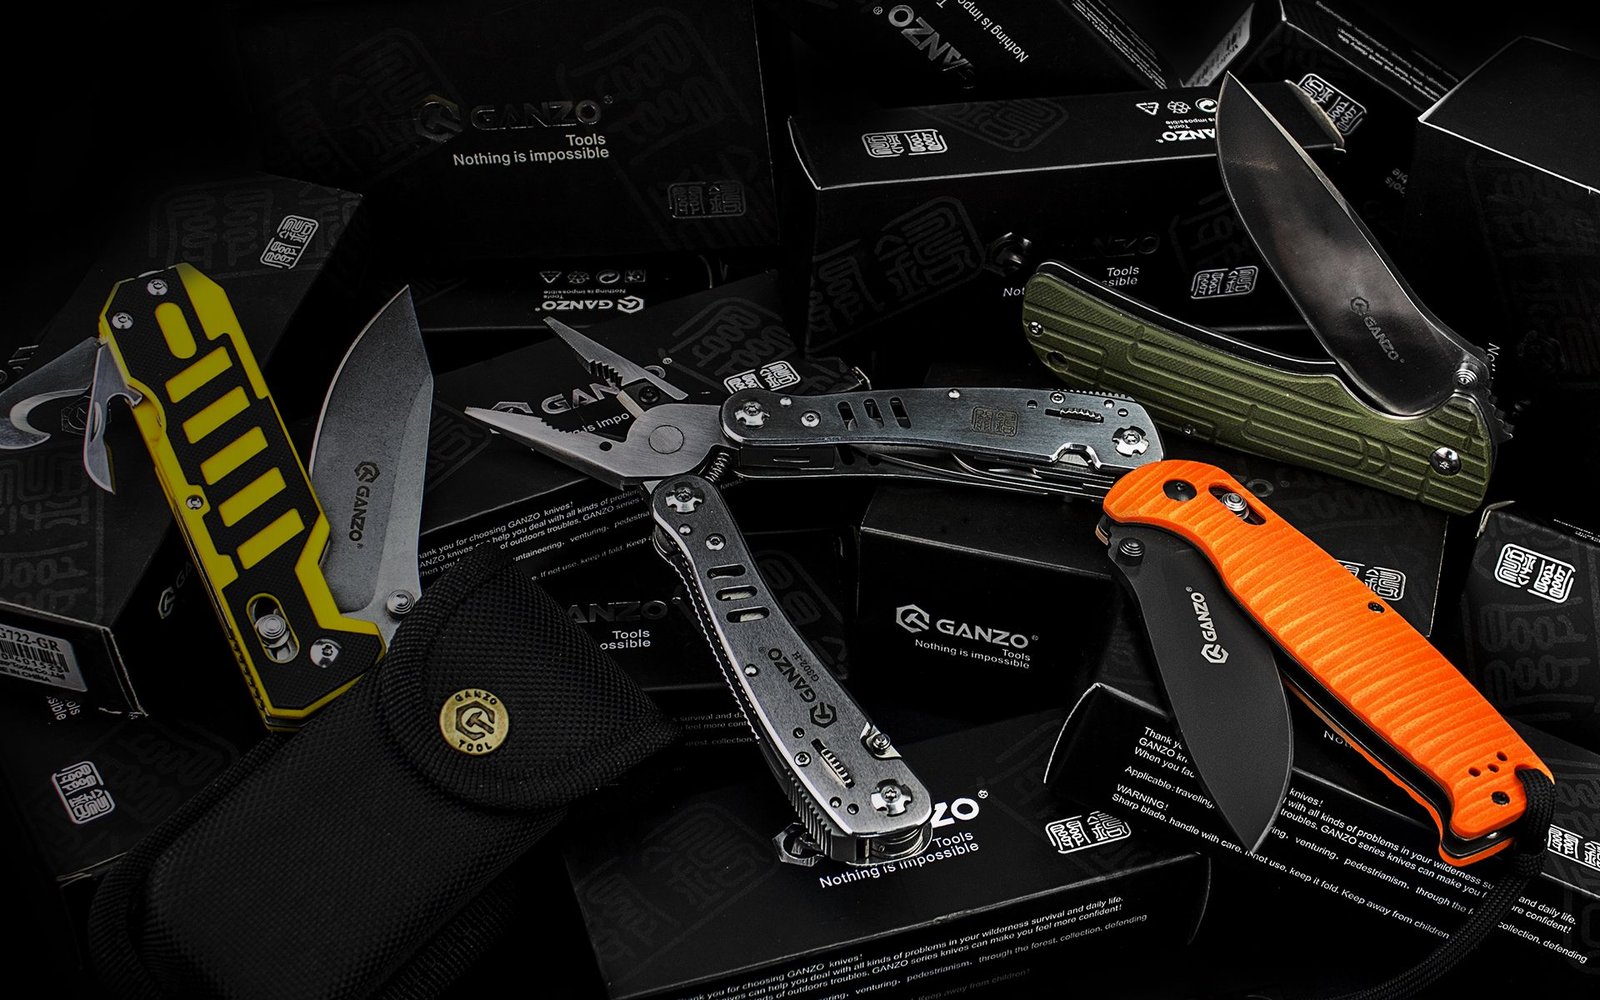
That pocket clack could be a nuisance—or a warning.
A faint clack in a jeans pocket while walking, or a metallic buzz on a tabletop, raises the same question: annoyance or impending failure? Different rattles point to different subsystems — pivot, bearings or washers, pocket clip, liners, or spacer screws — so the sound narrows the likely culprit. First diagnostic tool is listen and feel: close the knife, cup it to the ear, then tilt and gently shake while noting where vibrations concentrate and how the pitch changes.
- High buzz: loose bearings or ball-race.
- Single clunk: pivot or stop-pin play.
- Metallic chatter: loose clip or screws.
Symptom-to-cause quick guide
Quick symptom-to-cause guide
- Rattle only when closed and sitting still — pocket clip, scale/backspacer play, loose screws, or a free-floating insert. These parts can shift inside the closed handle and ping on minor shocks.
- Rattle when flicked or opening/closing — detent ball/washer, bearing or bushing play, loose pivot, or worn shims. Movement-specific noise often traces to the pivot stack or detent interface.
- Rattle only during carried motion (jostling) — loose screws, clip pivot, or internally loose scale hardware. Frequency and amplitude change with acceleration.
Sharp metallic click on lock engagement — lockbar/stopping, lock interface contact points, or a loose stop pin.- Intermittent ticking tied to partial blade movement — bearing roughness, debris between washers, or an under-tensioned pivot spring.
Multiple symptoms can overlap.
Loose fasteners and pivot components commonly cause folding knife rattle; inspect them first.
Stepwise, no‑disassembly tests to localize the rattle
-
1. Rotate and listen
Hold the closed knife and rotate it in 90° increments while lightly shaking. If the rattle changes with orientation, the source is external (clip, scale contact) rather than internal.
-
2. Fingertip conduction check
Place a fingertip on the clip, then on the pivot area and handle scales while reproducing the rattle. Where vibration is loudest or damped points to the vibrating component.
-
3. Blade‑play compression test (careful)
With edge pointed away, press the blade tang into the handle (short steady force, not blunt impact). If the rattle stops, blade/tang/detent or pivot preload is implicated; if not, suspect the clip or loose hardware.
-
4. Clip muffling
Cover the clip and adjacent scale with a strip of tape or a cloth and repeat the shake. If the noise disappears or drops notably, the clip or clip screws are the culprit.
-
5. Squeeze and torsion test
Squeeze scales together and apply a gentle twisting motion. Any new movement or clicks under pressure indicates loose screws, liners, or scale-to-assembly play.
Run tests slowly and deliberately; compare results across multiple tries to avoid false positives.
Keep fingers away from the cutting edge. Work slowly, use minimal force, and point the blade edge away during any compression or pressure tests. If any test feels unstable or the knife has a damaged detent/pivot, consider professional service rather than forcing further checks.
Immediate, low‑risk fixes to stop rattles
-
Snug external screws
Use the correct driver and tighten clip, scale, and pivot screws in small increments. Stop when snug — avoid over‑torquing to prevent stripped heads or distorted parts.
-
Remove visible debris
Blow out lint and grit with compressed air or use a soft brush; pick out trapped particles with a toothpick. Do not lever inside the mechanism.
-
Lightly lubricate pivot area
Apply one drop of light knife oil to the pivot bearing/washers from the outside and cycle the blade to distribute. Excess oil can attract dirt, so wipe away surplus.
-
Stabilize the pocket clip
Tighten or slightly reposition clip screws; add a thin adhesive shim or a dab of removable threadlocker as a temporary damper. Ensure clip sits flush and does not misshape scales.
-
Seat the detent and break in
Open and close the blade 30–50 times under control to let detent surfaces bed in, which often eliminates minor play and rattle without tools.
If rattling persists or any step requires forceful disassembly, consult the maker or a qualified technician to avoid damage or warranty voiding.
Safety: Point the blade away and work on a stable surface; avoid inserting metal tools into mechanisms.
Warranty: Manufacturer guidance varies; lubrication, shims, or threadlockers can void warranties — consult documentation before permanent changes.
Fixes by lock and mechanism
Liner / frame locks
Liner or frame‑lock rattles usually come from lockbar lateral play or loose backspacers. If you hear folding knife rattle, check the liner or frame for looseness.
Perform quick checks by wiggling the lockbar with the blade closed and pressing the bar in while moving the blade.
Typical interventions can address this by tightening fasteners or adjusting spacers.
- Finesse: tighten pivot, add thin shims/washer, or fit a low‑profile lockbar insert (bronze/Teflon). Lightly file only the lock face to increase engagement — remove tiny amounts and test often.
- Replacement/OEM: replace worn lockbar, liners, or order factory inserts when contact surfaces are badly rounded.
Back lock (saddle)
Back locks rattle, a folding knife rattle, when the locking leaf or pivot wears or is miscentered.
- Finesse: loosen and recenter the blade/pivot; lap the mating surfaces with fine abrasive to restore crisp engagement; replace or tune the lock spring for proper preload.
- Replacement/OEM: new locking leaf or professional re‑profiling if the leaf root is cracked or heavily deformed.
Axis, ball-bearing, pivot systems for folding knife rattle
These rely on tight tolerances — rattles often mean pivot play, worn bearings, or loose springs.
- Finesse: reinstall/adjust pivot torque, swap to quality bronze washers or add shims; clean and re-lubricate bearings.
- Replacement/OEM: replace bearings, omega/axis springs, or have the pivot sized by a gunsmith/knife tech when wear is significant.
Detent and flipper mechanisms
Rattles here come from weak detents, lost detent ball tension, or flipper tab play, contributing to folding knife rattle.
- Finesse: adjust or replace the detent spring/ball, bend detent spring slightly to increase pressure, or polish the detent ramp.
- Replacement/OEM: hardened detent surfaces or proprietary springs often require OEM parts or expert service.
Practical rule: prefer reversible adjustments (shims, springs, lubricants) first; irreversible work (filing, grinding) warrants conservative, incremental action and test cycles.
If wear is obvious or a hardened surface is involved, pause. Filing or heat work can ruin tempered parts. Consider OEM repair or a professional pivot/lock service when:
cracks, heavy gouges, or rounded engagement faces appear springs are broken or heavily deformed the mechanism is proprietary and requires factory partsPivot systems, lubrication, and shims
Pivot systems explained
Pivot hardware determines clearance and friction, reducing folding knife rattle.
Washers (phosphor bronze, steel, or plastic) rely on low-friction surfaces and controlled clearance.
Caged bearings keep bearings in fixed positions for smooth travel and consistent axial play.
Loose ball bearings sit between the blade tang and scale cutout.
They allow the tightest, most fluid action.
Hybrids combine a bearing race on one side with a washer on the other to balance cost, durability, and feel.
Lubrication vs shim strategies
For washers, thin penetrating oils reduce stick-slip and often stop subtle rattles like folding knife rattle.
However, heavier greases can damp vibration but increase drag.
Bearings usually benefit from light oil rather than grease to preserve speed.
Thicker grease can mask play but may trap debris, and shims adjust axial play.
Best practice is to address lubrication first, then add or remove shims incrementally.
Quick verification tests
- After lubing or shim change, cycle the blade 20–30 times and listen for consistent reduction in chatter.
- Hold the closed knife and flick the pivot; a smooth, damped response indicates successful damping.
- Compare before/after wrist‑flick sound and feel; reduced metallic ring and less lateral play mean the fix worked.
- If rattle persists, reverse the last change and reassess to isolate the cause.
Converting washers to bearings often improves smoothness and reduces play, but it requires precise sizing and can change blade geometry; treat conversion as an upgrade, not a first fix.
Choose and set up knives that stay quiet
- Factory pivot tolerances
Consistent, low‑axial‑play pivots and even factory torque reduce the chance of play developing in service. High-quality pivots show uniform preload and minimal runout out of the box.
Look forAdjustable pivot with low axial playAvoidLoose feel or uneven torque from factory - Sealed vs serviceable pivots
Serviceable pivots (accessible hardware, shims/collars) allow periodic adjustment to remove micro‑play; sealed pivots favor low maintenance but limit correction if tolerances shift.
Look forAccessible pivot hardware and available shimsAvoidPermanently sealed pivot with no maintenance path - Clip, backspacer and chassis fit
Flush clip screws, tight backspacer/standoff joints, and precisely seated hardware eliminate contact points that produce rattle when closed or carried.
Look forEvenly seated screws and snug spacer gapsAvoidProtruding screws, loose spacers, or sloppy clip fit - Lock engagement depth and geometry
Deep, wide lock engagement and robust lockface materials resist wear and maintain zero play; shallow or point‑contact engagement is more likely to develop audible play during carry.
Look forGenerous contact area and secure engagementAvoidShallow engagement or narrow contact surfaces
Frequently Asked Questions
What causes a folding knife to rattle when closed?
Different parts produce different rattles. A high buzz points to loose bearings or a ball race; a single clunk suggests pivot or stop-pin play; metallic chatter often means a loose clip or screws. Rattle only during carried motion typically traces to loose screws, clip pivot, or internally loose scale hardware.
How do I find where the rattle is coming from without disassembling the knife?
Rotate the closed knife in 90° increments while lightly shaking — if the rattle changes with orientation, the source is external. Place a fingertip on the clip, then the pivot area and handle scales while reproducing the rattle to feel where vibration concentrates. Covering the clip with tape and repeating the shake test can confirm whether the clip or clip screws are responsible.
What are the first low-risk fixes to try before taking the knife apart?
Start with the least invasive steps: tighten clip, scale, and pivot screws in small increments; blow out lint and grit with compressed air; apply one drop of light knife oil to the pivot bearing area and cycle the blade to distribute it; tighten or slightly reposition clip screws. Open and close the blade 30–50 times to let detent surfaces bed in, which often eliminates minor play and rattle without tools.
Does lubricating the pivot help with rattle?
Yes, for many rattles it is the first effective fix. For washer pivots, thin penetrating oils reduce stick-slip and often stop subtle rattles. For bearings, light oil preserves speed while reducing noise. Add lubrication first, then consider shims incrementally if rattle persists after cycling the blade.
When should I send a rattling knife to a professional instead of fixing it myself?
Stop DIY repairs and seek professional service or the manufacturer when you see cracks, heavy gouges, or rounded engagement faces; when springs are broken or heavily deformed; when the mechanism is proprietary and requires factory parts; or when any fix would require filing or grinding of hardened structural components, as irreversible work on tempered parts can cause permanent damage.
Closing Checklist & Escalation Triggers
- Localize with simple shakes, pinches and flick tests before opening the knife.
- Apply minimal fixes first: tighten, clean, lube, add thin washers/shims; verify by cycle and shake tests.
- Escalate when noise persists or when threads, bearings, detent, or structural parts show wear, cracks, or deformation.
Quick checklist — observe sound, perform a DIY test, apply a low‑risk fix, verify. Example flows: clip tick: pinch clip and shake; tighten clip screw or add washer; confirm silence when shaken. Pivot side‑play: hold handle, rock blade; clean debris, add light oil or tighten pivot/shim; confirm smooth, quiet cycling. Lock chatter: close slowly under fingertip; clean engagement surfaces or adjust detent; confirm consistent lockup without noise.
Escalate to part replacement or manufacturer service when noise persists after steps, when threads or bearings show wear, when parts are cracked or deformed, or when fixes require reshaping or filing of structural components.