
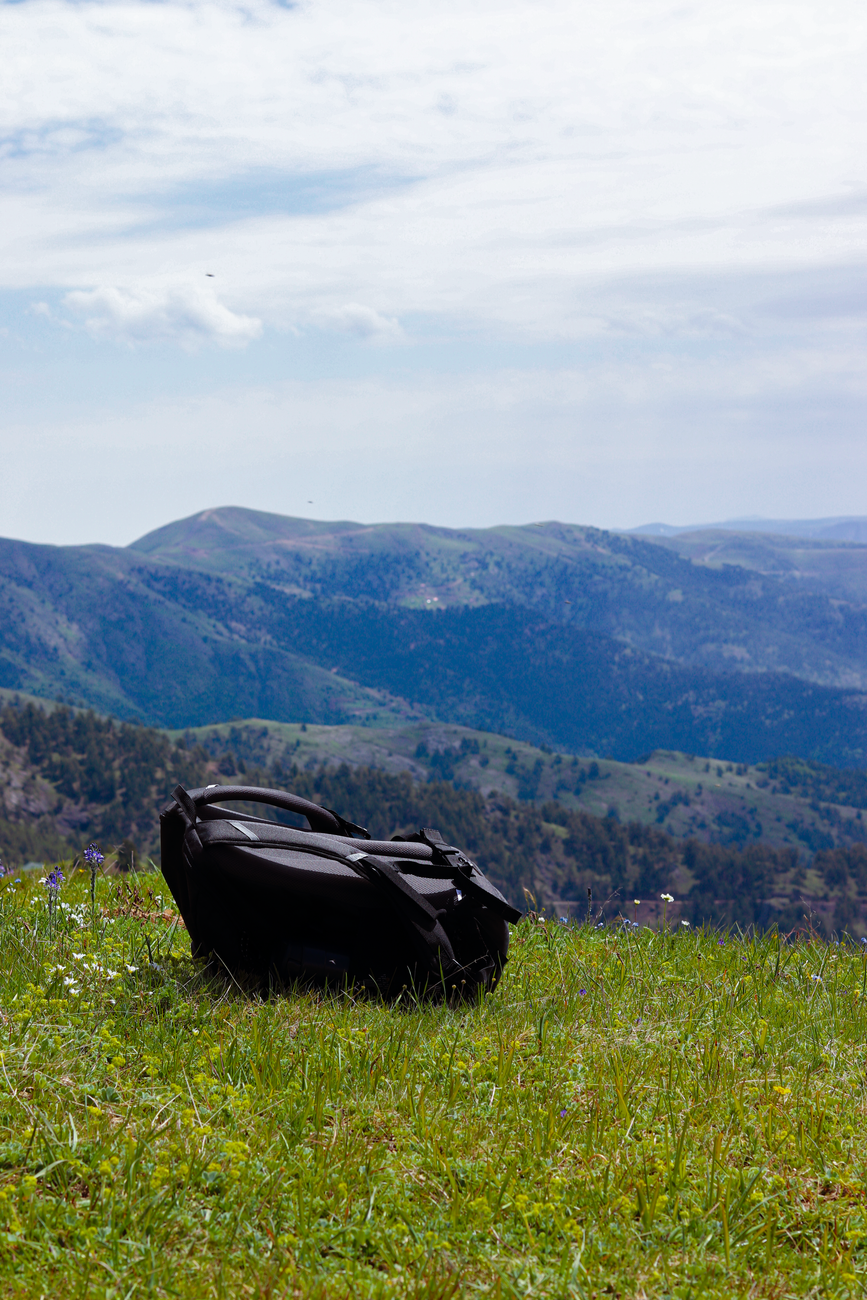
At an outdoor range, the forgotten item is rarely dramatic—until it shuts down the day.
A rifle case, loaded magazines, and a few boxes of ammunition can make a kit look complete at the tailgate. Then wind sends target backers folding, rain clouds a sight picture, a dead electronic hearing protector needs power, or a loose scope mount calls for the one driver left at home. The shooting itself may take minutes; interruptions can consume the rest of the session.
Outdoor packing is therefore contingency planning. It accounts for changing light, mud, dust, wind, hydration, target repair, basic equipment checks, and the range’s specific procedures—not merely what goes on the firing line. A well-built kit keeps minor problems minor, preserving safe, focused time rather than turning a planned practice block into an early pack-up.
- Confirm range rules for target materials, firing-line equipment, and cease-fire procedures before leaving.
- Keep a small, dedicated field-repair pouch so batteries, tools, and fasteners do not migrate into unrelated bags.
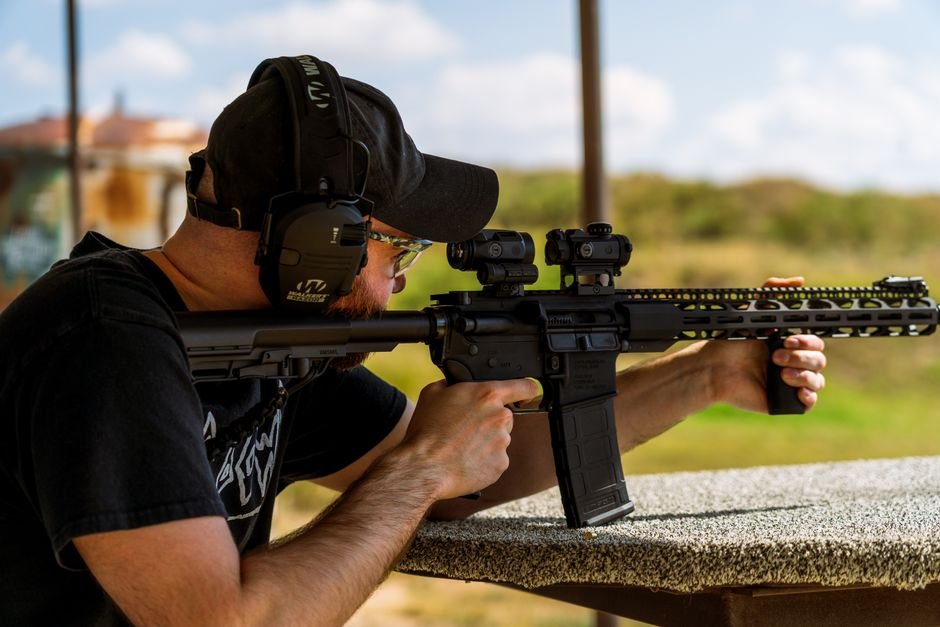
Build the loadout around the day
A loadout starts with the day’s actual work, not the size of the bag.
Additionally, use a range bag checklist to estimate ammo, since a two-hour check needs less than an all-day session.
Estimate ammunition from the planned drills, then add a modest buffer for re-shoots, zero confirmation.
However, venue ammunition restrictions can override that estimate.
Let the format set the gear
For bench, zeroing, and precision work, extra support equipment tends to be added.
This includes a stable rest or bipod, rear bag, optic-adjustment tools, data notes, and spotting supplies.
Longer strings also make shade, seating, water, and battery planning more consequential.
Movement-focused training shifts the priority toward accessible magazines, a secure belt or carrier, footwear suited to the surface, and timer-compatible drill notes. It also includes a way to manage spent magazines and loose gear.
As well, a range bag checklist helps with this setup.
Formal matches add administrative and rule-specific items. This includes identification, allowed score keeping tools, chamber indicators, division-compliant equipment, and contingency parts. Moreover, a dedicated USPSA match-day packing list helps manage paperwork and stage logistics. Before loading, confirm the venue’s rules on holsters, ammunition type, target materials, rapid fire, and cease-fire procedures.
Pack the items that keep the line safe and the equipment running
-
Start with personal protective equipment
Pack impact-rated eye protection and hearing protection before targets or convenience items. Clear and tinted lenses can serve different light conditions, but both need to fit securely without breaking the seal of earmuffs; spare earplugs are useful when electronic muffs lose power or a guest needs a backup.
-
Match ammunition to each firearm
Bring only ammunition marked for the chambering and intended use of the firearm, kept in its original labeled boxes or clearly separated containers. Avoid loose mixed cartridges: similar-looking calibers and incompatible loads are an avoidable source of confusion at a busy bench.
-
Count magazines, loaders, and their supporting parts
Pack enough compatible magazines for the planned course of fire, plus any speedloader, magazine loader, baseplate tool, or magazine-specific battery that the setup requires. Marking magazines makes it easier to isolate one that begins malfunctioning instead of repeatedly returning it to rotation.
-
Plan for hot, dirty equipment
A heat-resistant glove or purpose-made handling tool can help move a hot suppressor, barrel accessory, or firearm component without rushing. Include a chamber flag, a compact clearing rod where appropriate, and a small cloth for keeping debris out of optics and controls.
-
Verify the range’s own rules before loading the vehicle
Outdoor facilities differ on permitted calibers, ammunition types, holster work, steel-target distances, rapid-fire policies, target materials, and required protective gear. The range website, reservation notice, or staff confirmation is the reliable source; practices accepted at one venue are not universal.
Keep safety gear and platform-specific essentials together in the first-access bag, not buried beneath targets and tools.
Keep every platform in its own complete kit
-
Assign one container to each firearm
A rifle, pistol, or shotgun travels with a dedicated pouch, case pocket, or clearly marked tote. The kit remains intact between sessions, so support items do not migrate to another platform and create a last-minute search.
-
Match magazines by pattern, not appearance
Magazines that look nearly identical can differ in caliber, generation, feed geometry, baseplate clearance, or firearm compatibility. Mark each magazine with a platform identifier and inspect the actual cartridge marking and magazine body before loading.
-
Stage ammunition in platform-specific groups
Keep each cartridge type in its original labeled box or a durable container marked with caliber, load type, and intended platform. Separate similar cartridges physically rather than relying on color, memory, or a quick glance at a headstamp.
-
Include the optic’s small essentials
An optic-equipped platform benefits from its matching adjustment tool, lens cloth, protective cover, and the correct spare battery type. A battery caddy labeled for that optic prevents coin cells and larger batteries from being mixed together.
-
Add only the support gear that fits that platform
The platform kit can hold its sling hardware, bipod interface tool, chamber flag, loading aid, and any model-specific wrench or driver bit. This is especially useful when fasteners use uncommon sizes or when an accessory has a proprietary mounting system.
-
Run a departure check against the kit label
A short label—platform, magazine pattern, ammunition, optic battery, and tools—turns packing into a comparison rather than a memory test. Any item removed for cleaning or storage is visible as an empty place before leaving.
Clear labels are more reliable than color coding alone, particularly when several compatible-looking platforms share a range bag.
Match support gear to the work
A range bag becomes manageable when each support item answers one question: what planned task does this enable? Sort the remaining gear into target work, precision setup, or practical drills rather than packing every useful-looking accessory.
Target work
For basic confirmation or marksmanship practice, bring the target type, backers, clips or staples, and a marking tool that suit the range’s target system. Paper targets reveal group shape and point of impact; steel, where permitted, gives immediate feedback but does not preserve a record. A compact staple gun, spare staples, tape, and a small bin bag prevent a minor target change from interrupting the session.
Sight-in and data collection
Precision work benefits from tools that make results repeatable: a stable rest or bags, a clearly graduated target, binoculars or a spotting scope, and a notebook or weather-resistant data card. Record platform, load, distance, optic setting, and conditions beside each group. A chronograph belongs on this list only when velocity data is an actual objective; it adds setup time and can be left behind for a simple zero check.
Practical-drill management
Drill days may require a timer, cones or fault-line markers, a score sheet, marker, and a way to stage magazines and targets without creating clutter. Bring only the props required by the written drill. Extra barricades, cameras, and specialty targets are worthwhile when they measure a defined skill; otherwise, they consume time better spent running the plan.
Dress and protect for the full day
Hydration, clothing, and weatherproofing are not comfort extras. They help preserve attention, dexterity, and deliberate equipment handling as temperature, wind, and ground conditions change. One bottle left in a vehicle or a single light layer may cover the first hour, not a full outdoor session.
Build a usable weather buffer
Keep water accessible in an insulated bottle or reservoir without unpacking the entire bag. Breathable base layers, an insulating mid-layer, and a wind- and rain-blocking shell allow adjustment without restricting the shoulders. A brimmed hat, sun-protective clothing, and stable footwear with tread suited to mud, gravel, or uneven bays reduce distraction from glare, heat, and poor footing.
A waterproof range bag for changing outdoor conditions helps, but internal protection matters more. Put phones, timers, batteries, and optics electronics in a gasketed pouch; keep ammunition in closed boxes or sealed containers, not loose beside damp fabric. Store paper targets flat in a waterproof document sleeve or tube, and keep the bag off wet ground when possible.
Desiccant packets can reduce trapped humidity, but they do not dry soaked equipment. Air out wet bags, clothing, and target supplies after the session to limit corrosion, mildew, and damaged paper.
Give every item a zone
A bag works best when its compartments mirror the order of use. The goal is not perfect symmetry; it is being able to reach a needed item without emptying the entire bag. To organize a range bag by zones, assign each pocket or pouch one job and return items to that location after every session.
- Immediate-access zone: eye and ear protection, chamber flags, a basic first-aid kit, and any venue-required safety items. Keep this exterior-facing and uncluttered.
- Ammunition zone: labeled factory boxes or clearly marked containers, with loaded magazines held upright in dedicated carriers. Keep ammunition separate from loose tools, solvents, and food.
- Service zone: multitool, correct driver bits, batteries, lubricant, cloths, and a heat-resistant glove or mat. A small zip pouch prevents tiny parts from migrating.
- Flat zone: range pass, target diagrams, zero notes, score sheets, and weatherproof marker. A rigid document sleeve keeps paper readable.
- Dirty-gear zone: empty magazine bag, spent-brass container, gloves, and sealable bags for muddy or wet equipment. This isolates grit and residue from optics and clothing.
Before leaving, run the same sweep every time: bench and firing point, ground around the shooting position, vehicle tailgate, then every bag compartment. Account for firearms and magazines, collect loose cartridges and targets, empty trash, and confirm no live ammunition has entered the dirty-gear pouch by mistake.
Use a repeatable departure check
-
Open the master list
Start with a written or digital list of what belongs in a range bag, then add the day’s platforms and drills.
-
Clear the safety layer
Confirm eye and ear protection, venue requirements, ammunition compatibility, and a basic line-safety kit before loading anything optional.
-
Build complete platform sets
Pair each firearm with its correct magazines, ammunition, batteries, tools, and any required sight or data notes.
-
Add the work and weather modules
Pack targets, measuring tools, props, water, layers, and rain or heat protection only when the session calls for them.
-
Update the list after unpacking
Record what ran out, stayed unused, failed, or was wished for. Memory is unreliable; the next checklist becomes better evidence.
Frequently Asked Questions
What belongs in the immediate-access zone of a range bag?
The immediate-access zone should hold eye and ear protection, chamber flags, a basic first-aid kit, and any venue-required safety items. Keep this part of the bag exterior-facing and uncluttered so safety gear is never buried beneath targets and tools.
How much ammunition should I pack for an outdoor range day?
Estimate ammunition from the day’s planned drills, then add a modest buffer for reshoots, zero confirmation, or a course-of-fire change. Keep in mind that a venue’s own ammunition restrictions can override that estimate, so check the range’s rules before loading the vehicle.
What is the best way to organize gear for multiple firearms?
Assign each firearm its own dedicated pouch, case pocket, or clearly marked tote so support items stay together between sessions. Mark magazines with a platform identifier, stage ammunition in platform-specific labeled groups, and run a departure check against a short kit label listing platform, magazine pattern, ammunition, optic battery, and tools.
How should I protect gear from rain and moisture outdoors?
Use a waterproof range bag and put phones, timers, batteries, and optics electronics in a gasketed pouch. Keep ammunition in closed boxes or sealed containers rather than loose beside damp fabric, store paper targets in a waterproof document sleeve or tube, and air out wet bags, clothing, and target supplies after the session, since desiccant packets reduce trapped humidity but will not dry already-soaked equipment.
When is a chronograph worth bringing to the range?
A chronograph is only worth packing when velocity data is an actual objective for the session, since it adds setup time. For a simple zero check, it can be left behind in favor of the other sight-in and data-collection tools like a stable rest, a graduated target, and a data notebook.
What is a reliable way to make sure nothing gets left behind?
Run the same sweep every time before leaving: the bench and firing point, the ground around the shooting position, the vehicle tailgate, then every bag compartment. Pair that sweep with a written or digital master list, and update the list after unpacking to record what ran out, stayed unused, failed, or was wished for.
Make every trip improve the next
A dependable range bag is not a fixed pile of gear; it is a modular system built around safety, matched equipment, planned work, and outdoor conditions. A short post-trip update turns small omissions into permanent checklist improvements.

6 Comments
I’m mildly skeptical about carrying separate “dirty gear” storage when space is already tight. A trash bag has worked for me for years, and I’d rather use the room for water and a rain layer. That said, the reminder to keep eye/ear protection in an always-reachable zone is spot on; having it buried under lunch is a dumb mistake I’ve made exactly once.
The “one complete kit per platform” idea finally fixed my usual magazine/ammo scavenger hunt. I labeled two small zip pouches and keep the optic battery plus the tiny adjustment tool in each one. This worked on my last outdoor day—nothing glamorous, but I actually spent the morning shooting instead of digging through the bottom of a bag.
The departure sweep is the part I needed. I once arrived with the correct ammunition, mags, targets, snacks… and no hearing protection. Really impressive packing performance 😅
I now leave a laminated check card by the door with protection, water, venue ID/rules, platform pouch, and weather layer at the top. I also add a note afterward when something was annoying, like needing a glove for hot equipment. The post-trip notes sounded fussy at first, but they’ve been surprisingly useful.
Same. My recurring failure was spare optic batteries—I had them at home, just never in the right bag. Putting them in the platform pouch instead of a general “electronics” pocket made a bigger difference than buying another organizer.
Step 3 didn’t quite work for me at a windy public range. I packed target supplies, but my paper targets and tape were basically useless by midmorning. The venue has frames but no backers, and I don’t want to bring a giant pile of gear just for a short practice session.
What’s your lightweight solution for targets when the wind is being obnoxious?
That’s a real limitation of the “support gear only for the objective” rule: wind can turn a minimal target setup into a failed session. For a short trip, I’d keep a small target module with a compact staple gun, extra staples, a few cardboard backers cut to the range’s frame size, and a handful of heavier reactive targets if the venue permits them. If paper is still the goal, fold the backers flat and treat them as part of the target kit rather than loose bag items. It adds a little bulk, but it is far less than carrying a full target stand setup.