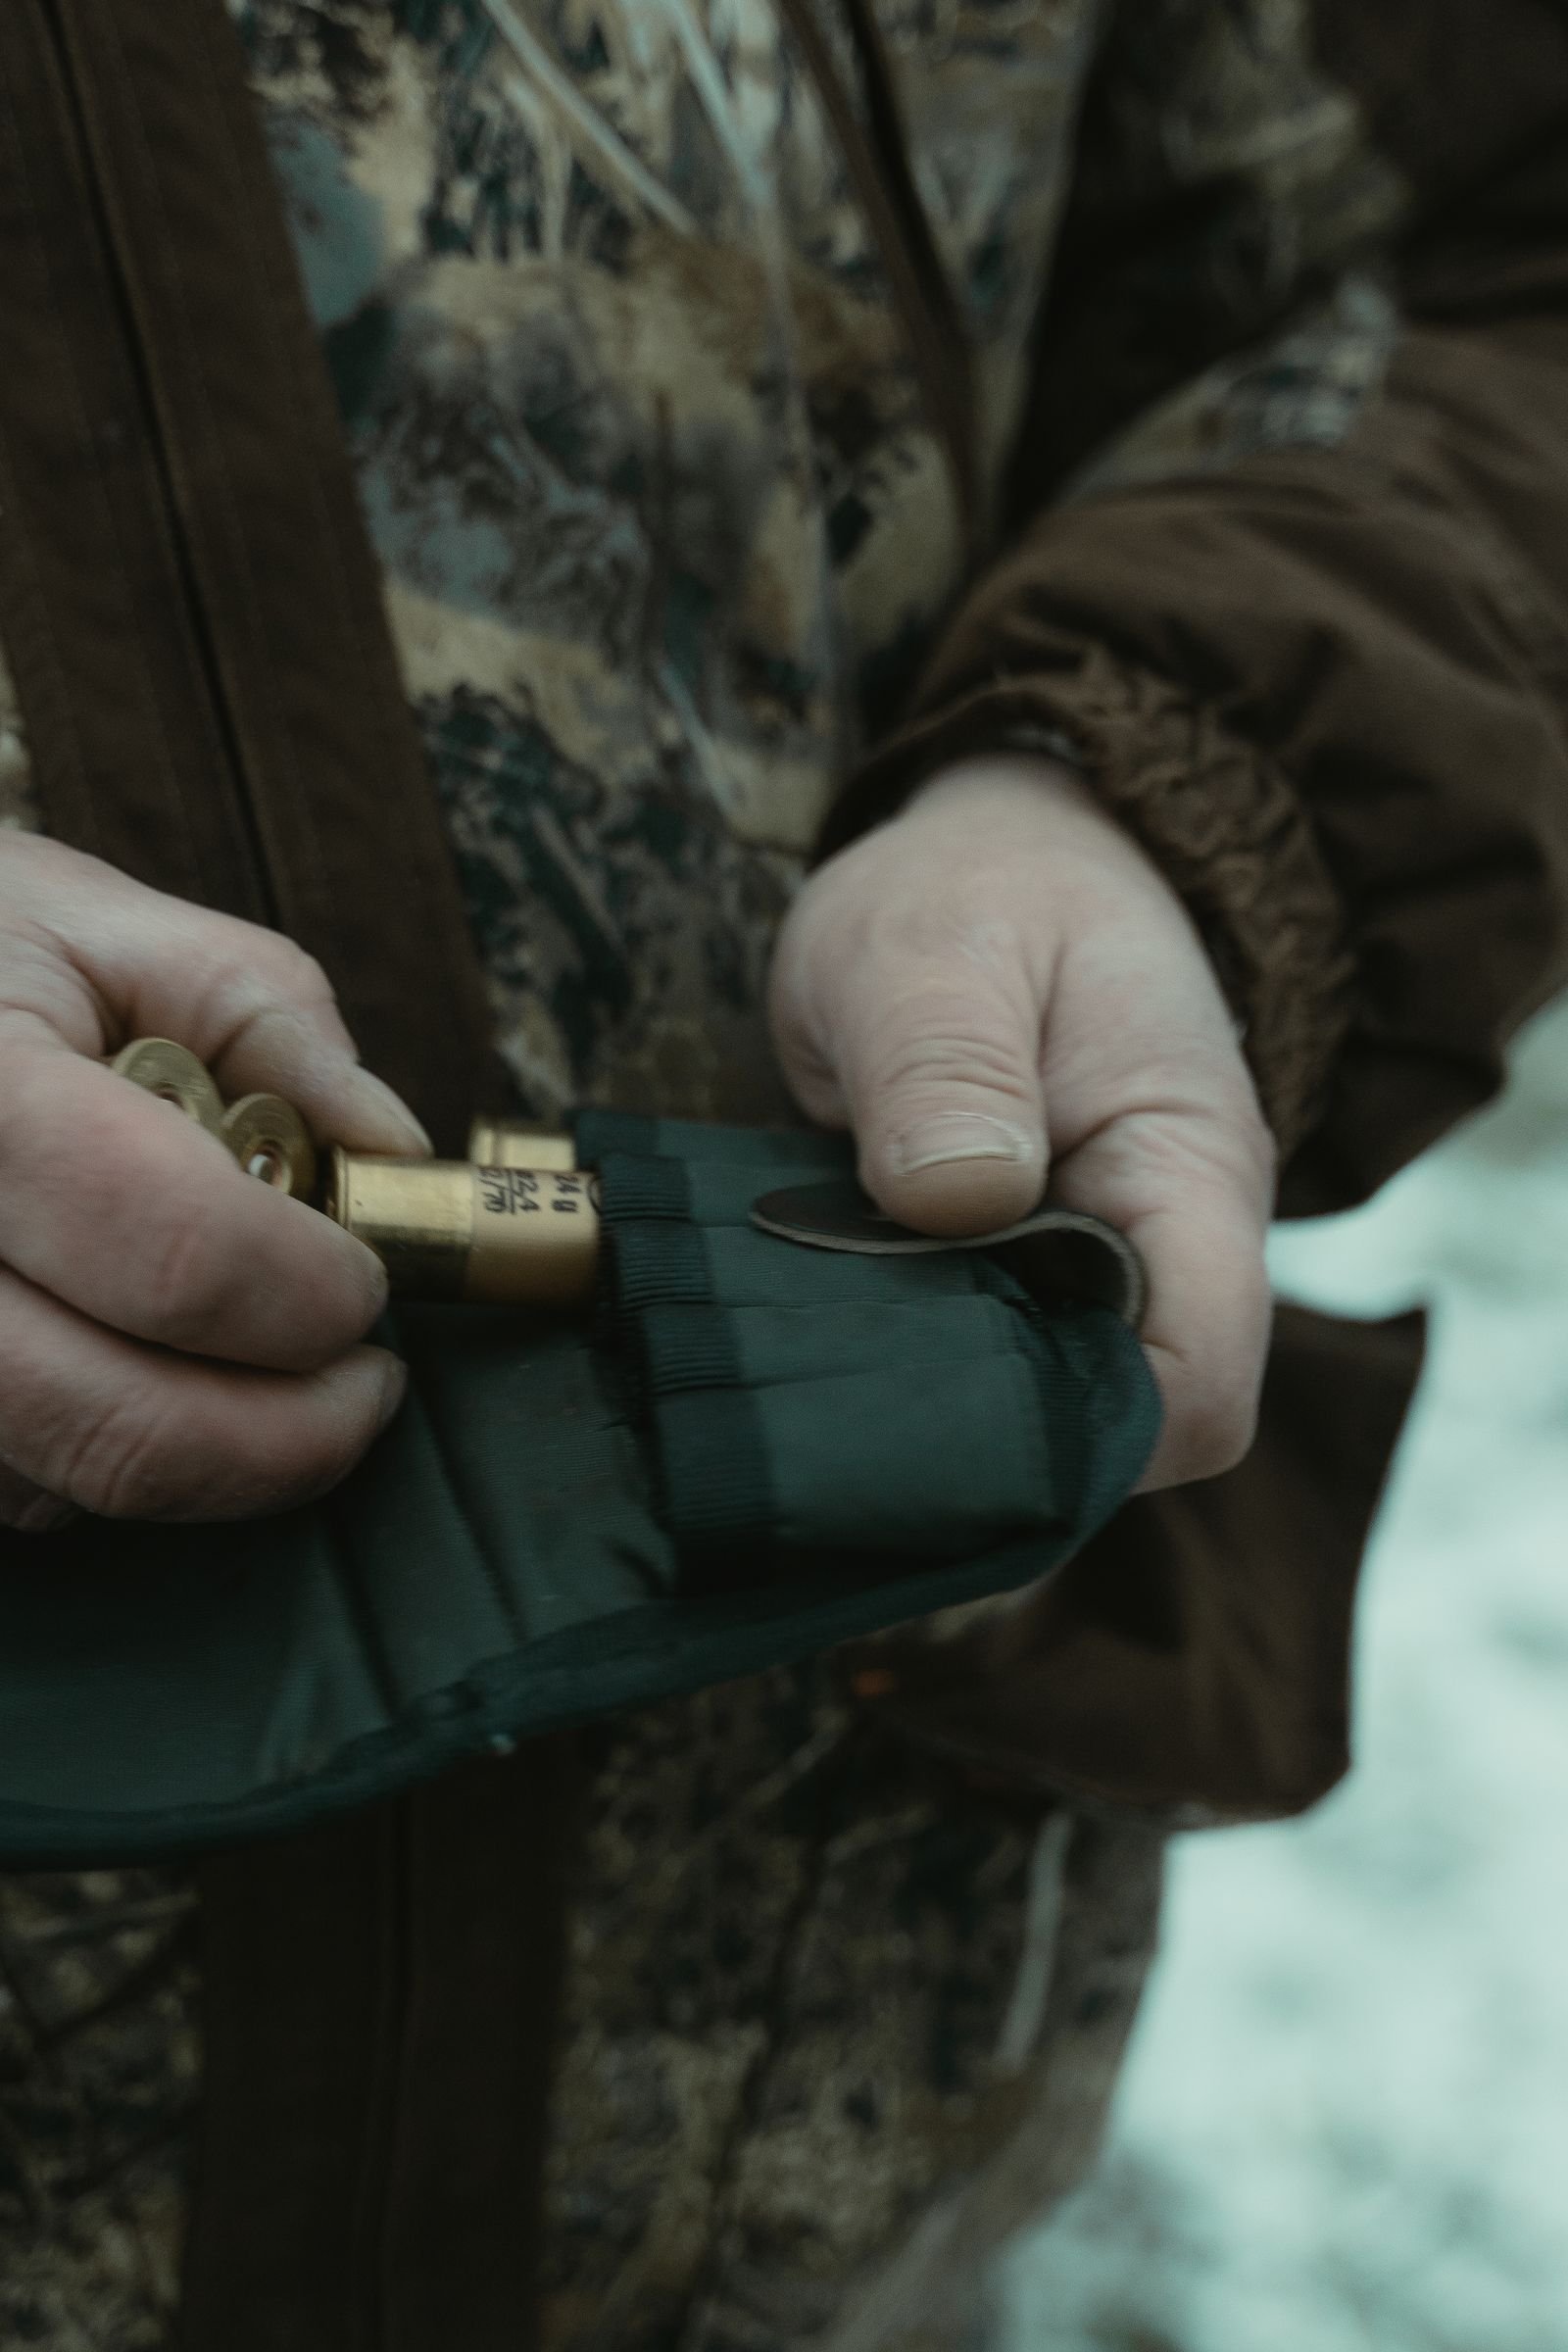
The right direction is the one that survives recoil and supports a clean, repeatable reload.
A shell that sticks halfway out—or drops during recoil—can turn a minor preference into a failed reload. Brass-down often supports a direct downward pull with immediate control of the shell’s rim, while brass-up may suit techniques that begin with an upward draw. Neither orientation automatically improves retention; loop tension, shell construction, card wear, and mounting position all matter.
The practical choice comes from testing the complete motion. With the shotgun unloaded and verified safe, inert dummy shells should be drawn into both the loading port and ejection port using each orientation. Watch for wrist rotation, finger repositioning, snagging, and shells creeping under vigorous handling. Final confirmation should occur during lawful range fire. If mixed loads are carried, orientation can provide a tactile cue—but only when that coding remains simple and is practiced consistently.
What “brass up” and “brass down” mean
Shell head
The metal end of the shotshell containing the primer and rim. It is often called the “brass,” even when the metal is not brass.
Crimped mouth
The closed plastic end opposite the shell head. This end opens when the shell is fired.
Brass up
With the card in its normal mounted or carried position, the shell heads point upward and the crimped mouths point downward.
Brass down
The shell heads point downward and the crimped mouths point upward when the card is in its working position.
Neither direction works independently of the rest of the setup. A practical choice depends on the carrier’s loop retention, where the card sits, which hand removes the shell, and whether the shell is headed to the magazine tube or chamber.
Evaluate orientation as part of the complete shotgun shell carrier system. The preferred arrangement is the one that preserves retention during movement and produces a repeatable hand path without forcing the wrist to rotate or the firing hand to abandon control unnecessarily.
How a downward draw becomes a load
-
Index the exposed brass
Pinch the shell near its base with the thumb and index finger. The card’s height should allow a firm grasp without forcing the wrist against the receiver or belt.
-
Pull straight down
Draw along the shell’s axis until it clears the loop. Pulling outward too early can add drag and disturb neighboring shells.
-
Choose the destination
For an open-chamber load, the hand must turn the shell horizontal and guide it through the ejection port. Placement determines whether that turn is short or requires a larger wrist movement.
-
Reposition for the loading port
A magazine-tube load requires the crimped end to lead into the loading port. Depending on card location and loading style, the shell may need to roll across the fingers or transfer into a palm-supported grip.
-
Check the complete motion
Evaluate extraction and loading as one sequence. A quick downward release offers little advantage if the hand must pause, regrip, or rotate the shell awkwardly afterward.
Brass-down shells are not inherently more secure. Retention comes primarily from loop tension, material condition, shell dimensions, and how the carrier moves during use. A worn elastic card may release shells regardless of orientation; an overly tight loop may slow extraction.
How an upward draw becomes a load
With the brass end exposed above the loop, the hand can pull the shell upward while pinching or hooking the shell head. The rim provides a distinct indexing point, which may make the grip easier to confirm without looking.
The round still must be oriented for its destination. For a chamber load, the crimped end must turn toward the open action; for magazine loading, it must point toward the loading port. Depending on hand position, that may require:
- rotating the wrist as the shell clears the loop;
- transferring the shell from fingertips into the palm; or
- rolling it between the thumb and fingers before insertion.
An upward draw may feel relatively direct from a receiver-mounted card, chest rig, or high belt position when the shell head falls naturally under the fingers. That does not make it universally faster: reach angle, loading technique, hand size, and carrier placement can change the result.
Retention deserves equal attention. Worn elastic, stretched loops, or mismatched shell dimensions can allow premature release, particularly during movement or recoil. Each loop should hold the intended shell firmly without crushing the hull, and any carrier that sheds or shifts shells should be repaired or replaced.
Match orientation to the loading job
No orientation wins across every setup. The useful choice is the one that produces a repeatable grip while the card, loading port, and support hand remain in their normal positions.
| Task | Brass up may suit | Brass down may suit | Main check |
|---|---|---|---|
| Emergency chamber load | An upward draw places the head clearly in the hand before moving to an open ejection port | A downward draw shortens travel from a receiver card when the support hand can rotate the shell cleanly | Shell reaches the chamber without a grip change or crossing the action |
| Magazine top-off | A high-mounted card allows a controlled extraction before turning toward the loading port | A receiver or stock card sits above the loading hand, making a downward pull more direct | Thumb and shell align with the loading gate |
| Administrative loading | Either orientation can work because speed is secondary | Either orientation can work if retention and indexing remain consistent | Muzzle direction, open-action verification, and deliberate handling take priority |
| Dual- or quad-loading | Appropriate when the caddy and practiced hand stack present the shell heads correctly | Appropriate only when the carrier and technique are designed around that pickup | Test the complete caddy-to-port motion, not card orientation alone |
Competition technique should be evaluated separately from emergency card use; 3-Gun caddy loading tradeoffs include retention, shell spacing, and pickup geometry.
Before settling on an orientation, test it unloaded while standing, kneeling, and moving. A choice that works on a bench may fail when clothing blocks the card or the shotgun is shouldered.
Retention matters more than orientation
A brass-up shell in a loose loop can migrate or fall just as readily as a brass-down shell. Conversely, excessive tension can make either orientation slow to extract. Hull material and surface finish also change friction: smooth plastic, textured plastic, and paper hulls may not behave identically in the same elastic.
Heat, moisture, ultraviolet exposure, grit, oils, and repeated stretching can weaken or stiffen elastic. Running, climbing, vehicle movement, and contact with equipment then amplify small retention problems.
Check the loops
With the firearm unloaded and the card detached, use the correct-gauge shell or a manufacturer-approved inert equivalent:
- Insert each shell fully and note any loop that snags, folds, or requires disproportionate force.
- Turn and gently shake the card over a padded surface; watch for creeping or unequal movement.
- Repeat with the shell types normally carried, because hull finishes can differ.
- Inspect stitching, elastic recovery, contamination, and permanent stretching.
If card loops grip shells too tightly, follow the maker’s adjustment or break-in guidance. Replace cards with loose, damaged, or inconsistent loops rather than relying on orientation to mask worn retention.
Do not cut stitching, apply lubricants, heat elastic, or add makeshift retainers. Such changes can create unpredictable release or interfere with handling.
Longer shells need a compatible card
A card that securely holds shorter ammunition may not properly retain longer loads. Before staging 3-inch shells in a shell card, check the card maker’s stated shell-length range and any ammunition-specific guidance. Brass orientation does not correct a loop or pocket that is too short, tight, or loose.
Test the intended load with the card removed from the firearm: seat every shell fully, turn and shake the card over a safe surface, then perform several deliberate extractions. Watch for creeping shells, distorted hulls, snagging, or excessive draw force. If fit is questionable, use a card explicitly specified for that shell length rather than relying on brass-up or brass-down placement.
Placement changes the draw
“Up” and “down” describe a shell’s position along the card, not necessarily against gravity. Rotate a card on a belt or hook-and-loop panel, and a brass-up shell may require a sideways or diagonal pull.
| Location | Practical trade-offs |
|---|---|
| Receiver | Fast access, but clearance must be checked around the loading port, ejection area, safety, action release, and operating hand. Protruding shells can catch on slings or barricades. |
| Buttstock | Keeps ammunition on the gun, though shells may contact the cheek, wrist, clothing, or sling. Access often worsens from the unsupported shoulder or prone positions. |
| Belt | Allows angle adjustment and separation from firearm controls. Jackets, body armor, bending, and seated positions can obstruct the draw or expose shells to snags. |
| Hook-and-loop panel | Offers flexible positioning and quick card replacement, but access depends on panel location and card adhesion. Edges and exposed shell ends may catch on nearby gear. |
Card angle should follow the intended wrist path. A slight cant may reduce wrist rotation; excessive cant can direct the shell into the receiver, stock, or adjacent equipment. Left- and right-handed paths are not mirror-identical because loading ports, controls, slings, and support-hand roles remain asymmetrical. Each setup should be checked while standing, kneeling, prone, seated, and shouldered.
Test the complete reload setup
-
Start with the correct inert shells
Use only manufacturer-approved inert dummy shells compatible with the firearm and shell card. Confirm that no live ammunition is present in the test area.
-
Define the reload
Assign each loop a purpose, such as loading the chamber, feeding the magazine, or clearing a specific malfunction. Set brass direction and card position for that exact task rather than judging orientation in isolation.
-
Establish a repeatable starting position
Wear the normal equipment and place the firearm in the intended ready or supported position, following its manufacturer’s handling instructions. Test from realistic standing, kneeling, seated, and awkward positions that the setup may encounter.
-
Record draw quality
Run slow, deliberate repetitions and count missed grabs, shells pulled unintentionally, and extra hand rotations or grip changes. Note contact with clothing, slings, controls, the receiver, or neighboring shells.
-
Check retention after movement
Walk, bend, kneel, and transition between planned positions, then inspect shell depth and angle. Any creeping, partial release, or movement into another shell’s path indicates migration that orientation alone will not correct.
-
Confirm under supervised range conditions
After inert practice is consistent, confirm the setup during an organized live-fire session under qualified supervision and applicable range rules. Change only one variable at a time—orientation, card angle, location, or loop assignment—so the effect remains clear.
Repeat the evaluation whenever ammunition type, shell length, clothing, carrier location, or card condition changes.
Inspect every dummy shell before use and follow the firearm and dummy-shell manufacturers’ instructions. No live ammunition should enter the dry-practice area. If the firearm’s status, dummy-shell compatibility, or safe handling procedure is uncertain, stop and seek qualified supervision.
- Mark or document loop assignments so the setup can be restored after removal.
- Retest after cleaning or environmental exposure; contamination can alter extraction and retention.
- Discard or replace a card when individual loops stretch, tear, or retain shells inconsistently.
A useful brass orientation is the one that produces repeatable access, controlled extraction, minimal hand correction, and stable retention in the positions that matter. Configure each loop for a defined reload, verify card and dummy-shell compatibility, and confirm the result through measured inert practice before supervised range use.
If performance varies between repetitions, address placement, interference, technique, or worn elastic before reversing every shell. Orientation cannot compensate for a card that no longer holds ammunition consistently.
Orientation only helps if the shell can be identified at a glance, which is easier once what 00 buckshot actually designates is clear — pellet count and size are what the brass is being read for.