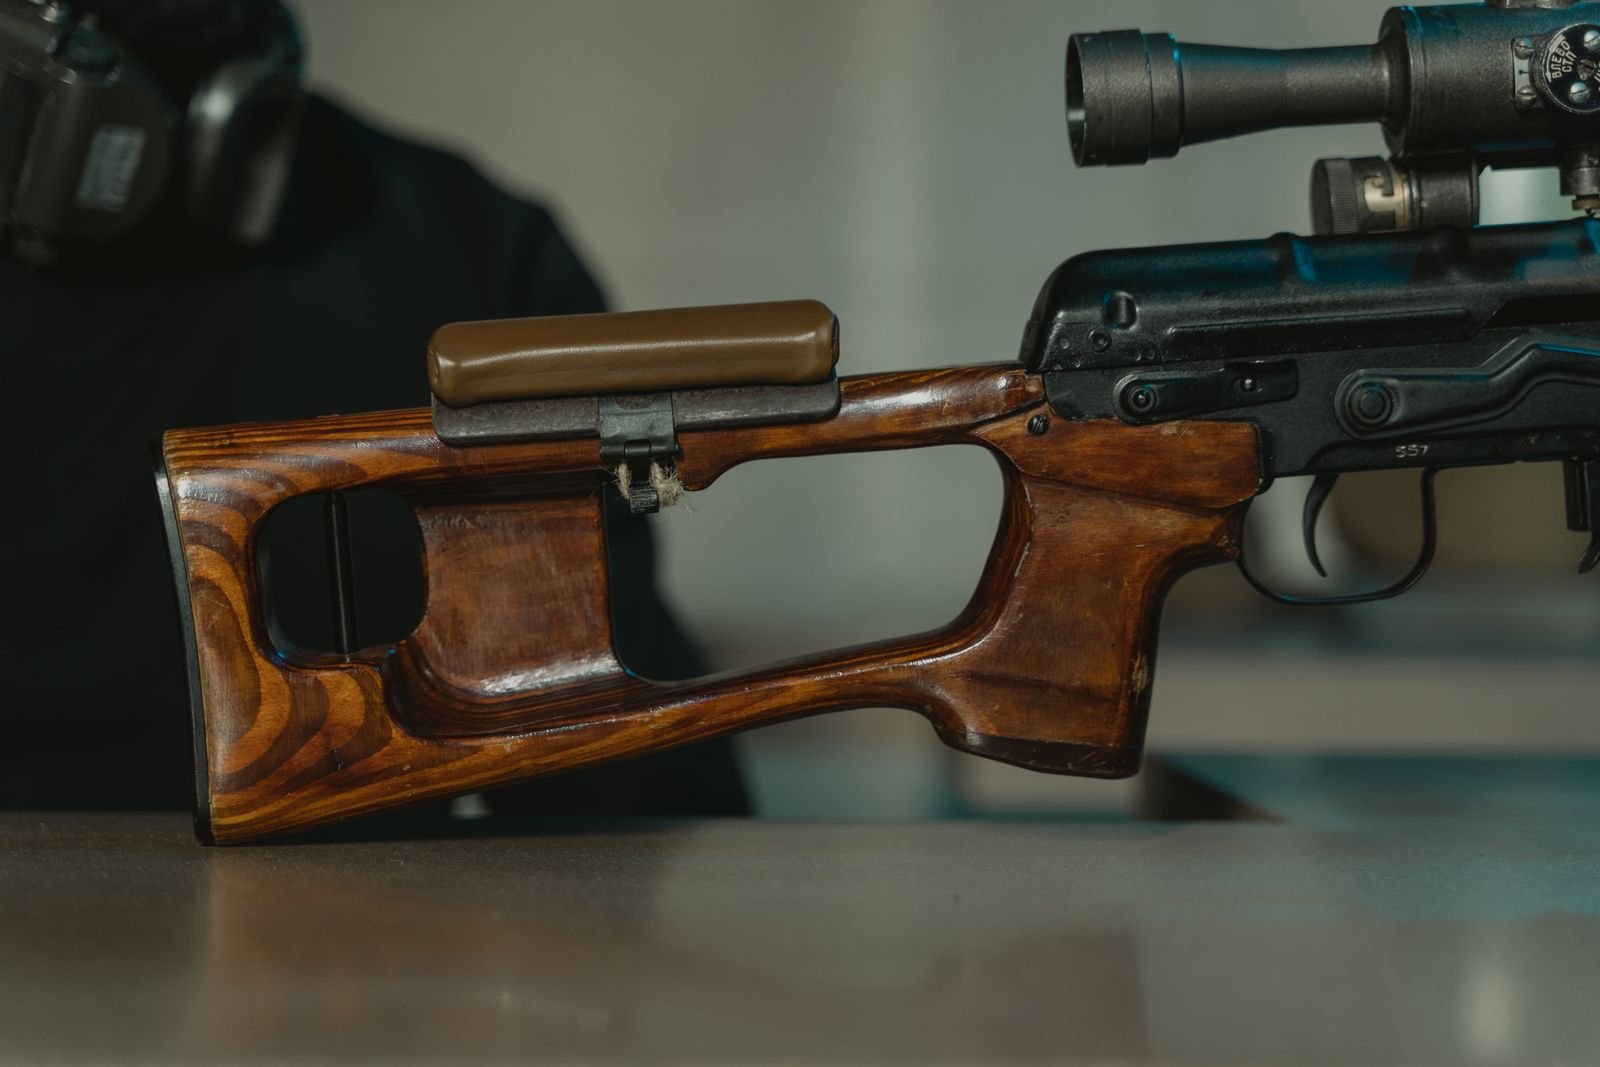
Spare shells are useful only when they do not compromise the shot.
The firearm comes to the shoulder, but the eye no longer settles behind the sights. A loaded cuff can widen the comb, raise or push the face sideways, and place cartridge rims or loops where recoil now drives them into the cheek. Even a small change matters when it makes the mount feel different from shot to shot.
Start with a controlled comparison. Confirm the firearm is unloaded, remove all ammunition from the work area, and mount it several times with the holder empty, loaded, and removed. Watch for a shifted sight picture, blocked peripheral visibility, awkward access to the safety or controls, and pressure points along the jaw. The holder earns its place only if ammunition remains accessible while cheek position, sight alignment, and control stay repeatable. If the bare stock restores the familiar mount, the added bulk—not shooting technique—is the likely problem.
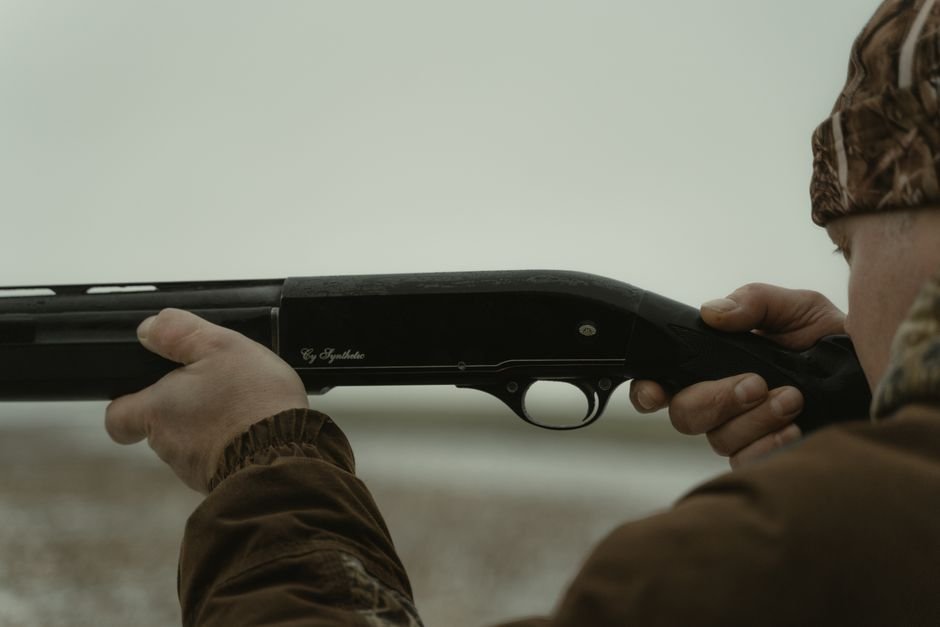
Find the exact pressure point
First, unload the firearm according to its manual, remove ammunition from the area, and keep the muzzle in a safe direction. Make several normal mounts with the bare stock, then repeat with the empty carrier installed. Use the same stance, clothing, and sight picture so added thickness is the main variable.
Apply small pieces of painter’s tape to likely contact points, then look for compression, skin oil, or displaced tape after each mount. Check:
- raised seams and hook-and-loop overlaps;
- elastic loops or stiff backing edges;
- shell bodies and exposed rims;
- straps crossing the top of the comb.
If loaded-carrier geometry must be checked, use clearly marked, factory-made inert training cartridges of the correct chambering—not live ammunition or homemade dummy rounds.
Move the carrier slightly downward or toward the buttpad when its attachment system and manufacturer instructions permit. Another option is reducing the shell holder’s capacity, especially when the forwardmost shell or rim enters the cheek-contact zone. Every retained shell should remain secure under firm movement.
Do not cover the safety, action release, loading or ejection openings, adjustable-stock controls, sling hardware, recoil-pad screws, or stock-fastening access. Avoid routing straps where they can loosen into the action or interfere with mounting the firearm.
With the firearm still unloaded, cycle its controls as directed by the manual and tug the carrier in every direction. Remove or replace it if it shifts, blocks hardware, or releases inert shells.
When the carrier will not stay put
A cheek weld that changes between shots often indicates that the carrier is sliding, rotating, or compressing, especially when the problem disappears after the carrier is removed. Common causes include loose lacing, stretched elastic, smooth stock surfaces, recoil-pad interference, and a carrier whose shape does not match the stock’s comb or taper.
Refit without forcing it
After unloading the firearm and verifying its condition according to the firearm manual, remove the ammunition and refit the carrier exactly as its manufacturer directs. Check that:
- straps or laces follow the specified routing;
- hook-and-loop panels overlap fully and lie flat;
- seams, buckles, and shell loops do not sit at the cheek contact point;
- the carrier cannot move under firm hand pressure;
- the recoil pad, sling mount, safety, and action remain unobstructed.
Use only manufacturer-specified hardware and torque values. Extra knots, improvised fasteners, adhesives, or excessive screw tension can damage the stock or create new pressure points.
Know when to replace it
Replacement is the safer course when elastic no longer recovers, stitching is separating, closures release under light pressure, or secure retention requires crushing padding or drilling the stock. A model made for the stock’s dimensions and shooting side is preferable to permanently modifying an incompatible carrier.
Check the full adjustment range
Collapsible stocks change shape as they move. A sleeve that appears secure when fully extended may bridge the fixed receiver extension and the moving stock body, preventing normal movement or pulling the fabric out of alignment. Straps can also cover the adjustment lever, obstruct a release latch, or become pinched between sliding parts.
Shell position changes with the sleeve. When the stock is shortened, loose material may bunch near the comb while cartridges rotate or shift forward into the cheek-contact area. This can turn a comfortable setup into a hard pressure point and make a repeatable cheek weld difficult.
Before testing, unload the firearm, verify the chamber and magazine are empty, and keep live ammunition elsewhere. Then:
- Cycle the stock through every usable position with the carrier empty.
- Confirm that the release operates freely and the stock locks positively at each setting.
- Repeat with inert dummy cartridges to check for bunching, shell movement, and facial contact.
- Shoulder the firearm at each intended setting without forcing the head around the carrier.
Stop if fabric enters a moving joint, the latch becomes harder to operate, or the stock fails to lock normally. Purpose-designed shell holders for adjustable stocks may reduce these conflicts, but compatibility still depends on the specific stock geometry. A sleeve that fits a fixed stock provides little evidence that it will work safely on a collapsible design.
Trace cheek contact to the source
A carrier can feel acceptable at low ready yet strike or scrape the face once the stock is firmly mounted. With the firearm unloaded and cleared according to its manufacturer’s instructions, inspect the exact contact area while wearing normal eye and hearing protection.
Common offenders include:
- Hard shell rims or hulls protruding above the comb
- Buckles and strap adjusters positioned beneath the cheek
- Exposed hook-and-loop edges that scrape during recoil
- Raised seams or folded fabric creating a narrow pressure ridge
- Overlapping layers that lift the head away from the stock
A localized rub often indicates a placement problem. Repositioning a buckle below the comb, trimming only manufacturer-approved excess strap, flattening a fold, or leaving the forward ammunition loop empty may restore clearance. Compare the result with appropriate lower-profile carrier alternatives if the cheek still rests on ammunition or layered fabric.
Bulk is a design problem when every secure position puts a hard component under the cheek, forces the head upright, or prevents a repeatable sight picture. Tightening the carrier further rarely fixes that geometry and may increase pressure or create new pinch points.
Stop using the carrier if mounting or recoil causes facial impact, pinching, numbness, broken skin, or loss of normal eye alignment. Remove or replace it before further live fire; do not alter the shooting position to accommodate painful hardware.
Keep clearance without losing access
Moving a carrier away from the comb solves little if shells become loose or difficult to grasp. The workable position leaves the cheek and jaw clear while keeping every shell seated during mounting, recoil, and normal movement.
Start with a gauge-specific carrier and ammunition matching the shell lengths listed by its manufacturer. Confirm the stated capacity, permitted shell orientation, stock compatibility, and any restrictions for adjustable or unusually shaped stocks. A sleeve that merely stretches around the stock may still fit poorly.
Inspect each elastic loop for glazing, fraying, permanent stretching, or uneven tension. Replace the carrier when a shell can rotate, creep out, or fall free during ordinary handling. Loading fewer loops may improve cheek clearance, but only if the maker permits partial loading and the remaining shells stay secure.
Practice retrieval with clearly identifiable inert shells:
- Mount the unloaded firearm while maintaining muzzle discipline.
- Establish the normal cheek weld and sight picture.
- Retrieve one inert shell without lifting the head excessively or sweeping the muzzle.
- Repeat from each occupied loop and through every stock position used.
If access requires disturbing eye alignment, reaching across the trigger, or placing fingers near the trigger guard, reposition or replace the carrier rather than adapting unsafe handling.
Keep live ammunition outside the practice area. Verify the firearm is unloaded, use purpose-made inert shells, and recheck its condition whenever practice is interrupted.
Is the carrier really causing the bad mount?
Does removing the carrier restore the original mount?
After confirming the shotgun is unloaded, make several slow mounts with and without the carrier. If cheek placement and eye alignment become repeatable on the bare stock, carrier bulk or shell position is probably responsible; compare other shotgun shell carrier system options.
Does clothing change the result?
Repeat the comparison in a thin shirt and typical hunting or defensive outerwear. A thick collar or shoulder seam can alter butt placement enough to create apparent carrier interference.
Does stock position affect consistency?
On an adjustable stock, test each normal position while keeping stance and head posture unchanged. Improvement at one setting may indicate a length-of-pull or comb-position issue rather than carrier thickness alone.
What if the bare stock still feels inconsistent?
Treat the carrier as only one variable. Check stock dimensions, sight or optic height, recoil-pad placement in the shoulder pocket, and mounting technique before replacing equipment.
Fix, verify, then confirm
-
Unload and separate ammunition
Point the firearm in a safe direction, unload it, and verify the chamber and magazine are empty. Move live ammunition out of the work area.
-
Establish the bare-stock baseline
Remove the carrier, then confirm a repeatable cheek weld and sight picture. Check access to the safety, bolt or action, charging handle, sling points, and recoil pad.
-
Make one change
Reinstall the carrier and alter only one variable—position, strap routing, shell count, or stock setting. Recheck the baseline after each adjustment.
-
Test with inert shells
Use gauge-correct dummy rounds or snap caps. Cycle every moving part, shoulder the firearm from normal positions, and confirm that shells stay retained without contacting the face.
-
Confirm at the range
Following the firearm manual and range rules, begin with a light firing sequence. Stop if recoil shifts the carrier, loosens ammunition, blocks a control, or changes the sight picture.
Replace the carrier if secure retention, unobstructed operation, and a repeatable cheek weld cannot coexist.
A sound fix preserves safe operation, reliable shell retention, and the same cheek weld on every mount. Bare-stock comparison and one-variable testing reveal whether adjustment is sufficient; range confirmation shows whether it survives recoil.
Cheek weld and recoil are the same problem approached from two directions. Switching to reduced-recoil 12-gauge buckshot lowers the punch that makes a marginal weld painful, which can buy more comfort than moving the holder.