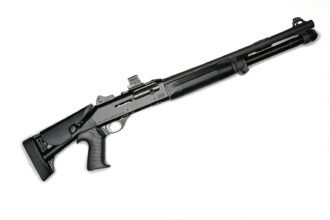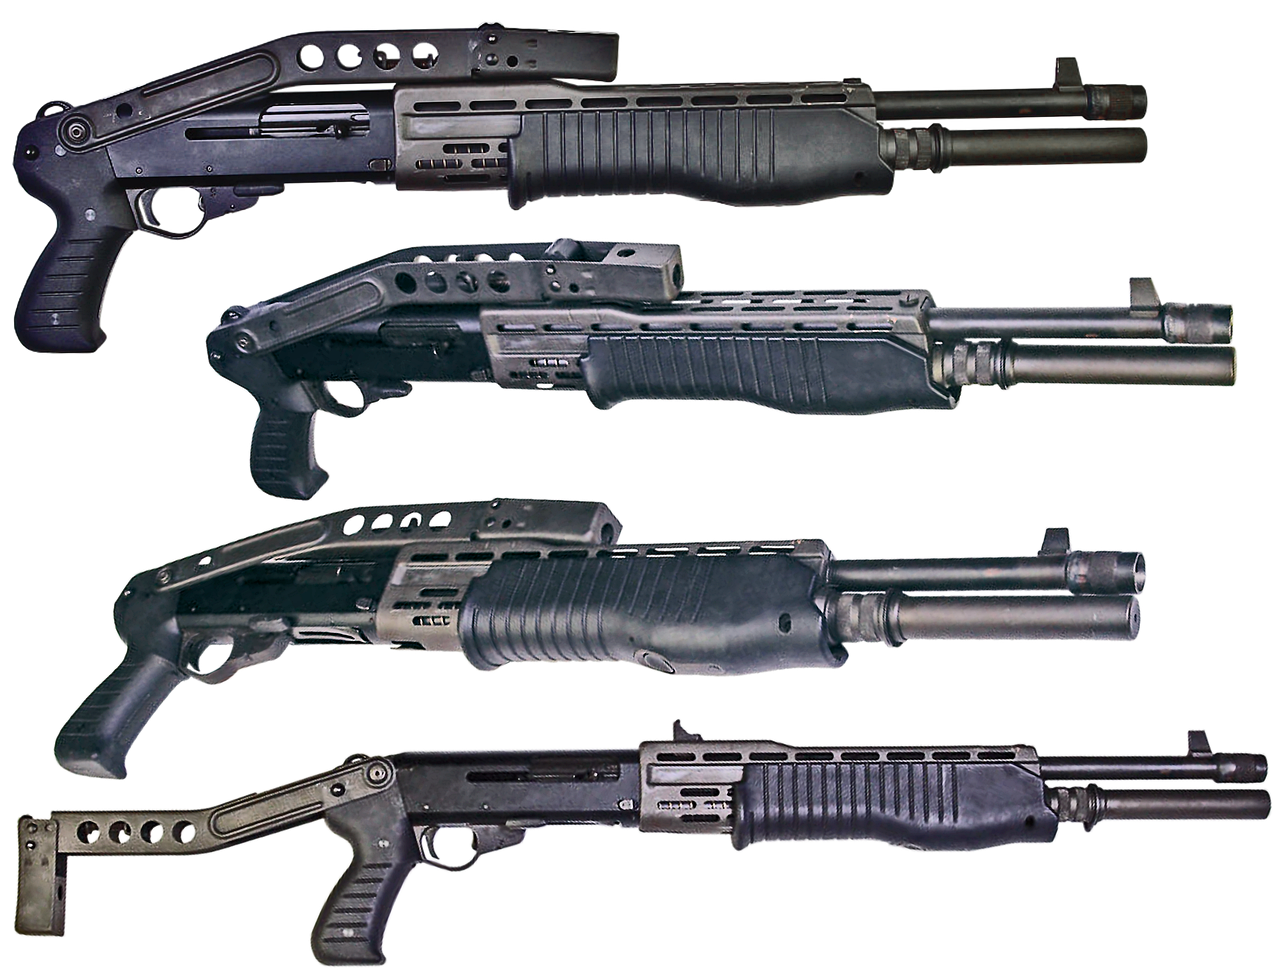
A no-drill mount should leave the shotgun unchanged—not compromise how it operates.
A shell carrier that shifts after the first recoil impulse is more liability than convenience. Before installation, confirm the carrier is made for the shotgun’s exact manufacturer, model, gauge, and receiver configuration. Review both manufacturers’ instructions and warranty terms before applying adhesive or replacing pins.
Compare removable side-saddle and shell-card options by four requirements: firm shell retention, unobstructed access to the action and controls, clearance for loading and ejection, and clean removal without finish damage. With the shotgun unloaded and ammunition stored separately, cycle the action and check every control after mounting. Any carrier that loosens, blocks operation, or interferes with a safe firing grip should be removed rather than modified to fit.
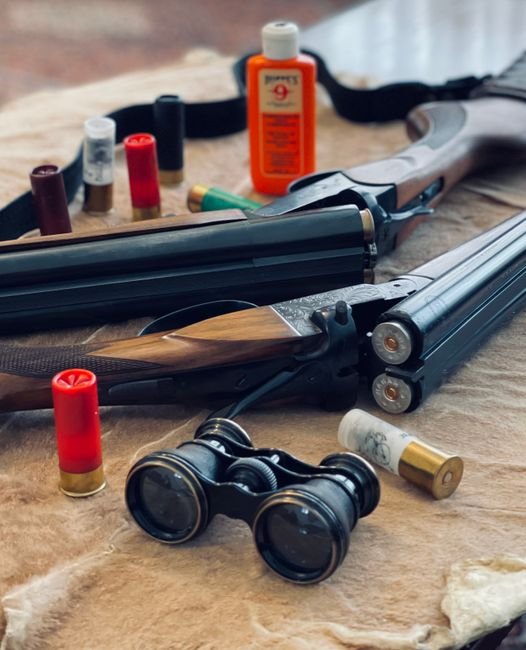
Unload and verify the shotgun
Keep the muzzle pointed in a safe direction and follow the shotgun manufacturer’s unloading procedure. Engage the safety if the manual directs it, but never treat the safety as a substitute for unloading.
Remove every shell from the magazine and chamber. Open the action, then inspect the chamber, carrier or lifter area, and magazine tube both visually and physically. Check again rather than assuming an empty-looking action is clear.
Move all live ammunition to a separate location before placing the shotgun on the work surface. Consult the owner’s manual before loosening receiver screws, removing trigger-group pins, or disturbing any other hardware; procedures and torque requirements vary by model. If the manual conflicts with carrier instructions, stop and contact the firearm or carrier manufacturer.
If installation is paused or another person handles the shotgun, repeat the complete unloading and chamber-verification process before resuming.
Choose the mounting method
The right approach depends on whether quick removal, a rigid mount, or an unobstructed stock matters most. The broader shotgun shell carrier systems guide can help narrow down carrier style before hardware is selected.
| Mounting method | Main advantage | Check before buying |
|---|---|---|
| Adhesive hook-and-loop shell card | Card detaches quickly for replacement or storage | Adhesive needs a clean, degreased surface; oil, heat, texture, and some finishes may weaken the bond or complicate removal. |
| Factory pin or screw replacement | Typically more rigid than adhesive | Match the shotgun’s exact make, model, gauge, receiver generation, and pin or screw pattern. These mounts use existing holes; they should not require drilling. |
| Existing-rail carrier | Leaves the receiver finish untouched | Confirm the shotgun already has the specified rail and that the carrier clears the optic, loading port, ejection path, and controls. |
| Stock-mounted carrier | Keeps shells away from the receiver | Check stock dimensions and handedness. Bulky or loose carriers can alter cheek weld, shift under recoil, or interfere with sling placement. |
For a field gun shared among several configurations, a removable shell card may be convenient. For repeated hard use, a model-specific pin, screw, or rail mount may offer greater stability. Do not treat “universal” labeling as proof of compatibility; verify fit against both the carrier manufacturer’s application list and the shotgun manual.
Confirm the exact fit
A no-drill carrier should be treated as model-specific hardware, even when its listing uses broad compatibility language. Check the manufacturer’s fit chart or obtain written confirmation for:
- Shotgun manufacturer and exact model
- Gauge
- Receiver and ejection-port configuration
- Model generation or production variant
- Safety, bolt-release, and other control orientation
Claims such as “fits most 12-gauge shotguns” are insufficient for rigid hardware that replaces pins, clamps around the receiver, or attaches to a rail. Small differences in pin spacing, receiver contours, or left- and right-hand controls can cause movement or interference.
With the shotgun unloaded, compare the carrier’s mounting points and supplied fasteners with the manufacturer’s instructions. The installed carrier must not obstruct the ejection port, loading port, trigger group, action bars, safety, bolt release, or disassembly points.
Reject the mount if it rocks, sits crooked, presses on an operating component, or requires forced alignment. Do not file the receiver, enlarge holes, or substitute fasteners to make uncertain hardware fit.
Prepare the mounting surface
Work under bright light with the unloaded shotgun supported so it cannot shift. Identify roll marks, serial markings, pins, seams, controls, loading or ejection openings, and finish transitions before choosing the adhesive footprint.
Use only a cleaning product and method permitted by both the firearm maker and mount manufacturer. Apply cleaner to a lint-free cloth rather than directly to the receiver, keeping liquid away from openings and seams. Guidance on protecting the shotgun’s finish during installation is especially relevant for coated, painted, plated, or case-colored surfaces.
Do not sand, polish, scrape, or aggressively degrease the finish to improve adhesion. Allow the surface to dry as directed, then inspect it for residue, fibers, or trapped moisture before exposing the adhesive.
Do not proceed when the firearm or adhesive manufacturer warns against the finish, or when cleaning causes discoloration, softening, or coating transfer. Select another mounting method instead.
Position and apply the adhesive panel
- Dry-fit the panel
Place the backing panel on the unloaded shotgun with its liner intact. Confirm that the attached card will sit flat and that shells will not interfere with the firing hand or fore-end movement.
- Check every clearance
Keep the panel and card clear of the ejection and loading ports, safety, action release, pins, fasteners, and any area needed for routine disassembly. Cycle the action slowly with no ammunition present to verify clearance.
- Mark the position
Use low-tack painter’s tape or another finish-safe, removable marker to outline two edges. These reference lines help with secure placement of a Velcro shell card without making permanent marks.
- Lay down the panel
Peel back the liner gradually and lower the adhesive from one edge. Do not stretch the panel; tension can pull its edges loose or shift openings out of alignment.
- Press and cure
Apply pressure for the adhesive manufacturer’s stated time and method, working across the entire panel. Leave the mount unloaded and undisturbed for the full specified curing period before attaching or loading the shell card.
Temperature and cure time vary by adhesive. Follow the carrier manufacturer’s instructions rather than assuming immediate handling strength.
An oversized panel should not block controls, ejection, loading, or maintenance access. Trim it only if the manufacturer expressly permits trimming; otherwise, select a correctly shaped model-specific panel.
Install non-adhesive carriers
Keep the shotgun unloaded, ammunition separated, and the muzzle directed safely throughout installation. Use only a carrier whose manufacturer explicitly lists the shotgun’s model, gauge, receiver configuration, and generation.
Receiver-pin mounts
Follow the carrier maker’s published pin-removal and installation sequence. Support the receiver, use the specified tools, and replace only the pins identified in the instructions. Do not hammer through resistance or substitute similar-looking pins. Tighten fasteners in the stated order and to the published torque; apply thread locker only when the manufacturer specifies its type and location.
Existing-rail mounts
Confirm that the installed rail and carrier interface match. Seat recoil lugs and crossbolts in the positions shown by the manufacturer, then tighten in sequence to the stated torque. After mounting, verify that the carrier does not obstruct the action, ejection port, loading port, safety, optic, or sight picture.
Stock-mounted carriers
Install rigid brackets or sleeves exactly as directed for that stock. Check sling points, adjustment controls, recoil pads, and cheek placement. A loaded carrier must not shift, rotate, or interfere with shouldering.
Label and retain every original pin, screw, washer, and spacer so the shotgun can be restored without improvised hardware.
Stop if holes do not align, threads bind, the receiver flexes, or published torque and thread-locking directions are unavailable. Preserve the original parts and refer the installation to a qualified gunsmith.
Function-check and test retention
Keep all live ammunition in a separate area. Following the shotgun manufacturer’s function-check procedure, cycle the action and operate the safety, action release, loading port, bolt release, and any folding or adjustable stock components. The carrier must not obstruct movement, alter control operation, loosen, or pinch the stock.
Use only purpose-made inert training shells that are clearly identifiable by color, markings, or construction. Load each carrier loop, then remove and reinsert the inert shells several times. Check that they remain secure when the shotgun is shouldered, moved through normal handling positions, and gently shaken—without striking or dropping the firearm.
At an authorized range, begin with the carrier partially loaded and fire a small number of rounds. Recheck alignment, fasteners, adhesive edges, stock movement, and shell retention before progressing to a full carrier. Follow all range rules and the ammunition guidance in the shotgun manual.
Unload and verify the shotgun if the carrier shifts, peels, loosens, releases shells, blocks a control, impedes cycling, or changes stock lockup. Do not continue live fire until the cause is corrected and the function check is repeated.
Inspect the Carrier and Remove It When Needed
-
Unload before inspection
Verify the chamber and magazine are empty, then move all ammunition away from the work area.
-
Check the attachment
Look for lifting adhesive edges, shifting panels, loose fasteners, cracked parts, or compressed stock straps. Correct only as the carrier manufacturer directs.
-
Test shell retention
Replace stretched elastic or stop using any carrier that releases shells too easily, deforms them, or makes extraction difficult.
-
Recheck clearance and finish
Confirm complete access to the safety, action release, loading port, ejection port, trigger area, and takedown points. Check contact areas for trapped grit, abrasion, adhesive residue, or finish changes.
-
Remove without forcing
Follow the manufacturer’s removal method. Avoid prying, scraping, heat, or solvents unless specifically approved for both the mount and firearm finish.
Keep the carrier only while it remains secure, model-compatible, removable without damage, and completely clear of every operating and safety function. Any movement, retention loss, interference, or harmful finish contact calls for immediate removal or replacement before further use.
Mounting is only half the decision: a carrier earns its place when the shells riding on it are the right ones, and choosing 12-gauge buckshot for home defense settles what belongs in those loops before the hardware does.