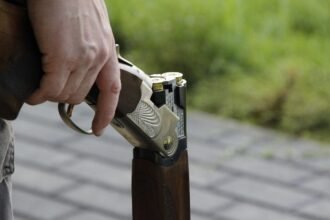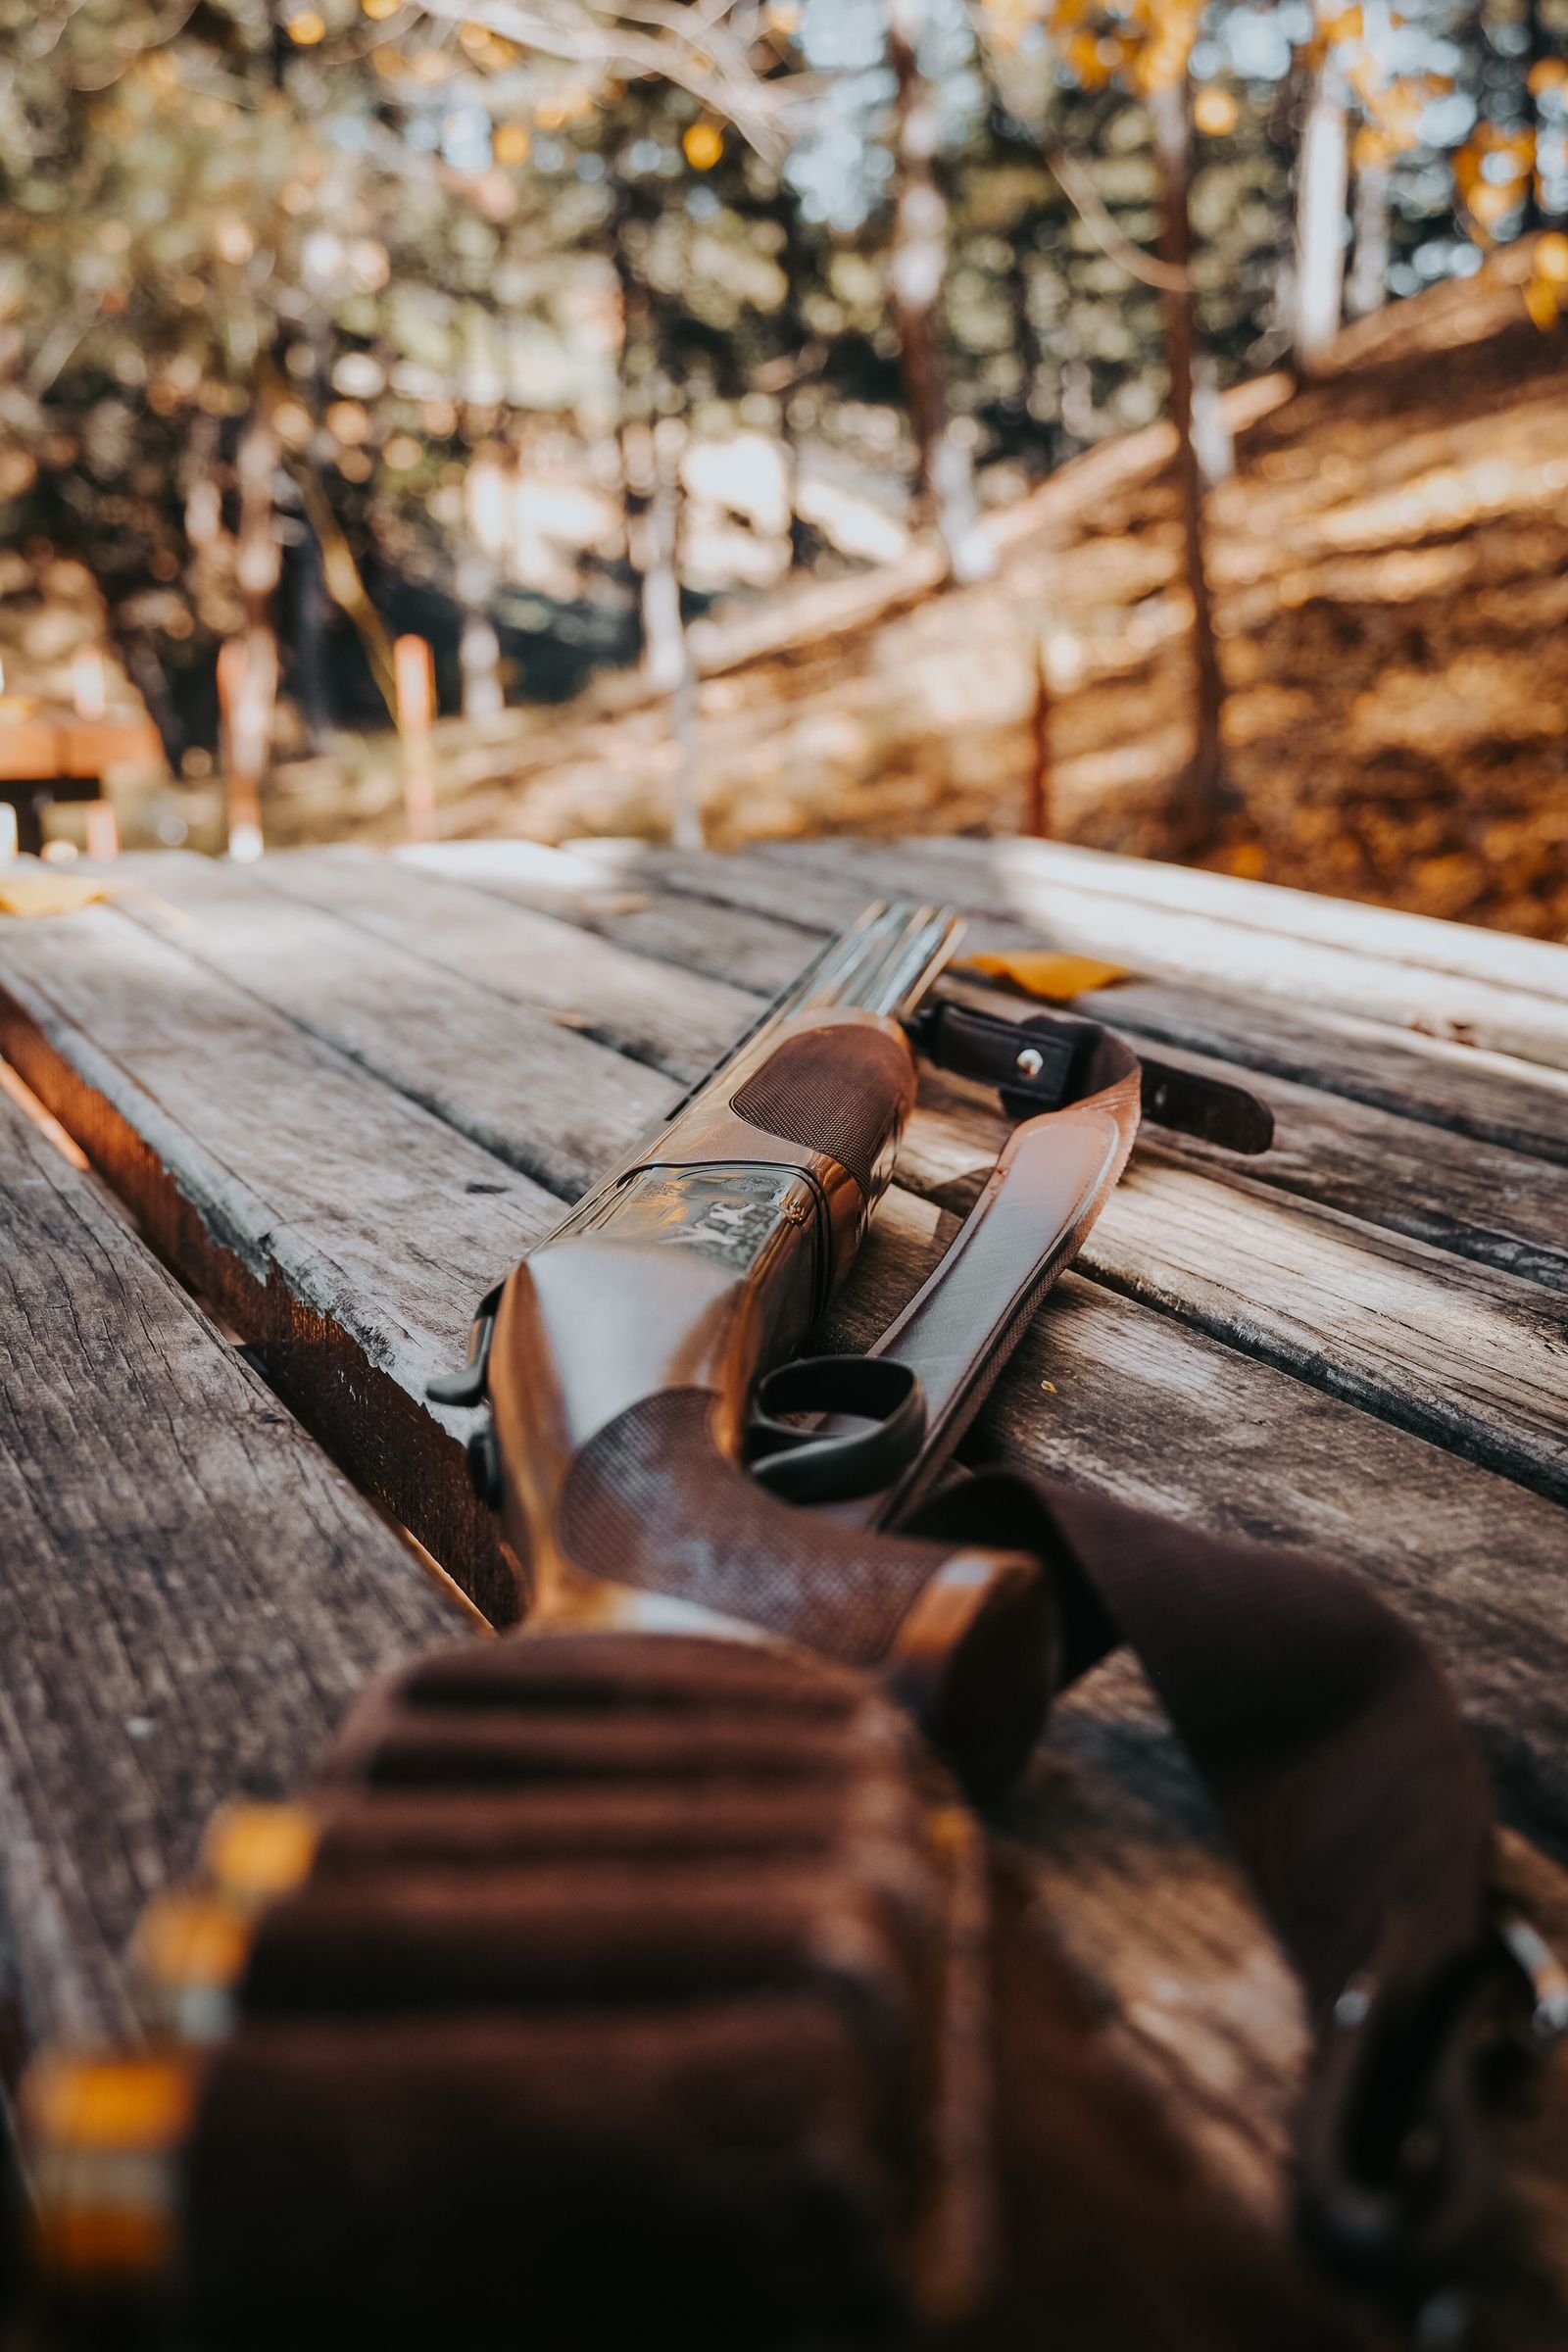
A visible shell-card outline does not automatically mean the shotgun’s finish has been harmed.
After a card is peeled away, a tacky patch or sharp-edged color difference may simply reflect leftover adhesive, trapped oil, or uneven exposure to light and handling. Actual finish damage is more likely when coating lifts, paint softens, bluing changes, or the surface texture remains altered after gentle cleaning.
The shotgun should be unloaded and cleaned only with products approved by its manufacturer. Start with a soft cloth and the mildest compatible cleaner; 3M’s adhesive-removal guidance also recommends testing cleaners in an inconspicuous spot. Avoid metal scrapers, abrasive pads, acetone, and prolonged solvent soaking unless the finish maker explicitly permits them. Aggressive cleanup can convert removable residue into scratches, stripped coating, or permanently dulled wood finish.
Can Adhesive Cause Permanent Finish Damage?
Can a shell card’s adhesive permanently damage a shotgun?
Damage is possible, but not inevitable. Risk rises with weakened coatings, incompatible cleaners, heat, trapped moisture, long contact time, and forceful removal.
Is sticky residue the same as finish damage?
No. Residue remains on the surface; lifted coating, changed sheen, exposed metal, staining, or corrosion indicates an alteration that cleaning may not reverse.
What preparation reduces the risk?
Follow the shotgun maker’s care instructions first, then the adhesive manufacturer’s preparation directions. 3M commonly recommends cleaning compatible surfaces with an isopropyl-alcohol-and-water mixture, but any cleaner or adhesive should first be checked on a hidden area.
How should a shell card be removed?
Peel slowly at a low angle and stop if the finish begins lifting. 3M tape-removal guidance favors carefully separating the adhesive layer, then clearing residue with a surface-compatible cleaner; firearm-specific solvent warnings still take priority.
How Does Risk Change by Finish?
Are blued, parkerized, or anodized surfaces vulnerable?
Blued and parkerized steel may corrode if adhesive traps moisture, perspiration salts, or migrated oil against the metal. Anodized aluminum is often less corrosion-prone, but adhesive or remover can still change sheen, affect dye, or expose existing scratches.
What about factory coatings and aftermarket finishes?
Compatibility depends on the coating chemistry, surface preparation, cure, and approved cleaning solvents. Aftermarket finishes deserve particular caution because installation quality varies; unresolved questions should go to the coating applicator or manufacturer.
Can adhesive affect polymer or finished wood?
Adhesive and solvent-based removers may dull, soften, or discolor some polymers. On wood, oil migration or remover entering worn sealant, checkering, edges, or screw holes may cause staining or finish separation.
Does leaving a shell card installed increase risk?
Long exposure generally gives heat, UV, moisture, and salts more time to age the adhesive or affect the surface. It can also create uneven fading around the covered area. The card should be removed periodically for inspection, following the shotgun, coating, and adhesive manufacturers’ cleaning guidance.
What can go wrong during installation?
-
Unload and clear the shotgun
Keep the muzzle in a safe direction, open the action, and verify the chamber and magazine are empty.
-
Check both sets of instructions
Follow the firearm manual for finish care and the adhesive maker’s temperature, pressure, and curing limits.
-
Test an inconspicuous area
Confirm that the approved cleaner does not change color, gloss, or texture.
-
Clean gently and let it dry
Use a clean, lint-free cloth; leave no solvent, oil, or moisture beneath the panel.
-
Dry-fit before exposing adhesive
For correct Velcro shell-card placement, keep controls, serial markings, pins, screws, ports, and takedown access unobstructed.
-
Apply once, then inspect
Align without stretching, press as directed, allow the stated cure time, and check the finish periodically.
If coating lifts or discoloration appears, stop and consult the firearm or finish manufacturer.
How Should an Adhesive Shell Card Be Removed?
- Unload and stabilize the shotgun
Remove all ammunition, clear the magazine tube, and visually and physically verify an empty chamber. Support the firearm securely without clamping or scraping the finished surface.
- Lift one corner carefully
Use a fingernail or a manufacturer-approved nonmetallic tool. Avoid knives, screwdrivers, and hard scrapers, which can cut through a coating or leave permanent marks.
- Peel slowly at a low angle
Pull the card back nearly parallel to the receiver rather than lifting it outward. Work a small section at a time; sudden force can place more stress on paint, sealers, or other surface coatings.
- Use heat only when approved
Consult the shotgun and adhesive manufacturers before applying heat. If permitted, use the lowest specified method and stop immediately if the finish becomes tacky, glossy, soft, or distorted.
- Remove residue with an approved product
Start with the cleaner named in the firearm maker’s care instructions. Test it on an inconspicuous area, provide ventilation, avoid prolonged soaking, and keep solvents away from polymer or wood unless compatibility is confirmed.
- Inspect, clean, and protect
Check for residue, changed sheen, lifted coating, or bare metal. Follow the firearm manufacturer’s instructions for final cleaning and corrosion protection before storage.
Do not keep peeling or add more heat or solvent if the surface shows softening, color transfer, blistering, coating lift, or exposed metal. Photograph the area, leave it untreated, and contact the firearm manufacturer or a qualified gunsmith. Continued removal can enlarge the damaged area or complicate repair.
Is an adhesive shell card appropriate?
- Finish condition
Identify the exact coating and inspect for scratches, rust, flaking, repairs, or softened areas before mounting.
Lower-risk signsIntact finish with documented adhesive compatibility.Reasons to reconsiderUnknown, damaged, refinished, or deteriorating surfaces. - Manufacturer guidance
Check both the firearm and adhesive instructions for approved cleaners, prohibited chemicals, and removal procedures.
Lower-risk signsClear compatibility and care directions.Reasons to reconsiderMissing or conflicting guidance. - Exposure and duration
Heat, humidity, moisture, and prolonged installation can raise the chance of residue, fading, or corrosion.
Lower-risk signsShorter use in controlled, dry conditions.Reasons to reconsiderLong-term placement in hot or humid storage. - Cosmetic tolerance
Even removable adhesive may leave a sheen difference or reveal uneven fading around the covered area.
Lower-risk signsAcceptance of minor cosmetic change.Reasons to reconsiderUse on collectible or appearance-sensitive firearms.
Choose caution when compatibility is uncertain
When finish type or adhesive guidance is unclear, a compatible non-permanent or mechanical carrier may present less cosmetic risk. Confirm firearm-specific fit and ensure the mount does not interfere with controls or safe operation.
Photograph the finish before installation, retain all instructions, and inspect beneath and around the card periodically. Remove it at the first sign of lifting, discoloration, softening, rust, or another coating change.
Adhesive is one of several things that reach a receiver’s finish. The same care that goes into a shotgun cleaning kit for field guns applies here — solvents, residue and time do more cumulative harm than the tape itself.