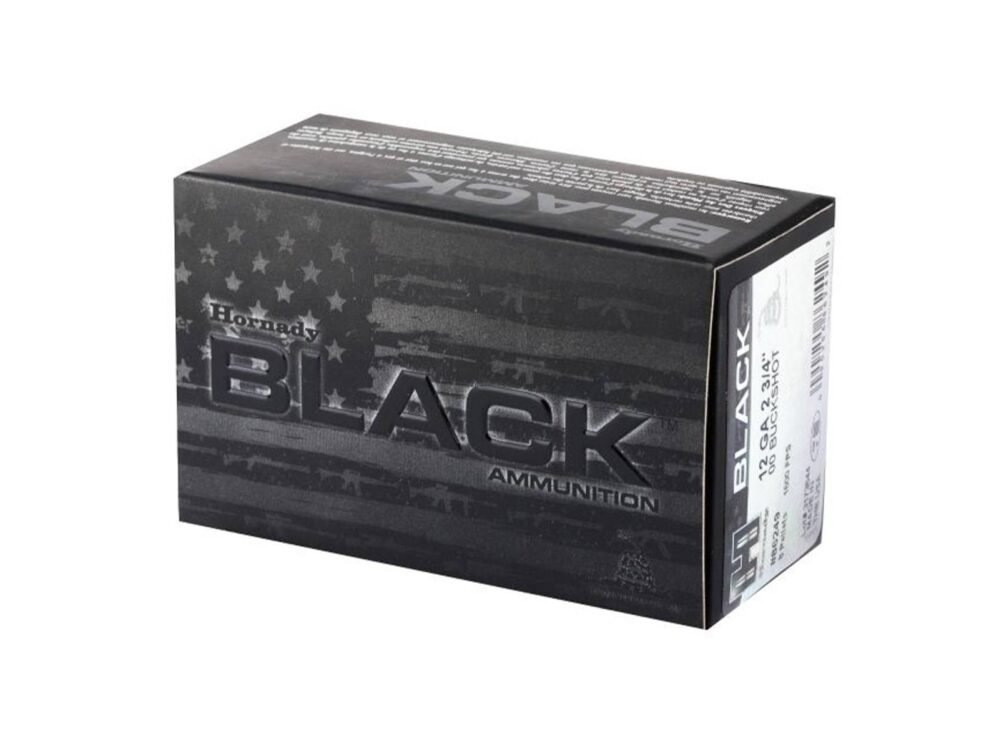
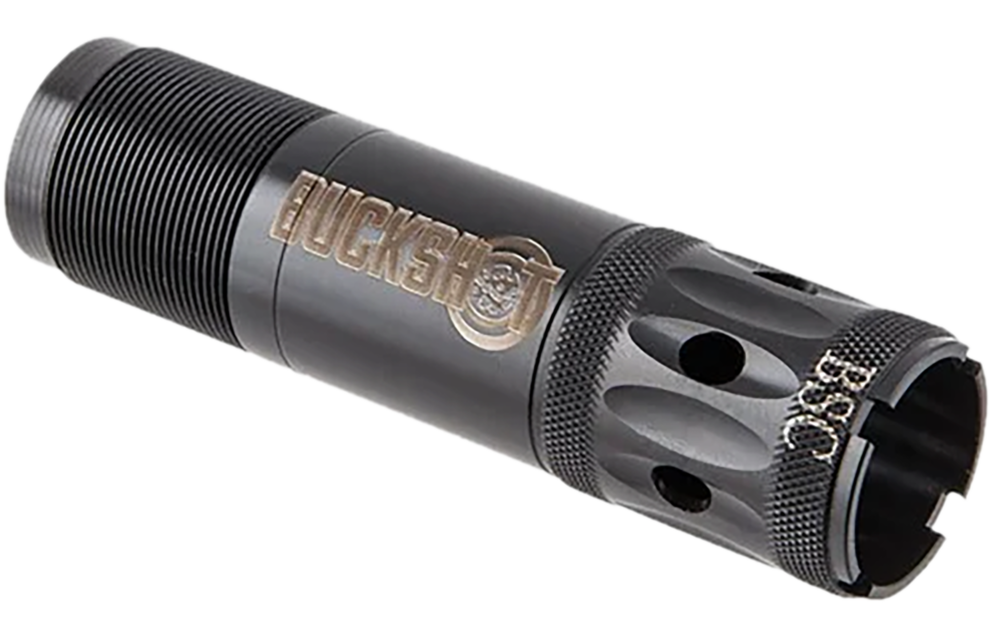
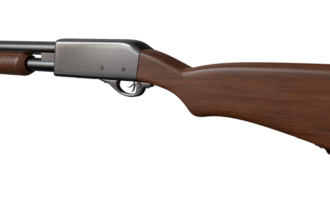
A box marked “00 buck” does not predict the pattern on the target.
Two targets fired at the same range can look dramatically different even when both shells carry 00 buckshot. Wad design, pellet construction, velocity, barrel geometry and choke can all change how quickly the pattern opens. Manufacturer guidance and published pattern tests therefore treat spread as a shotgun-and-load result, not a fixed characteristic of 00 buckshot.
Measurement also matters. An edge-to-edge circle around every pellet may be much larger than the dense central cluster, especially when one pellet strays. A useful answer requires patterning the exact defensive or hunting load through the intended shotgun and choke, at several relevant distances, then recording both the main cluster and any outliers. The distance limit should follow the target and required pellet accountability—not a memorized inches-per-yard rule.
A wide pattern does not tell the whole story
Spread
The measured distance between the outermost pellet impacts. One stray pellet can make this number look worse than the core pattern.
Pattern quality
How evenly pellets occupy the pattern, including dense clusters, empty areas and outliers. Two equal-diameter patterns may perform very differently.
Point of impact
Where the pattern lands relative to the aiming point. A compact pattern is still problematic if it consistently strikes off-center.
Effective range
The farthest distance at which the complete pattern meets the target requirement and the pellets retain adequate terminal performance.
Terminal performance
Whether pellets provide the required penetration and disruption at impact. Patterning alone cannot establish this criterion.
A useful range limit combines several checks:
Containment: Are all pellet impacts inside the required target area? Consistency: Do repeated shots show similar distribution and point of impact? Performance: Does named-source testing support adequate penetration at that distance?Pattern diameter should be recorded, but it should not serve as the sole pass-or-fail measure.
Why the shortcut breaks down
Fire the chosen load through the exact shotgun and choke being evaluated. At each intended distance, record the full pattern—not just its widest dimension—and repeat with several shells. Note the point of aim, point of impact, pellet count, central gaps and outliers. This reveals sudden pattern changes that a distance-based shortcut cannot predict.
The label describes size, not behavior
Two 00 buckshot shells can contain nominally similar pellets yet release them under very different conditions. Hard, plated shot generally resists flattening better than softer lead; buffering reduces pellet-to-pellet impact. Rounder pellets tend to experience less erratic drag after leaving the muzzle.
Payload design also matters. Pellet count and stacking geometry affect how pellets collide during acceleration and pass through the choke. Higher velocity may increase deformation and disrupt a pattern, although the result depends on the complete load—not velocity alone.
The wad can be decisive. Federal’s published specifications for its LE132 00 load describe nine copper-plated pellets, buffering, a 1,145-fps muzzle velocity and a FLITECONTROL wad. Hornady describes its VersaTite system as remaining with the shot column longer to help control dispersion. Neither design guarantees the same result through every barrel or choke.
Named testing reinforces that distinction: Lucky Gunner Labs documented substantially different patterns among 00 buckshot loads fired through the same test guns. For choosing defensive buckshot by its specifications, pellet construction, payload, velocity and wad design should be treated as starting points—not substitutes for patterning.
Fire each candidate load from the intended shotgun at realistic distances. Record point of impact, overall spread and pellet distribution; a small cluster with an outlying pellet may be less useful than an even pattern.
Why barrel geometry changes the pattern
Choke is a relationship between bore diameter and muzzle diameter, not simply a label stamped on a tube. Two barrels using the same marked choke may have different effective constriction, helping explain how choke affects buckshot patterns differently across firearms.
The forcing cone—the transition from chamber to bore—also matters. Its length and angle can influence how abruptly the wad and shot column are compressed. Abrupt transitions may increase pellet deformation; wad design, shot hardness and buffering can either limit or amplify that effect.
More constriction therefore does not guarantee a smaller or more even pattern. A tighter choke may keep one load together while compressing another load’s wad or pellets enough to produce flyers, gaps or an uneven core.
For a useful comparison:
- Measure patterns from the same distance and point of aim.
- Compare pellet distribution, not diameter alone.
- Test each load through compatible chokes, following firearm and ammunition manufacturer guidance.
- Stop using any choke or load combination the manufacturer identifies as incompatible.
Confirm compatibility before patterning
General pattern trends cannot establish whether a load-and-choke combination is approved for a particular shotgun. Before firing, consult current instructions from the firearm, ammunition, and choke manufacturers. Restrictions may differ by model, barrel, choke design, and load.
Pay particular attention to full-choke compatibility with buckshot. A barrel or tube marked “full” does not, by itself, confirm that every 00 buckshot load is suitable. Verify the correct gauge, shell length, choke installation, and any ammunition exclusions.
If instructions conflict or remain unclear, stop and contact the manufacturer or a qualified gunsmith. Pattern only an approved combination, using the actual firearm intended for service.
A promising pattern does not make an unsupported firearm, choke, or ammunition combination safe or manufacturer-approved.
Barrel length does not set spread
A longer shotgun barrel does not automatically produce a tighter 00 buckshot pattern. After the shot column exits, dispersion reflects muzzle geometry—especially choke or fixed constriction—along with bore dimensions, forcing-cone transitions, wad design, pellet hardness, and buffering. The actual influence of barrel length on patterns therefore requires matched firearm-and-load testing.
Barrels of different lengths may pattern similarly when their muzzle geometry and bore characteristics are comparable. Equal-length barrels can produce noticeably different results when choke or ammunition changes.
For a useful comparison:
- Fire the same ammunition lot at the same measured distance.
- Record barrel length, choke designation, bore specifications, and point of impact.
- Compare pellet distribution and central density, not diameter alone.
- Support every velocity figure with manufacturer data or a named chronograph test, including barrel length and test conditions; never infer velocity from barrel length.
What a credible pattern test records
A useful pattern report allows another tester to reproduce the setup and compare results on equal terms. At minimum, it should document the following details.
-
Firearm and ammunition
Identify the firearm, barrel length, bore or choke designation, and the load’s manufacturer, product line, shell length, pellet count, and lot number when available.
-
Test conditions
State the measured muzzle-to-target distance, target dimensions, point of aim, shooting support, and number of shells fired. Use a fresh, clearly labeled target for every shot.
-
Measurement method
Explain whether spread means the widest pellet-to-pellet distance, the smallest circle containing all pellets, or another defined measure. Record flyers rather than quietly excluding them.
Several targets at each distance reveal typical spread, shifts in impact, and occasional outliers. A single unlabeled target photo cannot show whether the pattern was representative or how it was measured.
A target image becomes evidence only when its scale, aiming point, distance, load, firearm, choke, shot number, and measurement marks are visible or reported alongside it. Otherwise, apparent pattern size can be distorted by cropping, camera angle, or an unknown target dimension.
Pattern 00 buckshot without contaminating the results
-
Confirm the complete setup
Check the firearm manual and ammunition warnings for load and choke compatibility. Record the firearm, barrel, choke and exact load; begin with the firearm unloaded, action open and muzzle in a safe direction.
-
Prepare the range
Use a range that permits buckshot, with an appropriate backstop and securely mounted paper targets. Wear eye and hearing protection, and keep bystanders behind the firing line.
-
Set a repeatable firing position
Mark each planned distance and use the same point of aim and supported position. Follow all range commands and keep the muzzle downrange while loading only for the next shot.
-
Fire one round per fresh target
Use several targets for each firearm-load-distance combination because a single pattern can be atypical. After firing, open the action and unload before changing targets or moving forward.
-
Label and measure every target
Approach only after the line is declared safe. Mark distance, setup, load and shot number; then measure the widest pellet-center separation and note the pattern’s offset from the aiming point.
-
Clear the firearm before leaving
Unload and verify the chamber and magazine are empty according to the firearm manual. Keep the action open and muzzle controlled during cleanup and transport.
Use one measurement rule throughout; switching between edge-to-edge and center-to-center measurements makes comparisons misleading.
Never step forward merely because the firearm appears empty. Wait for the range to be declared cold, unload, open the action, visually verify its condition and follow the range officer’s commands. A safe backstop remains mandatory even during setup and target inspection.
Turn patterns into a distance limit
Before firing, define a target area that reflects the intended application. Use fresh targets, a suitable backstop, and several rounds at each distance.
Evaluate every target on the same five points:
- Central pattern: Is the main pellet group dense enough for the chosen area?
- Widest impacts: Did every pellet remain inside that area? A tight core does not excuse an outlier.
- Point-of-aim shift: Is the pattern’s center acceptably close to the aiming point?
- Consistency: Do repeated shots produce similar results, or does one pattern fail unexpectedly?
- Containment: Can all impacts be accounted for on the target and within the safe backstop?
Increase distance in measured steps. The defensible limit is the farthest distance at which every tested pattern passes the predefined standard. If patterns pass at 15 yards and one fails at 20, the confirmed limit remains 15 yards unless intermediate distances are tested; it should not be inferred from the gap.
Record the firearm, barrel, choke, ammunition lot, sights and shooting method. A change in load, choke, barrel or other major component creates a different setup and calls for renewed verification.
- Set the acceptance standard before seeing the results.
- Base the limit on the first failure, including an outlying pellet or shifted pattern.
A usable distance is a verified boundary, not a prediction from average spread. Retest after meaningful equipment or ammunition changes.
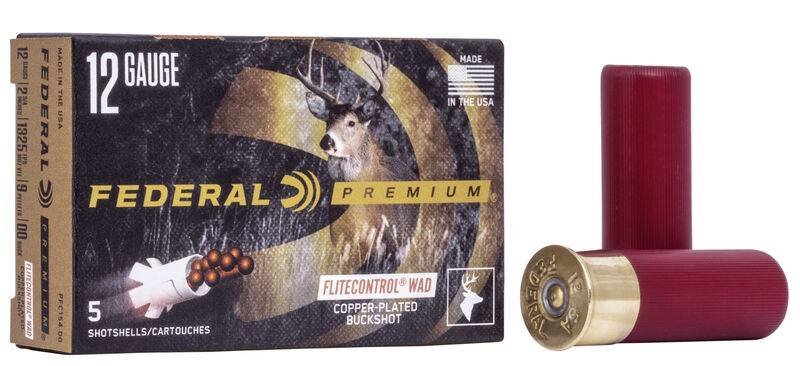
Federal Premium 12 Gauge 2.75 FLITECONTROL 9 Pellet 00 Buckshot (Box)
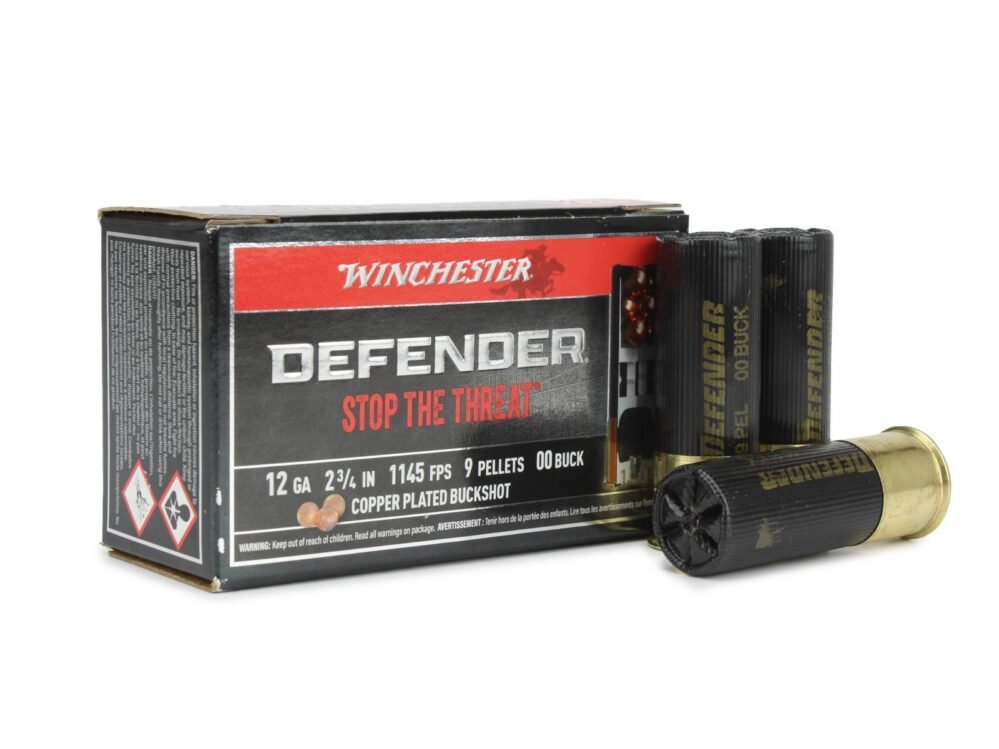
Winchester Defender 12 Gauge 2.75 00 Buckshot (Box) / Rebate Eligible