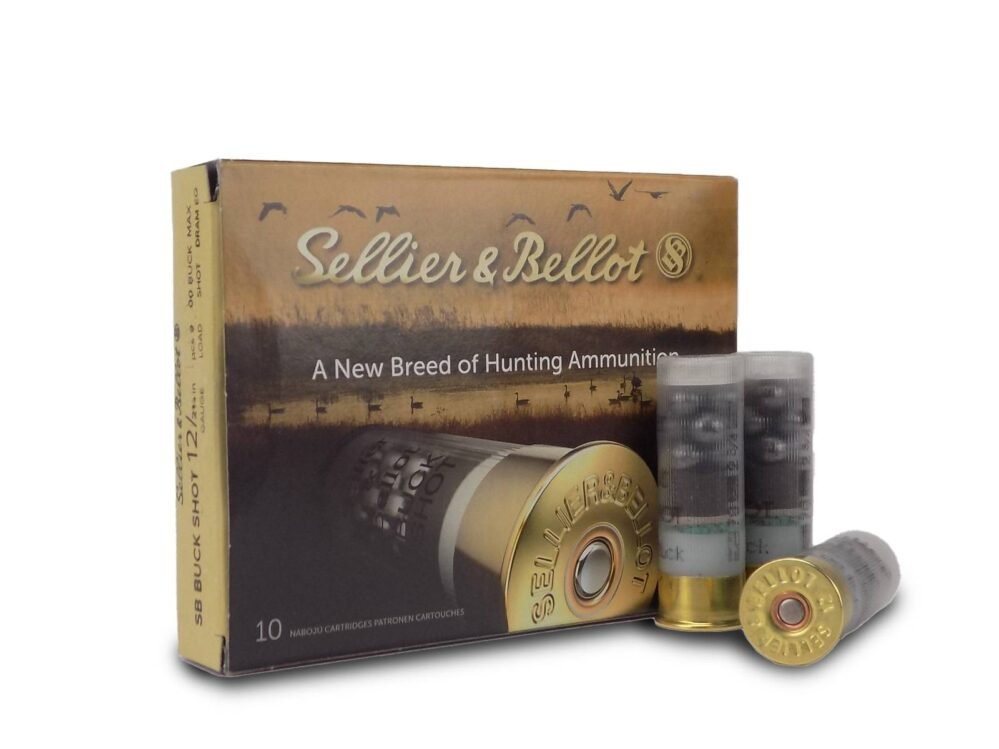
A copper-colored pellet is not proof of a tighter pattern.
At the ammunition shelf, premium boxes promise improved patterning while plain lead loads may carry the same pellet size and payload. Copper plating can help limit pellet deformation, but the coating is only one variable. Lead hardness, buffering, wad design, pellet consistency, choke, and barrel can matter as much—or more.
The useful question is whether a load delivers a repeatable advantage from the intended shotgun at realistic distances. Compare plated and unplated loads with the same pellet size, firing several patterns from the same barrel and choke. Record point of impact, pellet count in the target area, and stray pellets. A modestly priced lead load that patterns consistently may be the more practical choice; a plated load earns its premium only when the targets show a meaningful improvement for the intended use.
What “copper-plated” actually describes
Copper-plated buckshot
Lead pellets receive a thin copper coating; they are not solid copper. Because the core remains lead, plating alone does not make the load lead-free or compliant with nonlead-ammunition rules.
Copper-washed shot
A lighter surface treatment than substantial plating, often applied mainly for appearance or limited corrosion resistance. Manufacturers may use the terms inconsistently, so packaging language should not substitute for construction details.
Hardened lead shot
Lead alloyed with antimony or another hardening element to reduce pellet deformation. Hardness and copper plating are separate features, although a load may use both.
Buffered shot
Granular material fills spaces between pellets to limit deformation during firing. Buffering does not identify pellet material, plating thickness, shot size, or legal status.
Wad and shot size
The wad controls how shot travels through the bore, while labels such as 00 or No. 4 describe pellet size. Neither confirms plating, hardness, buffering, or nonlead compliance.
The shell works as a system
Buckshot begins changing shape before it leaves the muzzle. Ignition forces the payload rearward against itself, while acceleration, bore contact and choke passage add stress. Lead alloy and pellet hardness influence how readily pellets flatten; copper plating may add surface protection, but it does not erase differences in the core material.
Other components alter the same outcome. Buffering between pellets can limit pellet-to-pellet contact, while a full-length shot cup may reduce scraping against the bore. Payload weight, velocity and crimp design affect launch forces and how consistently the shell opens. Wad geometry also controls how long the shot remains contained after muzzle exit.
That makes many plated-versus-unplated comparisons confounded. A premium plated load may also use harder shot, buffer and a more protective wad; a basic lead load may use softer pellets and little protection. A tighter pattern cannot automatically be assigned to the copper layer.
For a useful comparison, match gauge, shell length, pellet size, payload and stated velocity as closely as possible. Fire several shells from the same barrel and choke at the intended distance, then record pattern spread, pellet count in the vital zone and obvious flyers. The result describes those complete loads in that firearm, not plating in isolation.
What copper plating can—and cannot—do
Plating may reduce surface damage, but it does not harden a soft lead core.
Core hardness, setback forces, buffering, and wad support largely determine whether pellets flatten before leaving the muzzle.
Plating can help preserve pellet shape, but pattern quality remains load- and barrel-specific.
Wad design, buffering, choke, pellet count, and barrel geometry can outweigh any benefit from the coating.
Penetration depends on pellet mass, impact velocity, deformation, and the material being penetrated.
Better shape retention may help in some conditions, but plating alone cannot establish terminal performance.
It may reduce exposed-lead contact and pellet oxidation, but coatings can crack or wear.
Wads, residue, moisture, and storage conditions still matter; routine inspection and cleaning remain appropriate.
Build an apples-to-apples comparison
A useful test isolates plating as closely as commercial ammunition allows. Differences in pellet size, payload, velocity, buffering, wad design, or lead hardness can otherwise overwhelm the effect being examined.
Compare the same gauge, shell length, pellet size, payload, and stated velocity. Record manufacturer and product code; note buffering, wad type, and advertised pellet composition or hardness when disclosed.
Identify the firearm, barrel length, choke maker and marking, measured constriction if available, target type, and muzzle-to-target distance. Use the same point of aim and count every pellet strike within clearly defined circles.
Pattern several shells from each load under the same conditions. Report individual targets as well as averages; one unusually tight or poor pattern is not representative evidence.
Published velocity and construction details should come from the manufacturer. Pattern counts and dimensions should be attributed to a named test with its method available.
Sponsored tests can still provide useful data, but missing targets, undisclosed choke details, selective photographs, or only one shot per load sharply limit the conclusion. Give more weight to repeatable methods, complete target sets, and results reproduced across multiple firearms.
Judge patterns, not showcase targets
A tight-looking target can hide weak central coverage or an outlying pellet. Evaluate every pattern at the same distance, with the same aiming point and target dimensions, then record:
- Total strikes: pellets landing anywhere on the target.
- Core density: strikes inside a preselected central circle.
- Spread: the greatest distance between the two widest hits.
- Stray pellets: hits clearly separated from the main cluster or missing the target.
- Consistency: how much those measurements change across repeated shots.
Mark pellet holes before counting and photograph each target with the load, firearm, barrel, choke, and distance identified. Fire at least several shells per load under controlled range conditions; an average accompanied by the highest and lowest results is more informative than a single impressive group.
Published tests can narrow the field when their firearm, choke, distance, and scoring method resemble the intended setup. They can also help frame questions such as whether #4 or 00 buckshot better suits a purchase. However, those results do not predict performance from another barrel.
Final suitability depends on patterning the shortlisted loads in the specific firearm. Favor loads that repeatedly keep adequate pellet coverage in the intended scoring area while minimizing unexplained flyers—not whichever shell produced the tightest isolated target.
Read terminal tests in context
Rounder pellets may experience more uniform aerodynamic drag and strike with a more consistent orientation. Plating can help preserve that shape during setback and barrel travel, but it does not replace the lead core’s hardness, pellet size, impact velocity, buffer, or wad design. Those variables—and the complete load—remain central to deformation and penetration.
Terminal claims are useful only when test conditions are disclosed. A credible report should identify:
- calibrated gelatin type and temperature
- bare gel, clothing, or other intermediate barriers
- distance, firearm, barrel and choke
- pellet size, payload and measured impact velocity
- total pellets fired, including pellets that missed the block
- penetration range and recovered-pellet condition
FBI-style calibrated 10% ordnance gelatin offers a repeatable reference, but bare-gel depth is not a universal prediction of performance through clothing, bone, or at different impact velocities.
Recovered pellets show deformation, yet they represent only pellets found. Misses and exits must remain in the accounting: omitted flyers can make a load appear more consistent, while pellets leaving the block provide no final depth. Likewise, “overpenetration” requires context—target anatomy, barriers, pellet energy, and downrange risk—not a single cutoff presented as a complete verdict.
Pay for results, not plating
Prioritize repeatable central coverage and few flyers at the longest plausible engagement distance. A plated load may justify its premium only when repeated targets show a meaningful advantage in the specific shotgun.
Confirm local rules on shot material, pellet size, capacity and permitted game before comparing loads. Pattern consistency and adequate pellet density matter more than a copper-colored surface.
Less costly lead loads can support frequent practice, but their point of impact and patterns may differ from the selected defensive or hunting load. Reserve enough duty ammunition for periodic confirmation.
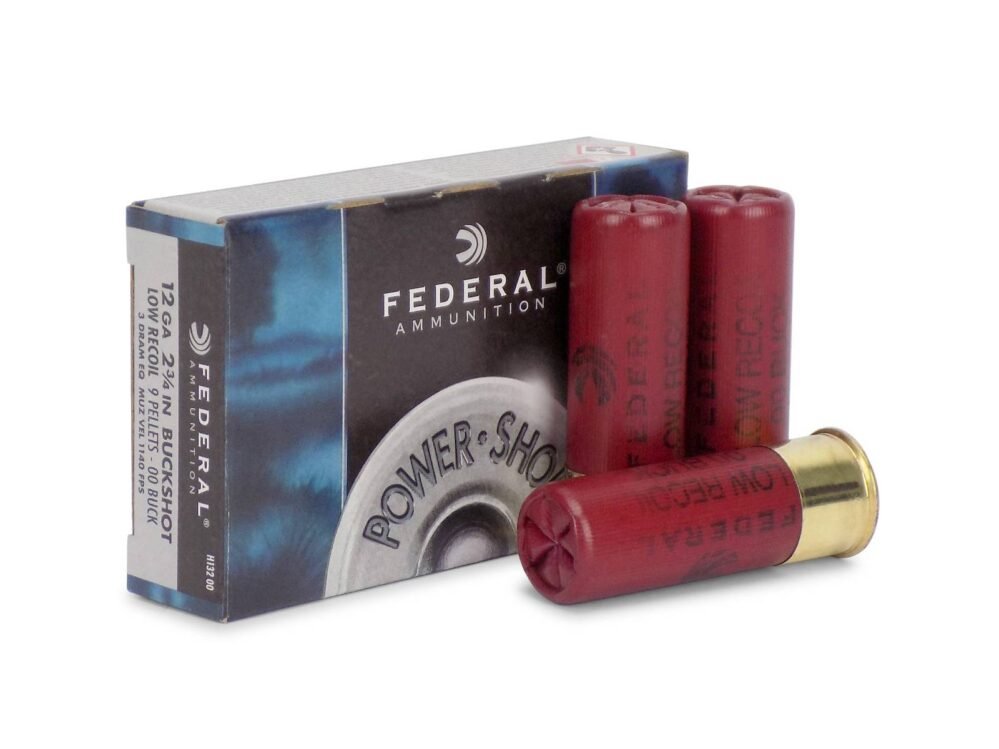
Compare recoil by payload weight, velocity and load design—not plating. The reduced-recoil 00 buckshot load roundup can narrow options, while cost per acceptable pattern is more informative than cost per shell.
Copper-colored is still lead
Copper plating does not turn buckshot into nonlead ammunition. The pellet core remains lead, so firing, impacts, and disturbed range dust can still create exposure. Plating may reduce contact with intact pellet surfaces, but it does not replace ventilation, handwashing, or careful cleanup.
Follow range procedures and local rules for wads, targets, trap debris, sweepings, and contaminated cleaning materials. Avoid dry sweeping, which can return dust to the air. Copper-coated lead may still be barred at lead-free ranges and generally does not satisfy nonlead hunting rules. For broader load tradeoffs, see the 12-gauge buckshot selection guide.
Verify projectile composition and current requirements with the range and responsible wildlife or environmental agency. Do not rely on pellet color or packaging shorthand.
Verify the complete load before committing
-
Define the lawful use and distance
Check current wildlife-agency, range, and local rules for lead ammunition. Set the farthest plausible distance for the intended use rather than testing only at a convenient range.
-
Confirm every relevant specification
Use the ammunition maker’s published data for shell length, pellet size and count, payload, and listed velocity. Confirm chamber length and choke restrictions in the firearm and choke manufacturers’ documentation.
-
Purchase a limited test quantity
Buy enough from one lot to fire several patterns at each selected distance, but postpone a bulk order until the load proves consistent.
-
Pattern under controlled conditions
Use an authorized range, adequate backstop, eye and hearing protection, and identical targets and aiming points. Follow all range commands and firearm-safety rules.
-
Keep comparable records
For every target, note firearm, barrel, choke, distance, load, lot number, central strike count, spread, and flyers. Photograph and label targets, then retain the box flap or lot-number image.
- Recheck performance after changing lots, chokes, barrels, or firearms.
- Buy larger quantities only after repeated targets meet the actual coverage requirement.
Copper plating may contribute to a useful pattern, but it does not establish performance by itself. Selection should rest on lawful use, complete manufacturer specifications, repeated firearm-specific patterns, and traceable lot records.
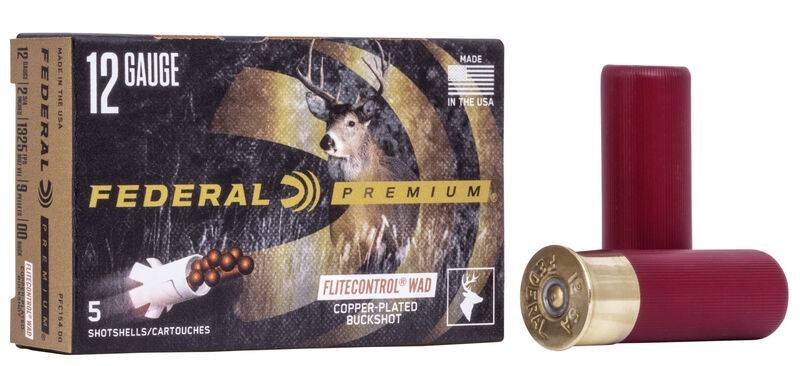
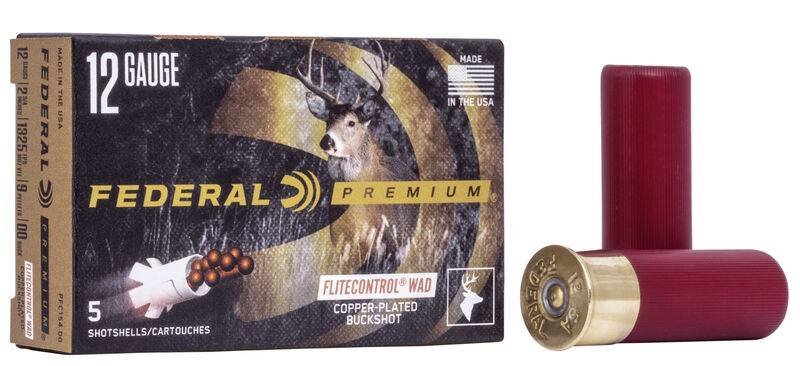
Federal Premium 12 Gauge 2.75 FLITECONTROL 9 Pellet 00 Buckshot (Box)
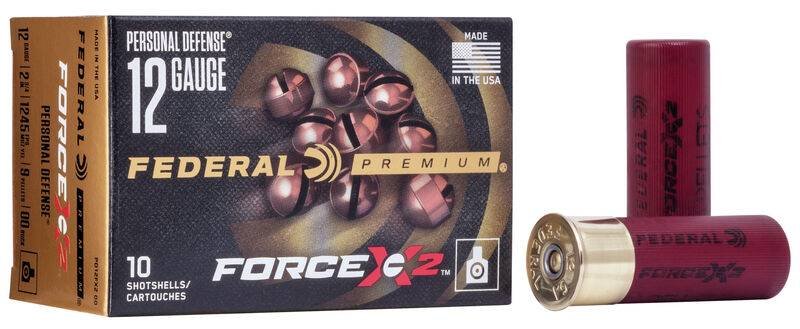
Federal Premium Personal Defense Force X2 12 Gauge 2.75 9 Pellet 00 Buckshot (Box)