
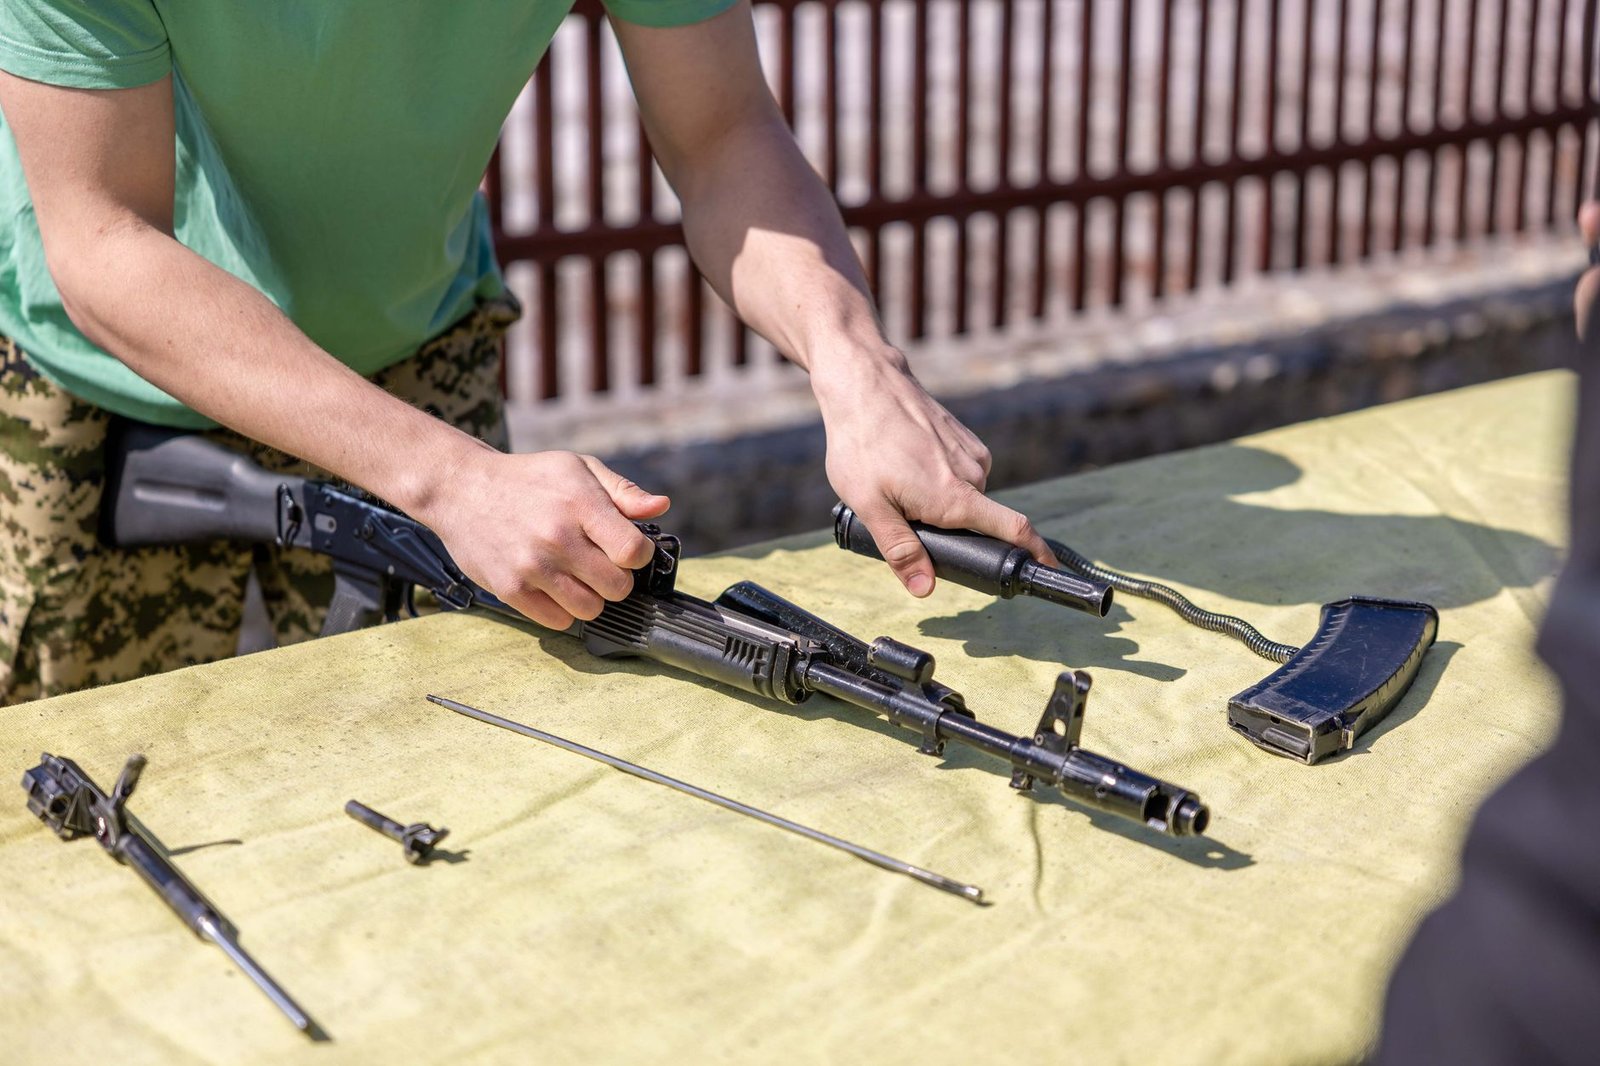
Black residue is normal after firing; unchecked deposits are not.
After several range sessions, a pistol’s breech face may look soot-black, the bolt tail may feel gritty, and a patch can emerge nearly opaque. Much of that color is ordinary combustion staining—not proof that a component is failing. The meaningful question is whether deposits are changing how parts move, seal, lock, or feed.
Controlled maintenance starts with an unloaded firearm, ammunition removed from the work area, and the maker’s disassembly limits. It targets carbon where it can impair function: the chamber and feed path, bolt or slide bearing surfaces, locking recesses, gas-system components where applicable, and firing-pin channels only as the manual permits. A thin dark film on a protected exterior surface may be best left alone; aggressive scraping can remove finish, round critical edges, or drive debris into tight tolerances. Stoppages, sluggish cycling, difficult extraction, or a visibly obstructed passage make residue a functional concern rather than merely cosmetic.
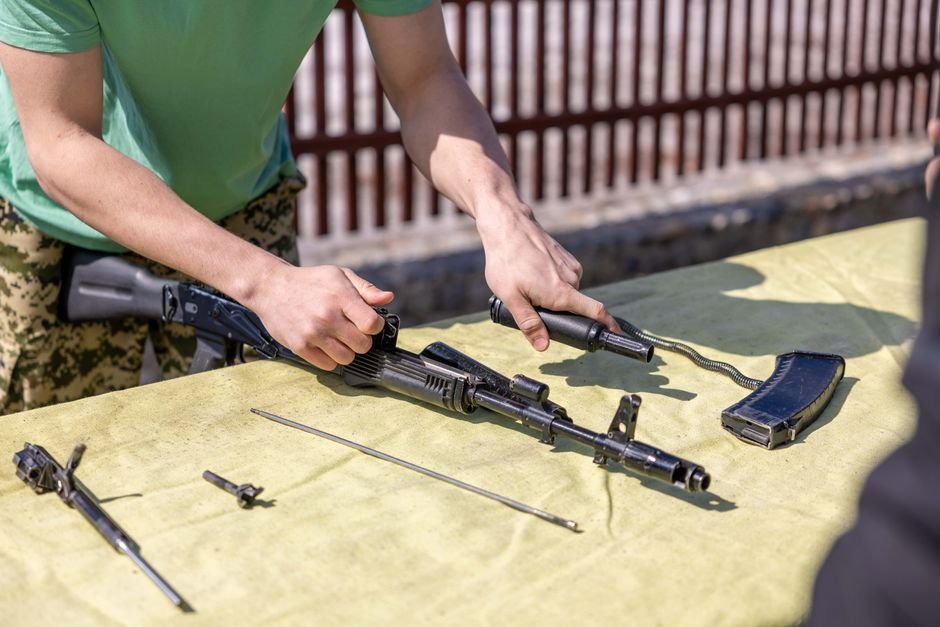
Learning how to safely remove carbon buildup from a gun protects both accuracy and reliability, since carbon fouling in the barrel and action is the most common cause of feeding issues and degraded precision between cleanings.
Establish a safe cleaning condition
-
Point the firearm in a safe direction
Treat it as loaded throughout setup. Keep the finger away from the trigger and outside the trigger guard; cleaning does not suspend normal handling rules.
-
Remove the ammunition source
Remove the magazine, detach ammunition carriers where applicable, and open the action. Visually and physically verify that the chamber, magazine well, and breech area are empty.
-
Move ammunition out of the work area
Store live cartridges separately before solvents, brushes, or parts enter the bench. This prevents an unloaded check from being undone during the job.
-
Protect the workspace and eyes
Use ventilation for aerosol cleaners and volatile solvents, wear safety glasses, and cover the bench with a non-reactive mat. Good gun-cleaning fundamentals also prevent small pins and springs from disappearing.
-
Stop at the manual’s disassembly boundary
Field-strip only as the manufacturer permits unless qualified service procedures are available. Do not force carbon-fouled parts apart; hidden springs, retainers, and timing surfaces can be damaged.
The action can be rechecked whenever the firearm changes hands, orientation, or configuration. No carbon-removal task justifies bypassing muzzle discipline, chamber verification, or the manufacturer’s disassembly instructions.
Not Every Dark Mark Is Carbon
Dry carbon and powder residue
Dry carbon is a hard, matte-black combustion film, often at the bolt face, chamber mouth, gas system, and muzzle. Loose gray-black soot or unburned powder grains are powder residue; a solvent that still cuts fouling can loosen deposits without equating surface staining with a malfunction.
Copper fouling
Copper usually appears as bright orange, red-brown, or blue-green streaking in rifling, especially near the throat. It is metallic transfer, not carbon, and responds to different chemistry.
Lead fouling
Lead forms dull gray, silvery smears or flakes in bores, forcing cones, and compensator ports. It can be mistaken for carbon when heavily oxidized.
Rust
Rust is orange-brown, rough, and often pits rather than wipes away. It signals oxidation on steel, commonly under fingerprints, moisture, or neglected lubricant.
Lubricant varnish
Heat-aged oil becomes amber to dark brown, sticky, or lacquer-like around rails, locking surfaces, and firing-pin channels. It is not dry carbon; dark cosmetic discoloration that does not impede movement may need no treatment.
Let Chemistry Do the Work Before Abrasion
- Match the solvent to the surface
Follow both firearm and cleaner manufacturer instructions. A carbon solvent suitable for steel may be unsuitable for anodized aluminum, plated parts, polymer, wood, or painted finishes.
PreferSurface-specific compatibility and clear application limits.AvoidOne “universal” solvent used everywhere. - Use dwell time, not pressure
Moistening the deposit and allowing the stated dwell time often releases carbon more effectively than hard scrubbing. Reapply rather than escalating force; wipe softened residue away before another pass.
PreferControlled soaking followed by gentle wiping.AvoidDry scraping or forcing a brush through resistance. - Select the softest effective tool
Nylon picks, cloth patches, cotton swabs, and nonmarring brushes suit most accessible fouling. Brass can be useful on appropriate steel surfaces, but its use should stay away from finishes and soft metals.
PreferA tool softer than the surface being cleaned.AvoidSteel picks, abrasive pads, or improvised scraping tools. - Treat the bore as its own task
Bore tools must fit the caliber and rod system without rubbing the crown or chamber edge. The right bore-brush material depends on barrel finish, fouling type, and the product’s instructions.
PreferCorrect fit, guided alignment, and compatible bristles.AvoidOversized brushes or aggressive back-and-forth forcing.
Soak, Agitate, and Wipe Without Forcing Deposits
- Field-strip only to the manual’s cleaning position
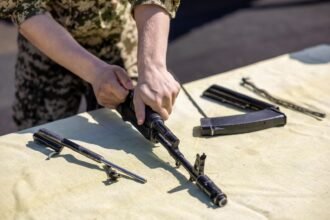
Separate only the components the manufacturer authorizes for routine cleaning, typically enough to expose the bore, chamber, bolt or slide face, and accessible gas surfaces. Small pins, springs, and sealed assemblies rarely need to be disturbed to remove ordinary carbon.
- Wet the deposit, not the whole mechanism
Place a small amount of the selected solvent on a patch, swab, or nylon brush and transfer it directly to the fouled area. A thin wet film is enough; flooding channels and trapped cavities can carry dissolved residue where it is harder to remove.
- Allow a short, controlled dwell
Leave the solvent in contact for about 3–5 minutes, unless its label specifies a different interval. Re-wet a drying patch rather than extending the dwell time indiscriminately, especially near coatings, polymer parts, seals, or painted markings.
- Match the brush to the surface
Use a correctly sized bore brush for the bore and chamber, nylon for most coated, aluminum, or polymer-adjacent parts, and a softer detail brush for faces and recesses. Work with short, light strokes; a brush dislodges softened fouling, not hardened deposits by force.
- Wipe clean and repeat light passes
Lift loosened residue with clean patches or lint-free cloths until they stop showing heavy black transfer. Around extractors, firing-pin openings, gas ports, and locking surfaces, several soak–brush–wipe cycles are safer than picks, blades, or aggressive scraping.
If a deposit remains after repeated gentle passes, it may be metal fouling, corrosion, or a finish change rather than removable carbon.
Clean the bore from the correct end
A bore is not simply a tube to scrub. The chamber, throat (the transition into rifling), lands and grooves, and muzzle crown each react differently to a poorly aligned tool. Carbon commonly collects in the chamber’s forward shoulder, around the throat, and in the first inches of rifling; those areas merit attention without allowing a rod or brush to strike their edges.
Match the tool to the firearm
Use a caliber-correct patch jag and brush. An undersized patch leaves residue behind; an oversized one can bind, bow a rod, or make a brush reverse direction while still in the bore. A one-piece coated rod with a fitted bore guide is generally the controlled choice when it can enter from the chamber end: the guide centers the rod and helps keep solvent and grit out of the receiver.
For platforms that cannot be cleaned straight from the rear, a coated cable or pull-through can be preferable. The choice in rod versus bore-snake carbon removal depends on access, barrel length, and how much fouling is present. Pull tools travel only chamber-to-muzzle; dragging dirty material back through the bore or action defeats the purpose.
Keep patches, rod tips, and loose grit out of the action. Stop a brush only after it exits the muzzle before changing direction, and avoid striking the crown—a small, critical edge that influences how the projectile leaves the barrel.
Stubborn Deposits Are a Warning, Not a Challenge
Escalating abrasion can remove finish, round sharp edges, and scratch sealing or bearing surfaces before it removes a truly bonded deposit.
Carbon often sits in recesses where a tool cannot reach cleanly. Repeated picking can instead create gouges that retain fouling and moisture.
Excess solvent can migrate into areas where it is difficult to remove and may be incompatible with coatings, polymers, adhesives, or lubricants.
Use only products approved for the firearm’s materials, then wipe away residue rather than flooding channels, pins, and enclosed mechanisms.
Pitting, worn plating, damaged protective coating, and erosion can resemble baked-on fouling.
If a mark remains after gentle cleaning, feels rough or cratered, exposes bare metal, or lies in an inaccessible gas or locking area, manufacturer or qualified gunsmith input can clarify the cause.
A deposit that resists compatible solvent and light brushing may be carbon, corrosion, coating loss, or mechanical wear. Scraping until it looks clean can conceal the original condition and enlarge the damage.
Stop when fouling is inside an inaccessible passage, around locking surfaces, or accompanied by pitting, flaking finish, unusual roughness, or changed function. The firearm manual, manufacturer, or a qualified gunsmith can identify what is safe to remove.
Frequently Asked Questions
Is black residue on a firearm always a problem?
Not necessarily. Much of that dark color is ordinary combustion staining. The meaningful question is whether deposits are changing how parts move, seal, lock, or feed — not just how dark they look.
How do I tell carbon apart from copper or lead fouling?
Dry carbon is a hard, matte-black film. Copper fouling shows as bright orange, red-brown, or blue-green streaking in the rifling. Lead fouling forms dull gray, silvery smears, and rust is orange-brown and pits rather than wiping away.
Should I use a steel pick on stubborn carbon deposits?
No. Escalating to a harder pick or steel brush can remove finish, round sharp edges, and scratch sealing or bearing surfaces before it removes a truly bonded deposit. Use a tool softer than the surface being cleaned instead.
How long should solvent sit on carbon deposits?
A short, controlled dwell of about 3–5 minutes is typical unless the product label specifies otherwise. Re-wet a drying patch rather than extending the dwell time indefinitely, especially near coatings, polymer parts, or seals.
When should I stop cleaning and get a gunsmith's opinion?
Stop if a mark remains after gentle cleaning, feels rough or cratered, exposes bare metal, or sits in an inaccessible gas or locking area. That can indicate pitting, worn plating, or coating loss rather than removable carbon.
Finish Clean, Protected, and Verified
- A thin, correctly placed lubricant film protects better than a wet, residue-catching coating.
- An unloaded function check confirms reassembly without substituting for inspection or live-fire testing.
Wipe every cleaned surface until patches or cloths stop lifting solvent-darkened residue. Pay particular attention to recesses, rails, locking areas, and the chamber: pooled solvent can soften some finishes, trap grit, or migrate into places where it is not intended. A final dry wipe also makes remaining carbon easier to distinguish from oil sheen.
Apply only the lubricant and amount specified in the firearm’s manual—typically a light film on designated bearing, sliding, or pivot points. Keep oil out of the bore, chamber, ammunition, optics, and gas system unless the manufacturer specifically calls for it. Reassemble in the documented order, confirm pins, springs, and fasteners are seated, then perform only the manual-approved unloaded function checks. The goal is dependable movement and protected surfaces, not an artificially spotless finish; stable discoloration that does not affect operation can be left alone.



14 Comments
I’m mildly skeptical of “brief dwell time” as general advice because some cleaners I’ve used specify a longer time, while others say not to leave them on certain finishes at all. The label and the manual need to win here. There is no universal magic five-minute soak.
I appreciate the warning about stubborn deposits. I had what looked like heavy carbon around a gas-area component on an older rifle, and a friend suggested a pick. Turned out the roughness was corrosion/pitting, not a layer of crud.
A quick soak and gentle nylon brush told me more than digging at it would have. The urge to make every surface look factory-new is strong, though.
That is a great example of why inspection comes before escalation. If a deposit does not soften or behave like fouling after an appropriate solvent dwell, it is worth considering rust, finish wear, pitting, or damaged metal rather than increasing force.
“Clean” and “shiny” definitely aren’t the same thing. Learned that one the expensive way on an old surplus piece.
After reassembly, what do you consider an approved unloaded check? I see people online doing all kinds of trigger and cycling tests, and some look unnecessarily enthusiastic.
I usually verify there is no ammunition present, check that the controls operate as described in the manual, and stop there. Curious if that is too conservative.
That is the right mindset. The exact unloaded verification should be the one specified by the manufacturer for that model—typically confirming correct assembly and normal operation of the listed controls without ammunition. Avoid improvised tests, bypassing safeties, or adding force; if something does not feel normal, pause and consult the manual or a qualified gunsmith.
Not too conservative at all. “It snapped back together, let’s rack it 40 times” is not a maintenance procedure. Manual check, visual inspection, done.
Can we talk about bore direction? My manual is a little vague, but I have always used a one-piece rod from the chamber end with a guide. Is that generally the safest route, or is a pull-through just as good for routine cleaning?
For most designs that allow chamber-end access, a caliber-matched one-piece rod with a suitable guide is a solid approach because it helps keep the rod aligned and protects the chamber/throat area. A quality pull-through can also work well for routine cleaning, especially where rear access is limited; the key is following the firearm manual and avoiding dragging dirty material back through sensitive areas.
The point about unloading AND moving the ammo away from the bench sounds obvious, but it’s the kind of obvious step people skip when they’re doing a “quick clean.” Eye protection too—solvent splash is no joke.
Exactly. A cleaning session is safer when it starts as a deliberate process rather than an interruption between range trips. Keeping live ammunition physically separate also reduces distractions during reassembly and function checks.
Yep. I keep a separate little tray for cleaning supplies, and ammo never goes on that side of the room. Maybe overkill, but it makes the habit automatic.
Good reminder that black staining isn’t automatically something to scrape off. I used to keep chasing the discoloration on the bolt tail until I realized the part was clean and moving normally. Probably saved myself a lot of unnecessary wear.
The “let chemistry do the work” part is the best advice here. I used to scrub forever with a bronze brush because that felt productive. Now I use a small amount of the right cleaner, wait a few minutes, then patch/wipe in light passes. Less drama, less smell, and no need to turn cleaning into an arm workout 😅