
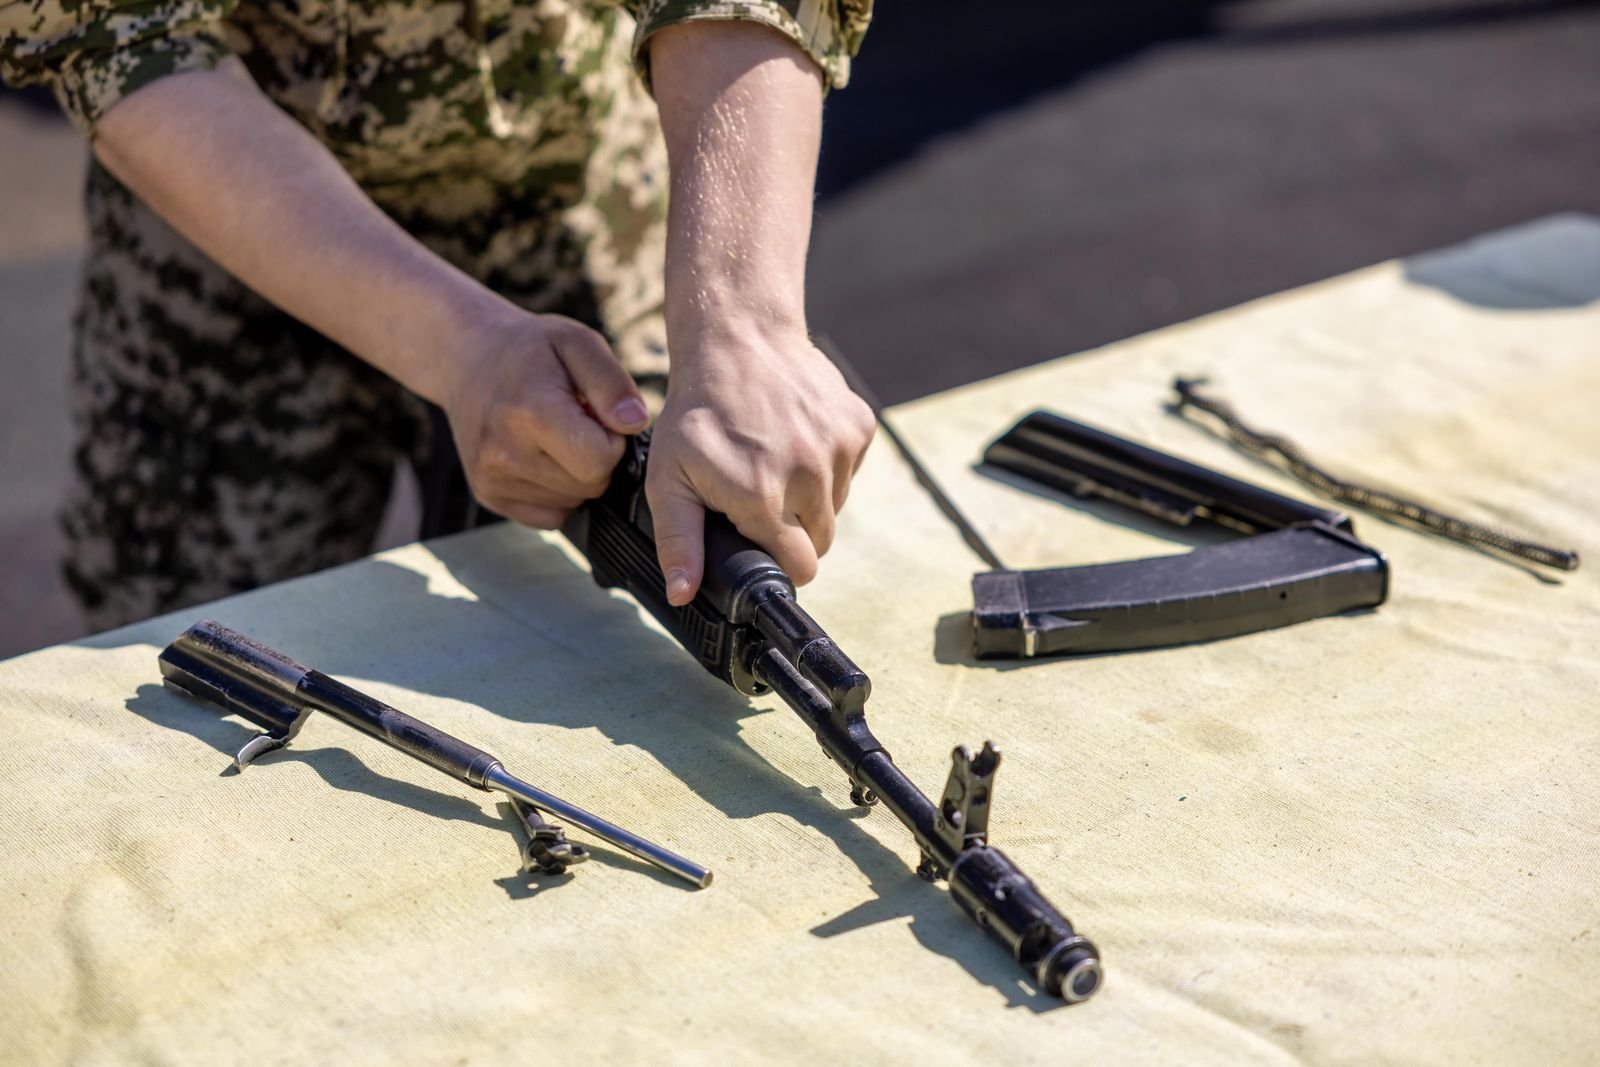
A firearm can be protected by a film so thin it is almost invisible.
After a thorough cleaning, the tempting sight is glossy metal. But oil collecting in a slide rail, pooling around a pin, or running from the action is not extra protection; it is uncontrolled lubricant.
Enough gun oil leaves a continuous, barely visible film on corrosion-prone steel and the specific bearing surfaces that move against one another. It does not leave free liquid that can migrate into the stock, attract fouling, thicken in cold conditions, or be displaced onto ammunition and nearby surfaces. A part may look nearly dry yet still be correctly lubricated: the relevant test is a smooth film after wiping away excess, not a wet shine. Product instructions and the firearm maker’s lubrication points remain the final reference, since a tight, high-friction action and a lightly loaded mechanism do not necessarily need the same treatment.
- Free liquid is excess; a wiped, continuous film is the target.
- Corrosion protection and friction control often overlap, but not every surface needs both.
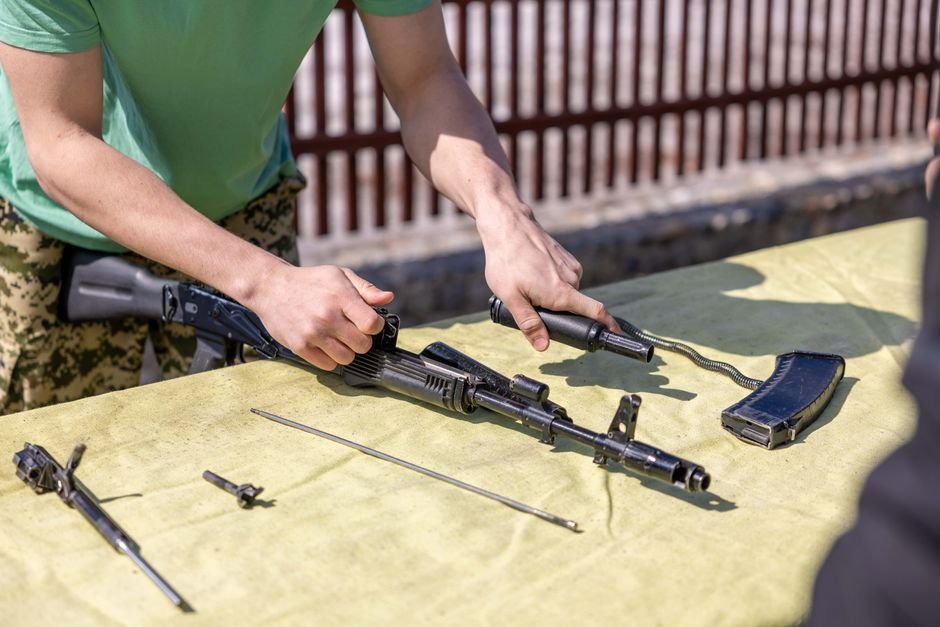
Knowing how much gun oil to use comes down to one small drop wiped into a thin, barely visible film on each moving contact point, not a wet, glossy coat across the whole action.
Start with a clean, safe firearm
Before applying lubricant, establish a safe, clean starting condition. With the firearm pointed in a safe direction, follow its manufacturer’s unloading procedure, remove ammunition from the work area, and verify that the action and chamber are clear.
Oil does not dissolve contamination; it carries it into the contact surfaces it is meant to protect. Carbon fouling, unburned powder, grit, and metal particles suspended in oil can form a lapping compound that hastens wear.
Remove residue completely
When cleaning off carbon buildup, use a firearm-compatible cleaner and non-marring tools, then wipe treated surfaces dry. Old grease is equally important to remove: it can trap debris and prevent fresh oil from reaching the metal.
Solvent residue also matters. A final dry wipe with a clean, lint-free patch reveals remaining discoloration or grit and prevents oil from being diluted. Only a clean, dry surface can hold the thin, controlled film that proper lubrication requires.
A glossy, heavily oiled surface can conceal fouling. If a patch comes away gritty or dark, cleaning is incomplete.
Use the faint-sheen test
Place one small drop of oil on a clean applicator—such as a needle oiler, swab, or lint-free patch—not directly into a cavity. Touch it to one contact area, then spread it across the full bearing surface with the applicator or a clean fingertip.
The finished surface should look slightly darker or softly reflective, not wet. When viewed at an angle under good light, it has a continuous faint sheen; a patch dragged across it may show a light trace, but it should not emerge saturated. A final wipe with a dry patch removes excess while leaving the protective film behind.
Pooling at the ends of rails, oil beading around pins, or liquid migrating into recesses indicates more lubricant than the interface needs. Those visible reservoirs can collect carbon, dust, and unburned residue rather than improving movement.
Oil and grease are not interchangeable
Thin oil works best where parts move quickly, clearances are tight, or the manufacturer specifies oil: pivot points, light sliding surfaces, and small bearing contacts are common examples. It flows into a thin film and is easy to refresh.
Manufacturer-approved grease serves a different role on slower, higher-load sliding interfaces, where it can remain in place under pressure. It is typically applied as a very thin, even smear—not a packed layer. The firearm’s manual takes priority: an interface specified for grease should not be substituted with oil merely because oil is easier to apply.
After spreading lubricant, wipe the area once with a clean patch. A faint sheen remaining on the metal is the target. If the patch picks up a wet streak or leaves droplets behind, wipe again.
Oil the interfaces, not the entire surface
A firearm rarely needs oil across every visible metal surface. Lubricant belongs primarily where two parts slide, rotate, or bear against each other. The owner’s manual and any model-specific lubrication diagram take priority: tolerances, coatings, polymers, and gas-system designs differ substantially even within the same firearm category.
Common pistol points
On many semi-automatic pistols, the relevant interfaces are the slide rails and frame rails, the barrel area that contacts the slide during cycling, and the outside of the recoil assembly only where the maker identifies contact. A very small amount may be specified at certain trigger or connector contact faces, but oil migrating into a striker or firing-pin channel can retain debris and cause trouble. Exposed slide flats, sights, and grip areas generally need corrosion protection, not a wet operating coat.
Common rifle points
For bolt-action rifles, attention commonly falls on the bolt body bearing surfaces, locking-cam surfaces, and cocking cam; high-load camming points are often candidates for a manual-approved grease rather than thin oil. Semi-automatic rifles may call for lubricant on bolt-carrier rails, carrier contact tracks, or charging-handle bearing areas. Gas pistons, gas ports, magazines, ammunition, and optics are not general-purpose oiling targets unless the manufacturer specifically says otherwise.
Break-actions and hinged guns
Break-action designs concentrate wear at the hinge pin or trunnion, barrel-hook or locking surfaces, and the locking bolt interface. These are localized, high-pressure contacts, so a thin smear of the specified lubricant is more useful than oil spread over barrels or the action exterior. Excess at the hinge can be forced outward, carrying grit into the joint.
After application, cycling the unloaded action distributes the film. Any lubricant that squeezes out, pools in recesses, or transfers readily to a fingertip indicates more than the interface needs.
Keep firing-related areas dry
Keep firing areas dry
Moving-part lubrication serves a different purpose from cleaning and corrosion control. The bore and chamber are combustion surfaces, not lubricated interfaces. After cleaning with a bore snake or cleaning rod, dry patches can remove solvent and residual oil until they emerge clean and dry.
A storage preservative has a limited role. A nearly invisible film on clean exterior metal helps resist humidity; a product specifically intended for storage may also be used in the bore according to its instructions. Before firing, however, all liquid must be removed from the bore and chamber.
Oil in a chamber can alter cartridge-case grip during firing. Oil on cartridges or primers can migrate into components and compromise reliable ignition, while oil inside magazines collects grit and can slow followers. Magazine bodies, springs, followers, cartridges, and primer areas are generally kept dry unless the manufacturer specifies otherwise.
A storage film is protection between uses—not operating lubricant. It should never remain visibly wet in the bore, chamber, or on ammunition when the firearm is returned to service.
Adjust for conditions, not anxiety
A firearm used in dry, dusty conditions can collect airborne grit wherever excess oil remains exposed. In that setting, a lighter lubricant or a product that leaves a less tacky film can reduce contamination, but the goal is still a wiped, continuous film on the specified interfaces—not a wetter application.
Cold can make some oils thicken, slowing moving parts and making pooled lubricant more troublesome. Select a lubricant rated for the expected temperature range, then inspect function and visible residue more often during major temperature swings. Adding extra oil does not compensate for poor low-temperature flow.
Humidity and long storage increase corrosion risk. A light preservative film on external metal may be appropriate while stored, followed by removal from firing-related areas before use. High round counts similarly call for more frequent checks because heat and fouling can displace or contaminate lubricant.
Use condition-based inspection rather than an “add more” reflex:
- Dust or sand: wipe exposed excess and inspect sooner.
- Cold: confirm the chosen lubricant remains fluid.
- Humidity/storage: renew protective films after handling or inspection.
- Heavy firing: clean fouling from contact points, then restore only a faint sheen.
Read the signs before adding more oil
Pooling along rails, in recesses, or around pins is excess lubricant.
With the firearm unloaded and ammunition elsewhere, cycle the action slowly. Wipe pooled oil completely; it attracts debris and can migrate into areas meant to stay dry.
Seepage usually means the original application was overgenerous.
Wipe exterior seepage and inspect the source. A faint sheen on the intended contact surface is sufficient after the excess has migrated out.
Only abnormal drag at a specified sliding or rotating contact point suggests a dry interface.
Cycle the unloaded mechanism and compare its movement with the manual’s normal operation. Apply the smallest amount to that point, spread it, then wipe until only a film remains.
Oil thrown onto nearby surfaces indicates excess on a moving part.
After a non-firing function check, inspect rails, the frame, and exterior surfaces for fresh spray or streaks. Wipe the source rather than adding lubricant elsewhere.
Remove ammunition from the work area, verify the chamber and magazine area are empty, and follow the manufacturer’s unloading and function-check procedure. These checks assess lubricant distribution—not firing performance.
Finish every session with the same controlled cycle
-
Clean the contact surfaces
Remove fouling, old lubricant, and solvent residue before lubricating; oil cannot protect a surface carrying abrasive debris.
-
Place oil precisely
A fine-tip applicator confines a tiny amount to the intended pin, rail, or bearing surface instead of flooding adjacent parts.
-
Cycle the action
Normal cycling spreads the lubricant into a working film and exposes any point that remains unusually dry or drags.
-
Wipe until only a sheen remains
A lint-free patch removes squeeze-out, fingerprints, and visible wetness while leaving the thin protective film behind.
-
Match the bore brush to deposits
Bronze and nylon brushes address different fouling conditions; brush selection is separate from controlling lubricant quantity.
Frequently Asked Questions
How much gun oil should I actually use?
Use one small drop on a clean applicator per contact point, then spread it and wipe until only a faint sheen remains. The target is a continuous but barely visible film, not a wet or glossy surface.
Should the bore and chamber be oiled?
No, generally. The bore and chamber are combustion surfaces, not lubricated interfaces, and all liquid should be removed from them with dry patches before firing.
What are signs there is too much oil on a firearm?
Pooling along rails, oil beading around pins, seepage after storage, and oil flinging onto nearby surfaces during cycling are all signs of excess lubricant rather than proper protection.
Is gun oil the same as grease for firearm maintenance?
No. Thin oil suits fast-moving, tight-clearance parts, while manufacturer-approved grease is used on slower, higher-load sliding interfaces and applied as a thin, even smear rather than a packed layer.
Does cold or dusty weather change how much oil to use?
It changes the lubricant choice and inspection frequency, not the target film thickness. Cold favors an oil rated to stay fluid, while dusty conditions call for wiping exposed excess and checking more often.
A Dry-Looking Firearm Can Still Be Properly Lubricated
The useful endpoint is not a glossy, wet appearance. It is a thin, uninterrupted film on the manufacturer-specified sliding or rotating interfaces, with no oil able to migrate, drip, collect debris, or reach firing-related areas.
After cycling the action, wipe every accessible surface until it feels protected rather than wet. If a patch picks up free oil or a bead reforms, remove it. Lubrication belongs at the contact point; everything else should be clean and dry.




7 Comments
This worked for me. I was definitely confusing “lubricated” with “looks wet” and getting a little oil fling after range days. One drop on a patch, work the action, then wipe the exposed stuff off—much cleaner now.
Slightly skeptical of advice that says a firearm should “look dry,” because beginners can take that too far. But your distinction between dry-looking exterior surfaces and a filmed contact interface is the clearest version of this I’ve read. Pooling near moving parts has always seemed like a dirt magnet, not extra protection.
That’s exactly the distinction I was aiming for. “Dry-looking” should never mean neglected or run without the lubrication the manufacturer calls for; it means there is no accessible excess waiting to attract debris, seep into the wrong place, or fling onto other surfaces. The contact points can retain a very thin, continuous film even when the surrounding metal does not look visibly wet.
Good reminder about storage versus firing condition. I leave a very light protective film on cleaned metal in the safe because humidity is a real issue where I live, but I check the chamber, bore, and magazine area again before heading out.
The clean–apply–cycle–wipe routine sounds almost too simple, yet it has stopped me from treating every squeak like an emergency. No more oil bath for the poor thing 😅
The faint-sheen test is helpful, but step 3 didn’t quite answer my situation. On my handgun, the slide feels slightly draggy after I wipe it down until it looks almost dry. If I add another drop it starts migrating around the frame after a few cycles.
Is the answer to use a tiny bit of approved grease on the rails, or should I just accept some resistance? I don’t want to “fix” it by oiling the striker area by accident.
Don’t oil the striker area unless the manufacturer specifically instructs it. A slight amount of resistance can be normal when the gun is clean and cold, so first confirm the slide, rails, and recoil assembly are assembled correctly and that there is no leftover solvent or debris.
If your manual specifies grease for the rail/contact surfaces, apply an extremely thin film only there—think a trace spread on the bearing surfaces, not a visible layer. Cycle it, then wipe away anything that squeezes or migrates out. If the manual calls for oil instead, use a film rather than adding a second free drop.
I had the same “dry = wrong” instinct. My rails needed way less than I thought; most of the extra just ended up collecting lint. The manual-specific part is key.