
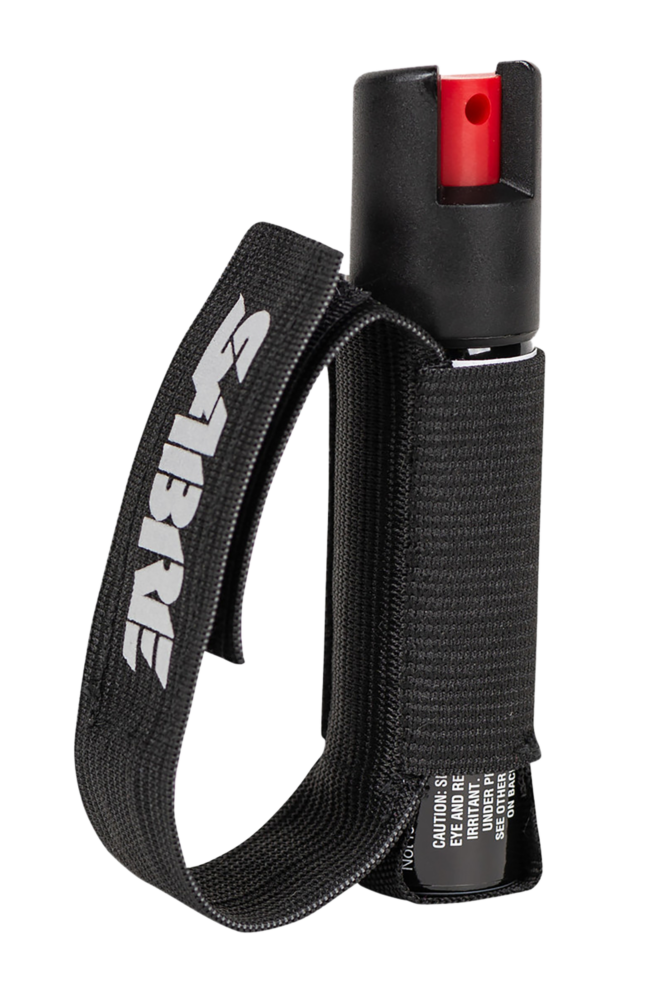
Hesitation around a defensive spray is often judgment, not weakness.
A canister at the bottom of a bag can create false reassurance: it exists, yet may be unreachable when fine motor control and attention narrow. Not feeling fully confident is a useful starting signal. It encourages practice that treats pepper spray as an escape tool rather than a device for “winning” a confrontation.
Early handling can stay deliberately low-risk: identify the safety mechanism by touch, confirm the grip without placing a finger on the actuator, and rehearse drawing the inert trainer or unloaded practice unit while facing a safe direction. The important limit is equally physical and tactical: spray may create an opening, not certainty. Wind, distance, barriers, and an aggressor’s movement can change its effect. Training therefore pairs access with immediate disengagement—creating space, moving toward safety, and avoiding any urge to remain and assess results.
- A dedicated inert trainer permits repeatable draw practice without an accidental discharge.
- A holster or pocket position that allows a consistent grip is more useful than a deeply concealed location.
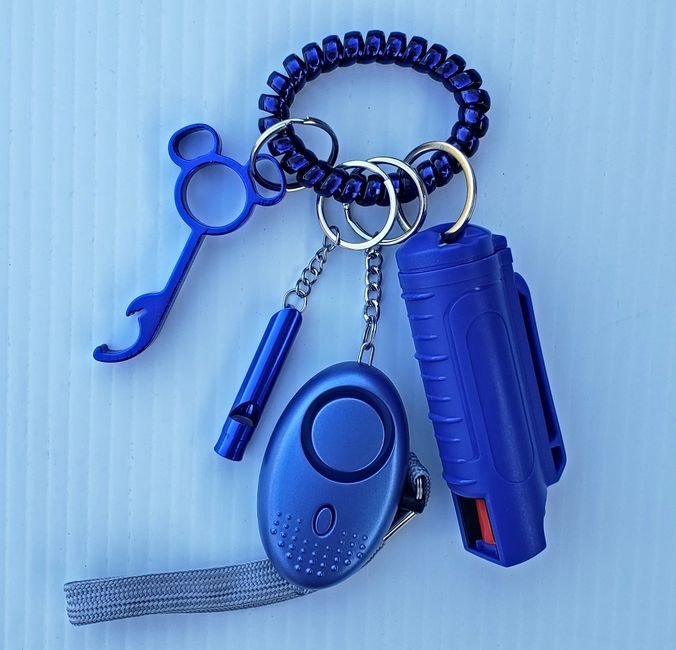
Pepper spray training doesn't need a live canister to be effective — most of the value comes from rehearsing the safe sequence with an inert trainer: locating the actuator by feel, confirming the safety, drawing without flagging anyone, and pairing that draw with an immediate move toward an exit. The sections below walk through that sequence step by step, from canister anatomy to target-pattern awareness and a short maintenance routine that keeps the skill current.
Build a safe practice lane before handling a trainer
-
Choose an outdoor, open-air space
A clear area with no bystanders, pets, vehicles, open windows, or shared airflow reduces accidental exposure and avoids training around confined spaces.
-
Read the wind before every repetition
Face so that any discharge would travel away from the body and others. Wind can shift quickly; practice pauses when gusts or swirling air make the direction uncertain.
-
Mark one safe direction
Pick a fixed downrange reference and keep the trainer oriented there from draw through reholstering. Never use a person as the visual reference, even with an inert unit.
-
Use an inert trainer first
An inert, model-matched trainer makes it possible to rehearse grip, safety operation, presentation, and aiming without creating an aerosol cloud. Treat it with the same muzzle discipline as the live device.
-
Confirm the specific product and local rules
Manufacturer instructions explain the safety mechanism, range, and storage requirements for that model. Official local government or law-enforcement guidance can identify location-specific restrictions on possession, carry, transport, or discharge.
A live canister is not a harmless practice prop. Even outdoors, airborne irritant can drift, linger, and contaminate nearby surfaces. If live-function familiarization is permitted and necessary, the product instructions and official local guidance are the controlling references; an inert trainer remains the better tool for repeatable beginner drills.
Read the canister before rehearsing
A canister is not interchangeable with another model, even when the housings look similar. Before any drill, inspect the label and handle it without aiming it at anyone. The choice of spray strength matters, but control layout matters first.
Map the controls by touch and sight
Identify these features on the exact unit:
- Actuator: the button or trigger that releases the spray.
- Safety: often a flip-top, twist lock, or sliding tab; note its locked and ready positions.
- Nozzle direction: find the discharge opening and keep it pointed into the established safe lane. Do not assume it faces the same way as the label or clip.
- Expiration or manufacture marking: check the stamped date, usually on the base, seam, or label. A date marking helps distinguish an in-date carry unit from one reserved for replacement or inert practice.
- Attachment points: locate the pocket clip, key ring, or holster interface so a practice draw does not tug the actuator or rotate the nozzle.
Repeat the identification with eyes averted only after visual confirmation. Tactile recognition reduces fumbling without turning orientation into a live discharge drill.
Never test the actuator merely to confirm where it is. Visual and tactile inspection can establish the control layout without releasing spray.
Match drills to the spray pattern
A spray pattern changes the drill—not just the product. Streams generally offer the longest reach and least airborne spread, but demand deliberate alignment on a small target. Cone or fog patterns cover more area and are more forgiving of small aiming errors; wind can carry droplets back toward the user and bystanders.
Gel usually resists wind better and limits airborne contamination, yet its narrow, cohesive delivery calls for target-tracking practice. Foam can stick to a surface and makes contact easy to see, but it may be transferred by touch or wiped away. For stream and fog-format practice, inert trainers can reveal the difference between precise nozzle indexing and broad-pattern wind awareness.
Keep drills format-specific: use a small marked zone for stream or gel, and a wider target plus a clear downwind area for cone/fog. Treat every pattern as potentially contaminating after discharge.
Rehearse the draw before adding speed
Speed is not the first benchmark. A beginner’s first useful milestone is a draw that follows the same safe sequence every time, using an inert, model-matched trainer in the established practice lane.
One controlled repetition
Start from the normal carry position, whether that is a pocket, holster, clipped location, or bag compartment. Locate the trainer by touch and establish a full, secure grip before lifting it; avoid fishing for the canister once it is out.
Draw slowly with the nozzle kept toward the fixed safe direction. Confirm its orientation visually and tactically: the actuator and nozzle must face the intended direction, while the trigger finger remains clear of the actuator until the ready position is reached. A ready position keeps the trainer close to the body, pointed safely downrange, with the safety device handled only as the specific model requires.
Pause there. This pause exposes common errors: an upside-down canister, a reversed nozzle, a partial grip, or a finger already pressing the actuator. Then reverse the sequence just as deliberately—re-engage the safety if applicable, verify orientation, and return the trainer fully to its normal carry position. The hand should leave only after retention is confirmed.
Five careful repetitions reveal more than fifty rushed ones. Consistency makes later movement, verbal commands, and decision-making practice easier to evaluate.
At ready position, silently check: grip, nozzle, finger, direction. If any element is wrong, reset rather than correcting it while moving.
Add distance, words, and an exit
A draw is more useful when it happens as part of a break-contact sequence. In dry practice, begin with a clear, loud verbal boundary such as “Stop” or “Back away,” using language that is easy to say under stress and does not invite debate.
As the trainer is accessed, move diagonally or laterally toward a preselected exit rather than backing straight up. This movement can create space, avoid becoming fixed in place, and keep the route of travel in view. The trainer remains oriented safely and is not treated as a signal to stand and assess the other person’s reaction.
Build awareness into every repetition
Before the draw, identify an exit, obstacles, bystanders, and the likely wind direction if outdoors. After the simulated deployment, continue moving, scan the path ahead, and reholster only once the drill’s exit point is reached.
- Words create a boundary.
- Movement creates distance.
- Awareness preserves an exit.
Dry practice develops the sequence; it never substitutes for distance, disengagement, or leaving when a safe route exists.
See what the pattern actually does
A target drill turns a canister’s stated range into something observable. It uses an inert, model-matched trainer and a large marked target in an open area. A paper silhouette or cardboard panel with a center mark makes it easy to see where the pattern begins, widens, or falls away.
Before each repetition, the lane gets checked again: no bystanders, animals, vehicles, open windows, or foot traffic downrange. Wind deserves the same attention. Even a light crosswind can shift a cone substantially; a breeze blowing back toward the operator makes the session unsuitable.
From a stable, slightly bladed stance, the operator orients the nozzle, delivers one short, deliberate burst, then releases the actuator and moves laterally. The pause matters: it reveals the actual pattern rather than producing an unhelpful cloud, and it reinforces that spraying is not a continuous action.
A second burst from a different marked distance can show how accuracy and spread change. Repositioning between bursts also prevents practice from becoming a static, range-only habit. Confined spaces are poor observation environments: spray can linger, rebound from surfaces, and contaminate anyone nearby.
If wind changes, the target area becomes active, or residue could reach people or animals, the session stops. Pattern feedback is useful only when the environment remains controlled.
Use scenarios to practice restraint
Short decision drills make the canister a last-resort tool, rather than a reflex. A training partner can read a scenario aloud; the trainee names what is known, what is missing, the nearest exit, and whether the canister remains secured.
Make uncertainty part of the drill
Try situations such as:
- A stranger is walking quickly behind someone in a parking area but passes without speaking. What details are absent? Is there a lit entrance or other people nearby?
- Two people are arguing loudly near an exit, with no threat directed at the trainee. Can distance be increased without entering the dispute?
- A person blocks a narrow path while talking on a phone. Is there room to turn around, cross the street, or wait in a visible location?
The useful answer is often “not enough information.” That response trains observation, positioning, and escape planning. It also normalizes keeping the canister secured when avoidance or departure is available.
Rules governing carry, display, and force vary by jurisdiction. Current guidance from relevant local authorities is the appropriate source for those questions.
Finish with distance and follow-through
The drill is not complete at the spray. Rehearse moving immediately toward a safer, more populated, or otherwise appropriate location while keeping attention on the route ahead. Distance, obstacles, and a change of direction can matter more than watching the result.
After any live discharge, treat hands, clothing, and gear as potentially contaminated. Avoid rubbing the face or transferring residue into a vehicle or enclosed room; fresh air and separation from contaminated items can limit secondary exposure. Product labels provide model-specific exposure and cleanup information, and emergency resources can provide direction when an exposure is severe or unfamiliar.
Inspect the canister afterward for residue around the actuator, damage, an engaged safety, or an uncertain remaining charge. A used, leaking, expired, or questionable canister may need replacement. Store it secured, upright when the manufacturer specifies, and away from heat and unauthorized access.
A successful drill ends with movement, distance, and a destination—not a pause to assess the spray pattern or retrieve gear.
A short maintenance loop
-
Inspect the canister
Check the label date, leaks, dents, corrosion, and nozzle obstruction; replace compromised units.
-
Test the safety
Confirm it engages and releases cleanly without touching the actuator.
-
Review the carry position
Keep the canister secured in its usual accessible location, with the nozzle consistently oriented.
-
Run an inert dry practice
Occasionally rehearse recognition, draw, correct grip, and distance without pressing the actuator.
-
Finish the sequence
Pause to assess surroundings, identify an exit, and move away rather than lingering.
A two-minute inert rehearsal can reveal a reversed canister, blocked access, or a safety that feels different than expected. The useful sequence is recognize, draw, create distance, assess, and exit.
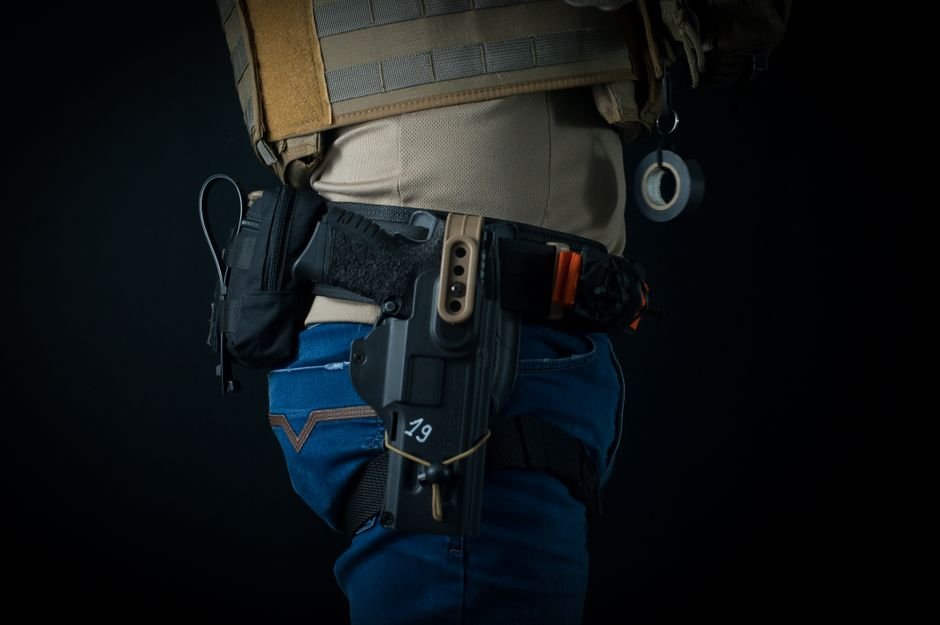
Frequently Asked Questions
Should I practice with a live pepper spray canister or an inert trainer?
An inert, model-matched trainer is the better tool for repeatable beginner drills; a live canister is not a harmless practice prop, since even outdoors, airborne irritant can drift, linger, and contaminate nearby surfaces.
What should I check on a canister before practicing?
Identify the actuator, safety mechanism, nozzle direction, expiration or manufacture marking, and attachment points on the exact unit before any drill.
Does pepper spray guarantee I can stop an attacker?
No. Spray may create an opening, not certainty — wind, distance, barriers, and an aggressor’s movement can all change its effect.
What should happen immediately after a real spray discharge?
Move immediately toward a safer, more populated location while keeping attention on the route ahead, then treat hands, clothing, and gear as potentially contaminated and avoid rubbing the face.
How often should I inspect and maintain my pepper spray?
Regularly check the label date, leaks, dents, corrosion, and nozzle obstruction, test that the safety engages and releases cleanly, and replace any compromised unit.
Competence Stays Calm and Repeatable
- Treat the canister as one part of an exit-focused safety plan, not a promise of control.
- Use only the device’s stated operating, inspection, and replacement guidance.
Beginner competence is not fast drawing or dramatic scenario work. It is the ability to recognize limits, handle the exact device safely, create distance, and leave without relying on the spray to solve every problem.
Short, deliberate refreshers preserve that judgment. Practice can remain within the manufacturer’s instructions and applicable local requirements, with conditions such as wind, carry position, and equipment condition checked each time.
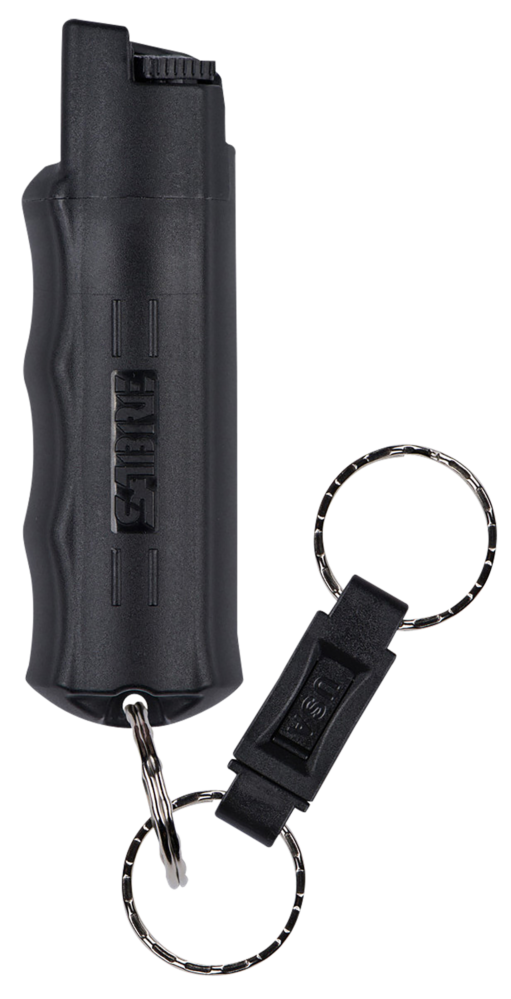
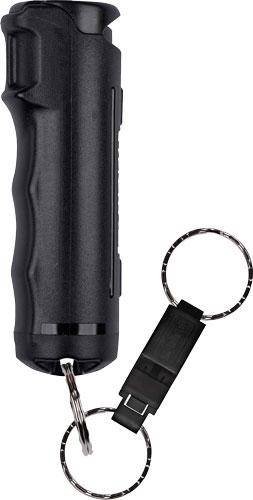
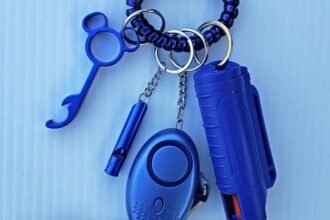
Sabre Pepper Spray Keychain Quick Release Black
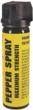
Eliminator Flip Top Pepper Spray
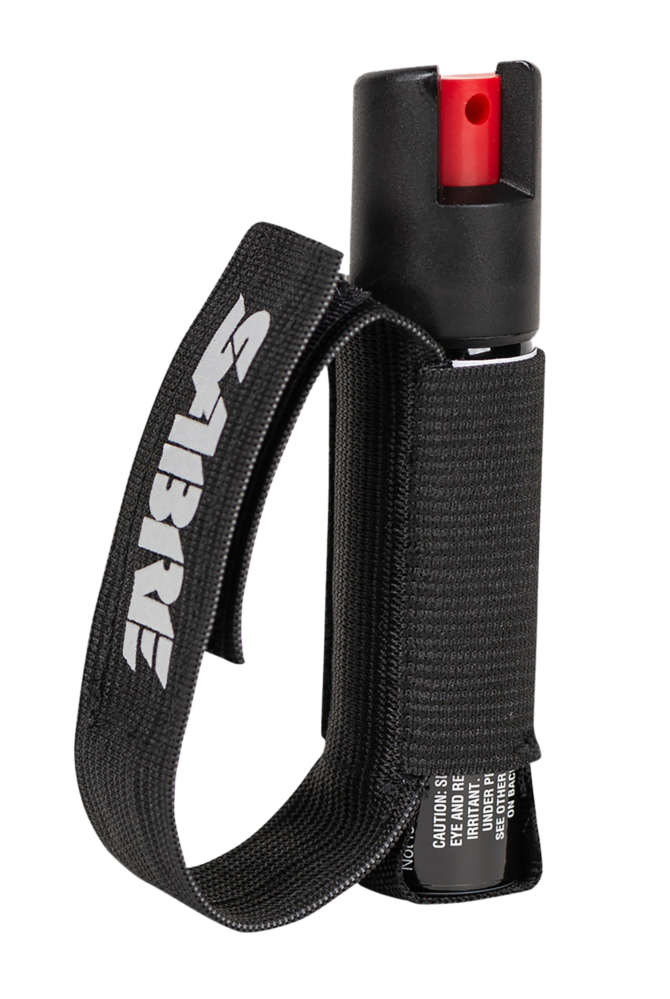
BlackSabre Quick-Release Flip Top Pepper Gel Spray




16 Comments
The wind check sounds obvious until you realize how easy it is to skip when you are trying to get through practice quickly.
I did an outdoor session on a breezy afternoon and stopped before using anything because the direction kept changing. Was that overly cautious, or should practice just wait for calmer conditions?
Stopping was a good call, not overcautious. If wind direction is inconsistent, it makes the observation less useful and raises the chance of drift or contamination. A calm open-air setting with a fixed safe direction is the better time to evaluate any pattern; there is no benefit to forcing a session in poor conditions.
I have a carry clip, and I noticed it can make the canister sit in a slightly different orientation depending on what pocket I use. The maintenance loop is a good idea, but how often would you rehearse without turning it into a weekly obsession?
Also, secure reholstering seems easy in theory and weirdly clumsy in reality.
A short, calm check on a regular schedule is usually more useful than frequent high-speed practice. Confirm the label/date, carry orientation, and that the attachment is secure; then do a few deliberate inert draws if your local rules and safe practice setup allow. If different pockets change the orientation, choose one consistent carry position rather than relying on memory under stress.
Consistency helped me a lot. I stopped switching it between jacket pocket, bag, and jeans pocket because every setup felt like starting over.
Step 3, matching the drill to the pattern, didn’t quite click for me. My can says “gel,” but the practice target had much less visible spread than I expected. Is that normal, or does it mean I’m using the wrong kind of inert trainer?
That can be normal. Gel-style products are generally more directional than cone/fog patterns, so a marked target may show a tighter impact area rather than a broad cloud. Make sure the inert trainer is specifically model-matched or at least has the same actuator/nozzle layout; its purpose is mainly to teach handling and orientation, not to perfectly duplicate every output characteristic.
I had the same expectation at first. Seeing the tighter mark was what finally made “precision matters” make sense to me.
I’m still a little confused about foam and transfer. If the point is to create distance and leave, why does the article mention contamination control afterward? Are we talking about accidentally touching residue on your own hands/clothes?
Not trying to be dramatic, I just have a toddler and would rather not turn laundry day into a chemical experiment 😅
Yes—that is the practical concern. Residue can be transferred by hands, clothing, carry gear, or items handled after exposure, especially with products that cling. The safest approach is to follow the product label for cleanup and response, avoid touching your face, and keep potentially contaminated items away from children and pets until they have been handled appropriately.
The toddler point is real. I keep my practice gear separate from regular stuff and wash up before getting back in the car. It’s boring, but boring is good here.
The slow draw/reholster advice actually worked for me. I kept wanting to rush it, but doing it slowly made me notice I was holding the trainer with the nozzle turned slightly sideways. Glad I caught that in practice and not when stressed.
Thank you for emphasizing that a spray is not guaranteed to work the same way every time. The “recognition-to-exit” sequence is a much healthier takeaway than pretending one tool solves everything.
I appreciate that the scenario section doesn’t treat every awkward interaction like a reason to spray somebody. More self-defense articles need to say “leave” more often. The jurisdiction-specific rules bit is important too, even if it’s less exciting than action-movie advice.
The verbal-boundary drill was my favorite part of this. Saying a clear “Back up” while moving toward an exit felt awkward alone, lol, but it made the whole exercise feel less like gadget practice and more like decision practice.
Small but useful reminder to check the date marking. Mine had been sitting in a drawer forever, and I honestly never thought to inspect it. Adding a quick label check to my monthly routine now.