

A smooth commute is often decided in the final thirty seconds at the door.
The lock is already turning when the transit pass cannot be found, the phone shows 2%, and the work badge is somewhere beneath a charging cable. None of these failures is dramatic alone; together, they create a rushed chain of searches, substitutions, and second guesses that can cost a train—or an entire morning’s rhythm.
The weakness is rarely a lack of equipment. It is decision fatigue at the point of handoff: essentials move from charging spot to pocket, from hallway surface to bag, with no dependable final location. A fail-safe morning kit reduces those handoffs. Each departure-critical item needs a visible home, a quick readiness cue, and a backup path when the primary item is unavailable.
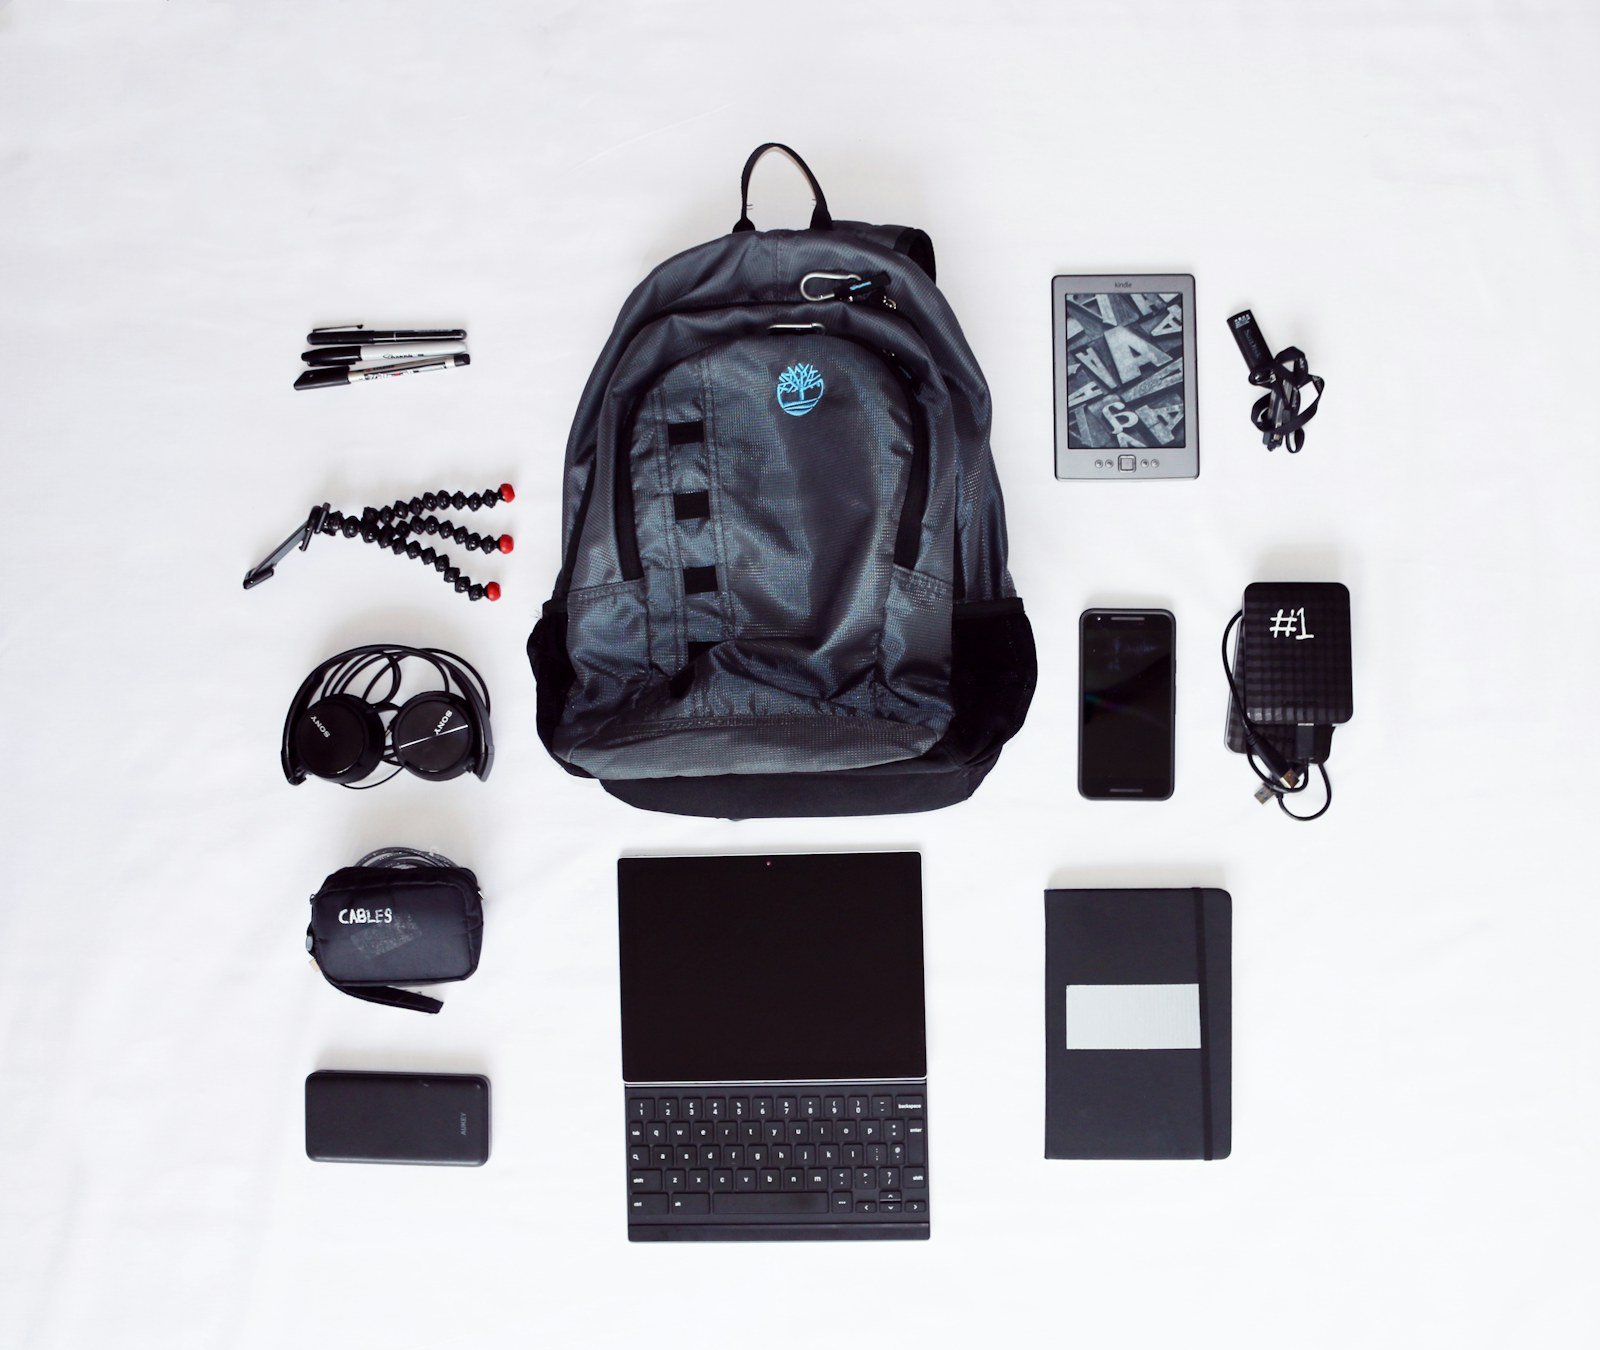
Give every item a job
A commuter bag works when every object earns its space, keeping essentials organized for the morning commute.
It earns space through one of three jobs: access and navigation, workday continuity, or a predictable disruption.
This simple test turns what belongs in a commuter carry from a vague packing question into a controlled system.
- Access and navigation: keys, transit pass, phone, wallet, work badge, and a charging method that fits the route.
- Workday continuity: laptop or tablet, required adapter, headphones, notebook, and a compact power bank when the day regularly outlasts a charge.
- Predictable disruption: a small umbrella, reusable water bottle, spare cable, or packable layer—only when local weather, delays, or the commute pattern make it likely.
Everything else needs a different home. Keep duplicate chargers, stationery, toiletries, and backup clothing in office reserves.
Put multi-day contingencies, extra shoes, larger electronics, and destination-specific gear in travel luggage. The daily kit is not a mobile storeroom; it is a fast, repeatable hand-off from home to work.
Build a single access-critical unit
-
Define the contents by consequence
Include only items that can block entry, travel, payment, communication, or identification: keys, transit pass, wallet or payment card, work badge, and essential charging access if applicable.
-
Choose a format that announces itself
A bright, textured zip pouch is easier to spot in a dark bag than a black organizer. A fixed, dedicated exterior-safe pocket can work when the bag has reliable closure and the contents cannot fall out.
-
Keep the kit physically small
The unit should be easy to lift, see, and move in one motion. Receipts, spare cables, cosmetics, and other “maybe” items dilute its visual signal and make absence harder to notice.
-
Give it one home launch pad
At arrival, the complete unit returns to the same tray, hook, drawer, or bag pocket near the exit. The home is for the unit, not for its individual pieces.
-
Run a one-object departure check
Before leaving, confirm the pouch is present or touch the fixed pocket once. That replaces a fragile mental recital of keys, badge, wallet, and pass.
If a badge or keys must remain on a lanyard, attach or park that lanyard beside the kit so both are verified in the same glance.
A departure check becomes more reliable when it asks, “Is the recognizable unit here?” rather than requiring several separate memories. Consistent color, shape, and location create a visual mismatch when the kit is missing—often faster than searching a packed bag.
Build a power module around real device demands
-
Read the charging label, not the marketing claim
Match the laptop’s required USB-C Power Delivery profile—not merely a headline wattage. A bank may advertise 65 W yet offer limited output at the voltage the computer expects, or reduce power when two ports are active.
-
Choose one primary cable and one short spare
For laptop charging, use a USB-C cable rated for the required current and power; e-marked 5 A cables matter above 60 W. Inspect both ends for looseness, bent shells, fraying, and heat discoloration.
-
Test the complete chain at home
Connect the bank, cable, and device together while the device is working. Confirm that it charges rather than merely holds level, and verify what happens when a phone shares the bank.
-
Use a predictable charge-status routine
Top up the bank after any heavy use and check its indicator before the evening pack. Indicator LEDs are approximate; a brief plug-in test catches a depleted bank more reliably.
-
Pack electronics for inspection without unpacking the bag
Keep the laptop, bank, and cable pouch reachable from the top compartment. The same layout helps pack a laptop for quick TSA screening while avoiding a tangled search at the checkpoint.
Power banks and spare lithium batteries are commonly handled differently from checked baggage; current airline and airport guidance can vary by route.
A low-rated USB-C cable may charge a phone normally while failing to supply enough power for a laptop. Do not assume identical connectors mean identical capability.
After replacing a cable or power bank, test the exact morning setup—including any multiport charging—before relying on it during a commute.
Contain work tools without burying them
A commuter bag works better as a set of small, visible zones than as one large compartment.
The aim is not to carry every contingency.
Moreover, it is to make the few items needed during a normal workday retrievable without unloading the bag.
Assign by access frequency
Keep the laptop or tablet in its own padded sleeve, ideally against the back panel for stability. Put the day’s paper folder, notebook, and pen together in a slim document sleeve to prevent clutter at the bottom. Reserve a zip pouch for personal essentials — keys, transit card, glasses case, lip balm.
A practical placement pattern is:
- Back panel: device and flat documents
- Top or exterior quick-access pocket: badge, transit pass, and keys
- One internal pouch: small personal items
- One remaining pocket: charging module from the previous step
Avoid dedicating every pocket before the bag has been used for a week. Empty pockets provide overflow for a receipt, visitor pass, or cable temporarily removed during the day. At the evening reset, return each module to its zone and remove anything that has no next-day purpose.
Keep weather and route gear removable
-
Use a weather sleeve
Store a rain shell, pack cover, and compact umbrella together. Attach it only when the forecast and exposure justify the extra bulk.
-
Build a waiting module
For delayed trains or exposed platforms, add gloves, a warm layer, and a small sit-or-stand comfort item suited to local conditions.
-
Switch in cycling protection
A cycling pouch can hold lights, a high-visibility layer, and a spare strap or patch kit. Keep it separate from pedestrian commuting gear so it is not carried unnecessarily.
-
Plan for heat, not just rain
On hot routes, a filled bottle, sun protection, and a cooling accessory may matter more than another layer. Refill capability can reduce what must be carried.
-
Reset at the season change
Review modules at the start of warmer, colder, or wetter periods. Dry, recharge, and replace consumables before returning a module to storage.
A removable module earns its place when it answers a specific route risk, not a vague fear of being unprepared.
Add backups without adding bulk
A backup earns space only when it protects a true single point of failure: an item whose loss, depletion, or malfunction blocks entry, travel, payment, communication, or work. A second pen is usually dead weight; an alternate way to enter a building or contact a key person may not be.
Find the break points
Trace a normal morning from door to destination. Mark the moments where one missing item ends the sequence. Common examples include a transit credential, phone battery, building access token, prescription eyewear, or a required work authentication device. Then ask whether a fallback is realistically usable at that moment.
Place fallbacks in separate, limited locations. A transit backup in the same wallet as the primary does not survive a lost wallet. Better patterns include one payment method in the essentials unit and one in a locked work bag compartment, or a charging cable in the power module and a short spare at the desk.
Avoid turning resilience into an information leak. Carry only the identity, access, and account details needed for that day. Keep recovery codes, spare keys, and sensitive documents out of routine carry unless their immediate use justifies the exposure.
A fallback counts only if it survives the failure it covers. Test for different container, different failure mode, and practical access—not merely a second copy nearby.
Reset the kit before sleep, not at the door
-
Empty the day’s temporary load
Remove receipts, food containers, loose papers, and anything borrowed from another bag. Return each module to its assigned pocket rather than “sorting it later,” when small omissions become morning problems.
-
Recharge and reconnect
Charge the phone, headphones, transit device, and power bank as their actual routines require. Re-seat charging cables in the power module after use, and periodically verify that the charger, cable, and device still negotiate power together.
-
Restore consumables
Replace water, snacks, tissues, medication that is routinely carried, or other items depleted during the day. A simple minimum marker—such as one refill or one use remaining—makes replenishment a visible decision instead of a memory test.
-
Read tomorrow’s conditions
Check the forecast, route disruptions, meeting location, and any planned change in travel mode. Add the relevant removable module—rain shell, warmer layer, cycling gear, or waiting-time item—without permanently expanding the bag.
-
Stage the bag and use a touch check
Place the packed bag on the same launch pad with keys, access-critical unit, and outerwear. At the doorway, confirm by touch: key shape, wallet or badge pouch, phone, and bag strap; this short physical sequence replaces a frantic full-bag search.
Keep the system current
A commuter kit is a living system, not a one-time packing project. A short weekly review catches depleted consumables, unreturned modules, cable wear, and items that have quietly stopped earning their space.
Review at the right cadence
- Weekly: empty debris, recharge power, inspect fasteners and cables, and return borrowed or removed items.
- Seasonally: swap weather layers, daylight gear, hydration capacity, and route-specific items as conditions change.
- After an incident: treat a missed train, dead phone, soaked document, or failed entry hand-off as useful evidence. Identify whether the cause was the item, its placement, the reset routine, or an unclear trigger.
- After a life change: reassess the kit when workplaces, schedules, transport modes, devices, caregiving duties, or access systems change.
Record only repeat failures. One awkward day may be noise; the same friction twice is usually a design signal. A simple note—event, missing support, revised location—keeps improvements concrete.
The durable principle is a stable core with removable modules. Access, identity, and daily power remain predictable; weather, route, work, and contingency gear attach only when conditions justify them. That structure makes the departure check short enough to survive busy mornings.
Make reliability lighter, not larger
- Review recurring friction rather than adding gear after every inconvenience.
- Keep the daily core fixed; let changing conditions determine the modules.
Dependable departures come from a kit that is maintained after ordinary weeks and redesigned after meaningful failures. A fixed core plus condition-specific modules preserves readiness without turning the commuter bag into permanent luggage.






11 Comments
The nightly reset is the bit people will skip, though. I know because I am people. 😅 If I get home late, the rain cover and battery pack stay wherever they landed until the next morning’s circus.
Good distinction between daily carry and route gear. I cycle three days a week but take the train on the other two, and carrying a lock, lights, and rain shell every single day made my bag ridiculous.
I made a “bike clip-on” pouch that lives beside the launch pad. On cycling days it takes about two seconds to add, and on train days I don’t haul a mini hardware store around.
Exactly the kind of removable module I had in mind. Keeping it beside the launch pad is important: route-specific gear should be visible at the decision point, not stored so neatly that it is forgotten. If your cycling days change often, a calendar reminder or weather check can be the trigger for clipping it on.
Same here, except my bike pouch includes a dry pair of socks. Learned that one the hard way after an unexpected downpour and a long meeting. No one needs that kind of Tuesday.
Question on work tools: I need a notebook, a compact keyboard, safety glasses, and sometimes a tape measure for site visits. The visible-zone approach sounds good, but these aren’t all daily items and I don’t want to repack my bag every night.
Would you make one site-visit module, or leave the glasses/measure in a fixed work pouch and only add the keyboard when needed?
I’d make a site-visit module for the glasses and tape measure if they reliably travel together, then treat the keyboard as a separate conditional item. The goal is not to force everything into one pouch; it is to reduce decisions and keep the temporary items from displacing your daily core. Give the module a reserved location in the bag when it is active, and a home near the launch pad when it is not.
A separate keyboard sleeve worked better for me too. Mine is needed often enough that it has a dedicated flat pocket, while the odd job-specific stuff goes in one grab pouch. Otherwise the tape measure somehow ends up underneath lunch, every time.
The advice about full-chain power testing deserves more emphasis. My battery pack said it could deliver enough wattage for my laptop, but the cable I’d thrown in my bag could not, so I only discovered the problem on a delayed train.
Now I test pack + cable + device together once every few weeks, and I keep the laptop cable in the power pouch rather than borrowing it from my desk setup. Boring system, dramatically fewer panicked searches for outlets.
Step 3 didn’t quite work for me at first because my work phone needs USB-C PD but my personal phone is old Lightning, and I kept grabbing the wrong cable.
I added a tiny labeled cable pouch inside the power module, which helps, but it still feels like more pieces than a “single unit.” How do you keep the cable situation from becoming another handoff?
That is a real handoff problem, not a failure of the idea. Treat the cable pouch as part of the power module rather than a separate item: keep it permanently attached inside the module or use a pouch with a fixed cable slot. Labels are useful during setup, but cable shape/color differentiation usually works faster when you are half awake.
I use a short USB-C-to-C cable and a tiny USB-C-to-Lightning adapter on my keyring. Not perfect, but it means there’s only one cable to remember. The adapter stays with the cable, not with the phone.