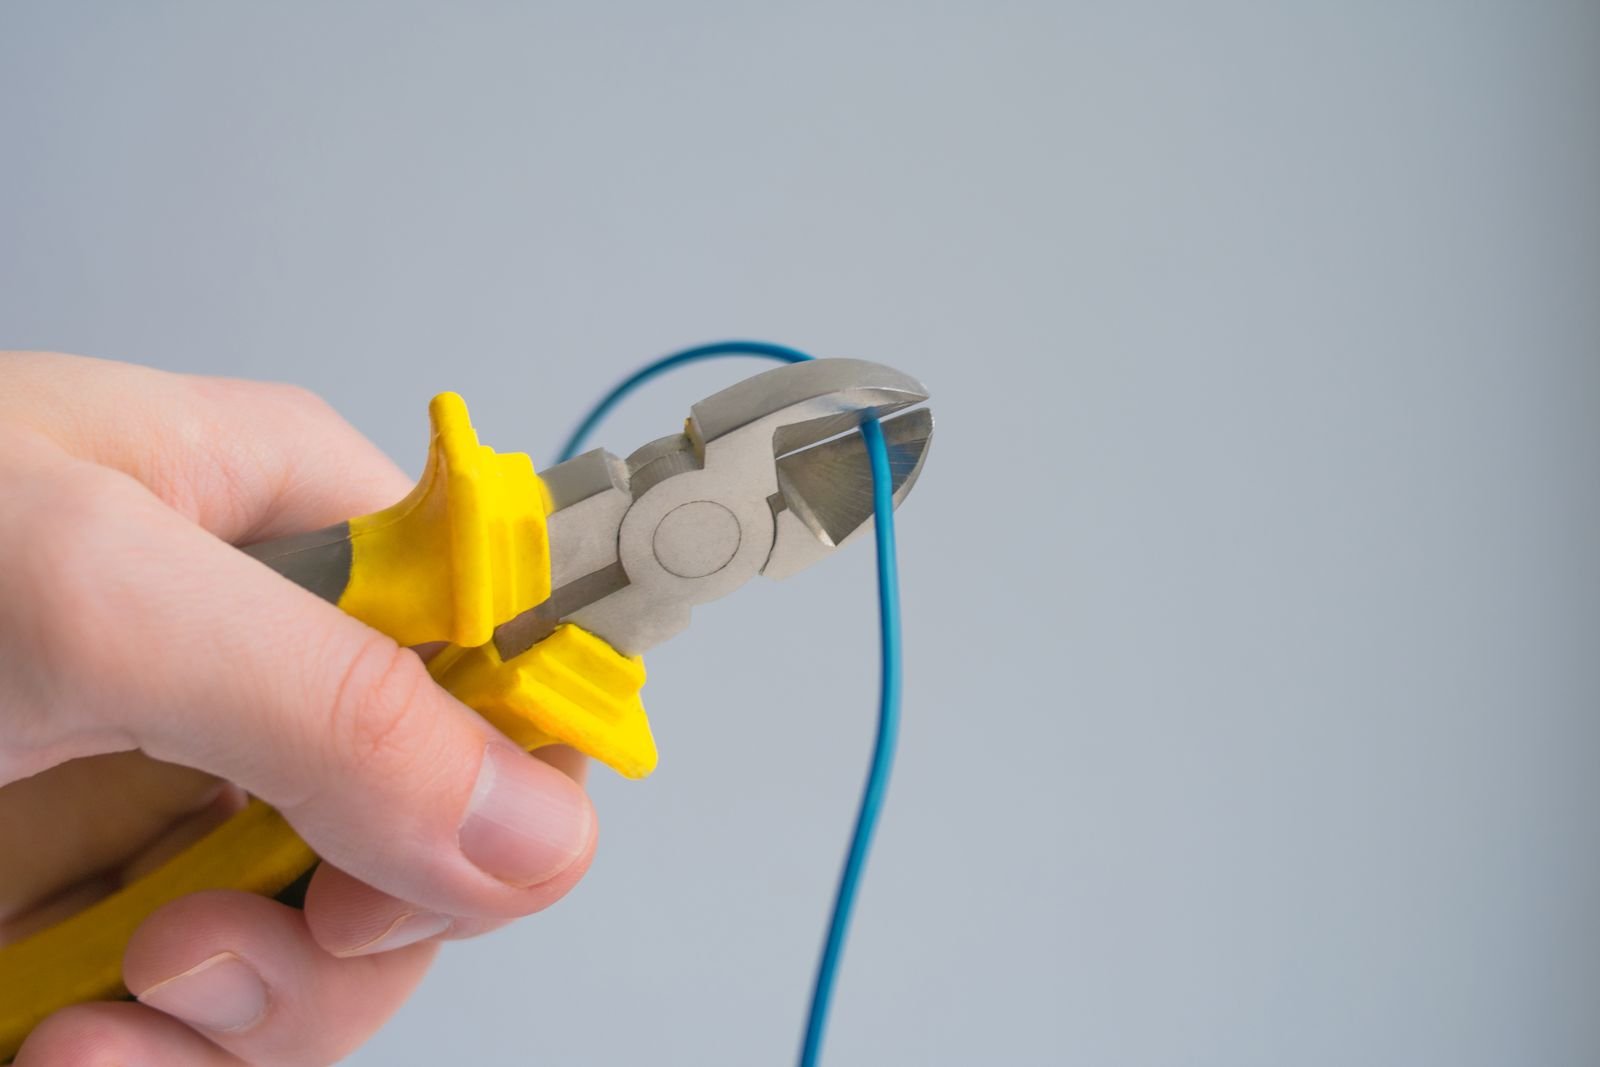
A stalled cut is a warning—not an invitation to squeeze harder.
The jaws close, the wire dents, and then nothing moves. At that point, stop applying pressure. Wire hardness cannot be judged reliably by color, shine, or diameter: soft annealed wire and hardened music wire can look deceptively similar.
Check the multitool maker’s rating and use the designated hard-wire notch, if provided. If the wire type is unknown or exceeds that rating, switch to a purpose-rated cutter. Twisting the jaws or adding leverage can chip the cutting edge; the damaged edge may then bind on later cuts, while an ejected chip creates a sharp-fragment hazard. Wear eye protection, keep the cutting path pointed away from people, and inspect the jaws before reuse.
When is a hard-wire cut acceptable?
Can multitool cutters be used on hard wire?
Only when the manufacturer explicitly rates that cutter for hard wire. General-purpose wire-cutting claims do not establish suitability for hardened steel, spring wire, or similar stock.
Where should hard wire be placed in the jaws?
It should sit in the hard-wire notch or other zone identified in the tool’s manual. Cutting near the jaw tips can increase leverage on thinner edges and raise the risk of damage.
Does one successful cut prove the cutters are suitable?
No. A completed cut may still leave rolled edges, dents, looseness, or small chips; the jaws should be cleaned and inspected before reuse.
When should the cut be abandoned?
Do not proceed when the wire’s material or hardness is unknown, when it exceeds the documented capacity, or when it will not seat fully in the designated zone. Hardened or oversized stock calls for a purpose-rated cutter and eye protection.
Why “Wire” Does Not Mean One Cutting Job
Which wires are normally easiest to cut?
Annealed copper and aluminum conductors generally deform more readily than steel. Fencing wire may be mild steel, but high-tensile fence strands can be substantially harder; insulation color or wire appearance does not identify hardness.
Why are fishhooks and piano wire risky?
Spring wire, many fishhooks, and piano wire gain strength from high-carbon alloys and heat treatment. Steel nails, screws, and other fasteners also resist cutting and may be hardened, so diameter alone is not a reliable guide.
What changes as wire diameter increases?
A thicker strand presents more material for the edges to shear, increasing required force. Composition and temper still matter: a thin hardened strand may challenge cutters more than a thicker, annealed conductor.
Where should hard wire sit in the jaws?
Regular edge sections are commonly intended for softer conductors, while a manufacturer-marked hard-wire notch near the pivot uses greater leverage and protects the finer edge. Jaw shape also affects access, so selecting a suitable plier nose for repair work matters; wire should sit fully in the rated cutting area rather than near the tips.
How Cutter Design Changes the Risk
Do replaceable inserts make hard-wire cutting safer?
Replaceable inserts limit the consequences of edge damage: a worn or chipped insert can be exchanged without replacing the entire plier head. They still have material and hardness limits, so replaceability should never be treated as chip-proofing.
What changes when the cutting edges are integral?
Integral edges are formed into the plier jaws rather than mounted as separate inserts. If an edge rolls or chips, restoration may require manufacturer service or replacement of the plier assembly; aggressive field grinding can alter the geometry and heat treatment.
How do leverage and edge geometry affect damage?
Longer handles can generate more force, but that force also increases stress at the cutting edge. Bevel angle, jaw alignment, wire thickness, and whether the wire sits fully in the intended notch can matter more than tool size alone.
Where should hard wire be placed in the jaws?
The wire should be seated squarely in the zone identified for hard wire in the current manufacturer diagram, not balanced near the cutter tips. After cutting, the inserts should be checked for gaps, looseness, rolling, or missing edge material.
Does the Surge have tougher cutters than the Wave+?
Leatherman currently describes both models as having replaceable wire cutters and replaceable hard-wire cutters, but that wording alone does not establish identical capacity. For a careful Wave+ and Surge cutter comparison, check each current product page and user guide by exact model; if wire alloy, hardness, or diameter is not rated, manufacturer support should confirm suitability before cutting.
How should a hard-wire cut be made safely?
- Isolate electrical hazards
Treat electrical wire as energized until it has been disconnected and verified dead with an appropriate tester. Apply lockout/tagout procedures where required; a multitool should not be used for live-wire work.
- Confirm the cutter is suitable
Check the manufacturer’s rating for the wire’s material, hardness, and diameter. If any of these are unknown—or the wire exceeds the listed capacity—use a purpose-built, appropriately rated cutter.
- Inspect the tool
Look for chipped or rolled edges, cracks, corrosion, loose pivots, and handles that bind. Damaged cutters should be removed from service rather than tested under load.
- Seat the wire squarely
Place it fully inside the designated cutting zone, typically near the pivot where leverage is greatest. Keep the wire perpendicular to the edges and maintain control of both cut ends.
- Apply smooth pressure
Close the handles steadily without twisting, rocking, bouncing, or adding extension pipes. Wear eye protection and keep the cutting path directed away from people.
- Inspect after the cut
Check both edges for chips, dents, misalignment, or a new gap. Clean-cutting performance does not override visible damage; discontinue use if the edge has changed.
The tool manufacturer’s instructions and capacity markings take precedence over general technique.
Stop immediately if the wire slips, the jaws flex or spread, the tool stalls, or the required force rises sharply. Also stop if the circuit cannot be verified dead or the wire specification is uncertain. Switch to a purpose-built cutter rated for the known material and diameter.
How should the cutters be inspected afterward?
What should be inspected after a hard-wire cut?
Clean the jaws. Under bright light, check for chips, rolled edges, cracks, loose inserts, misalignment, and incomplete closure.
When should the multitool be removed from service?
Remove it from service if damage or looseness appears, or if clean jaws still misalign or remain open. Never test suspect cutters on more wire.
Can a damaged replaceable cutter be repaired?
Install only manufacturer-approved inserts and fasteners for the exact model. Jaw, screw-seat, or alignment damage warrants manufacturer or warranty service.
- Rated capability
Frequent cutting should stay within documented manufacturer ratings; unknown wire calls for a dedicated, correctly rated cutter.
FavorPublished ratings and useful handle leverageAvoidUnrated claims or improvised extensions - Serviceable design
Approved replacement parts and clear warranty support reduce downtime; fixed damaged jaws may require factory service.
FavorModel-specific parts and stated support termsAvoidGeneric inserts or unsupported repairs
What is the final go/no-go rule?
Before cutting, identify the wire’s material, temper, and diameter. Check the exact multitool model’s manufacturer documentation for a matching hard-wire rating, then place the wire only in the designated notch. If the wire is unknown, exceeds the rating, will not seat correctly, or requires abnormal force, stop and use a purpose-rated cutter. Forcing the cut risks chipped edges and hazardous fragments.
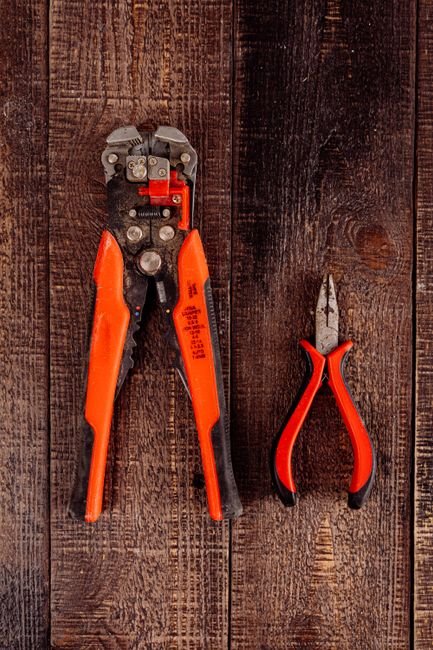
Cutter quality varies enormously between tools, and which multitools actually cut and strip wire cleanly covers the models whose cutters hold up to hard wire rather than merely surviving it.