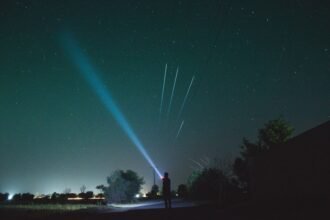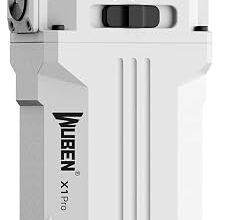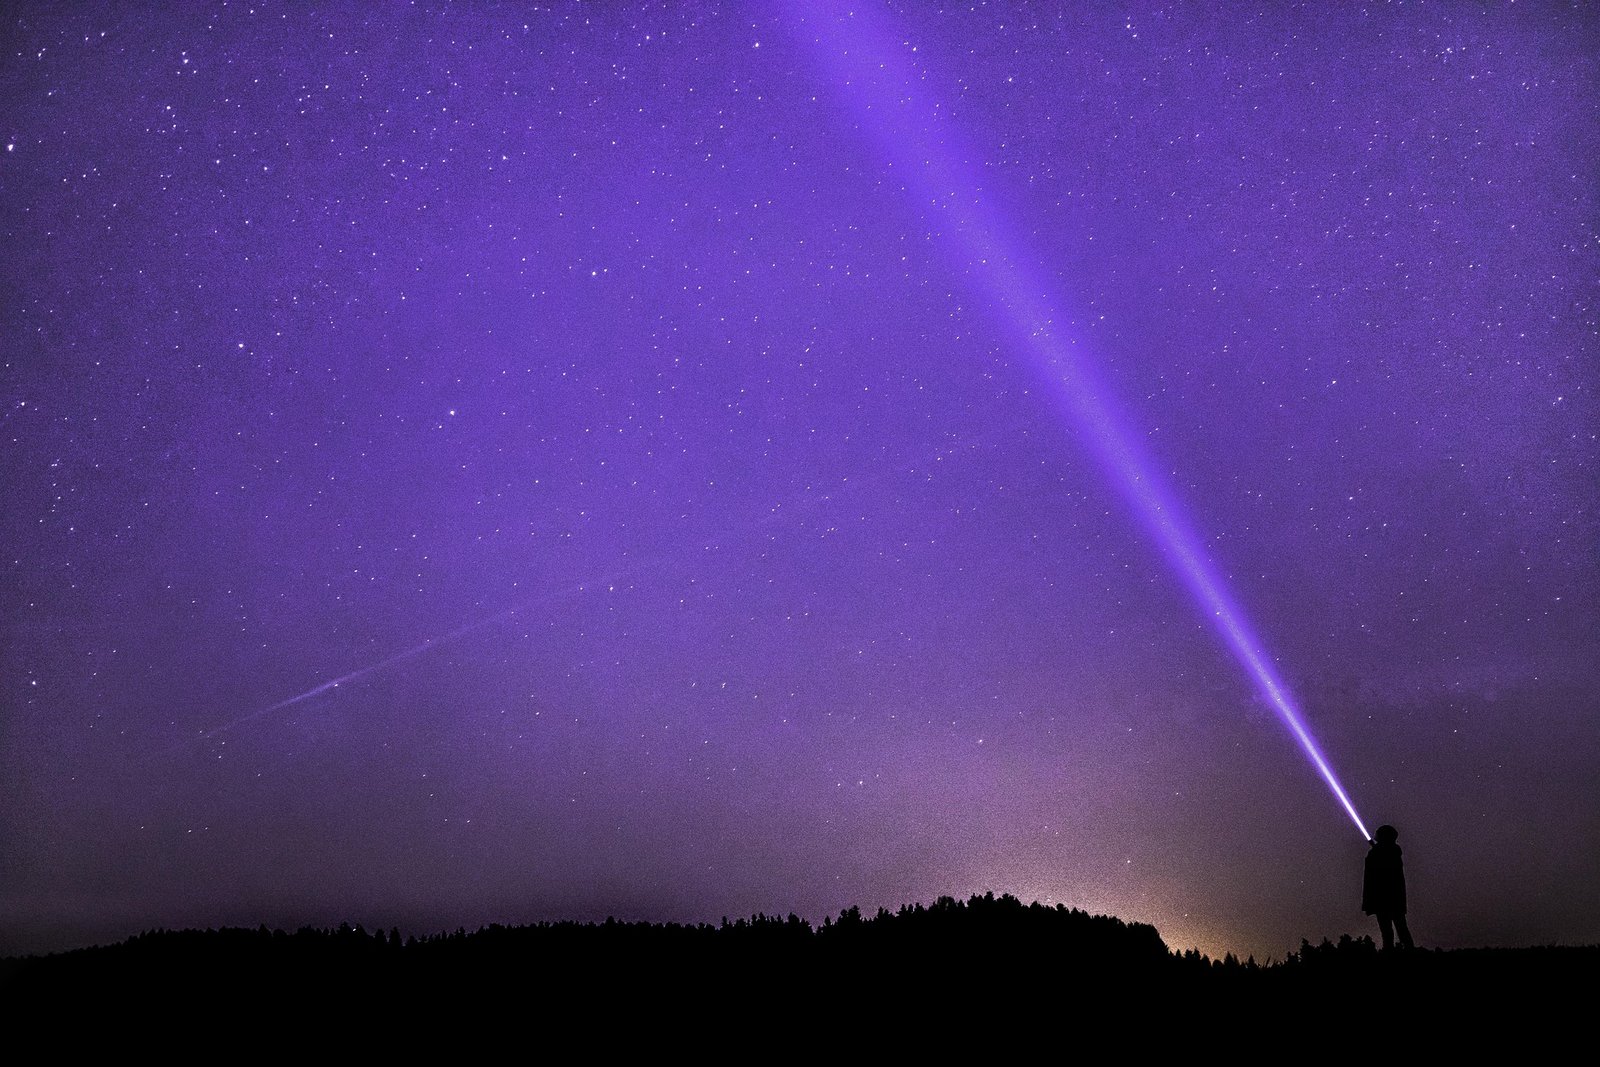
Lumens lie: beam shape decides whether a distant target shows detail or just a glare.
An operator lines up two lights — both advertise 1200 lumens — but one must search a distant ridge while the other lights a wide staging area. Treating raw lumen numbers as the deciding factor is a common mistake; beam profile and throw determine how far usable light goes. The wrong choice means missed identification, incidental blinding of teammates, or running out of runtime when it matters most.
Before committing to hardware, review the basics at what is a tactical flashlight — terms like candela, hotspot, and spill change the decision far more than lumen count.
- Candela (cd) measures peak beam intensity; illuminance at distance ≈ cd ÷ distance² (lux drops with the square of distance).
- Two lights with identical lumens can have vastly different throw if one concentrates output into a small hotspot.
- Prioritize high-candela, narrow-beam designs for target ID/search; prioritize total lumens and wide spill for area work.
What beam throw means
Plain definition
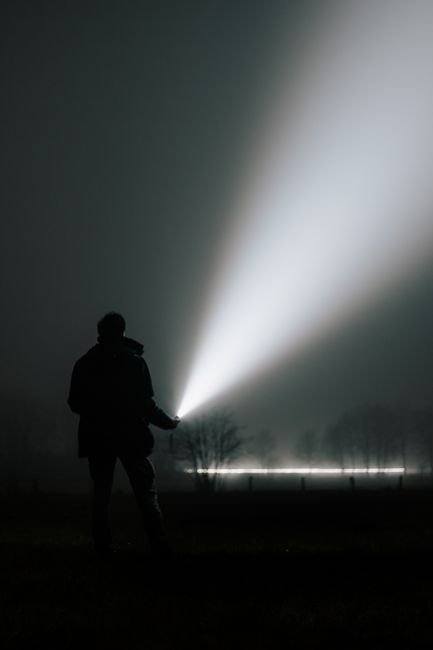
Beam throw flashlight describes the effective distance a light can project usable illumination.
Technically, beam throw is governed by candela (luminous intensity in a particular direction) and the beam shape. Hotspot versus spill affects performance, not the total lumen output.
How candela and beam shape set distance
Candela measures how many lumens are concentrated into a narrow cone. Additionally, illuminance follows a simple relation: lux equals candela divided by distance squared. This relationship helps predict brightness at distance. Understanding candela and distance supports choosing optics for precise beam throw flashlight behavior.
That means concentrating the same lumens into a tighter hotspot raises candela. Moreover, it increases lux at long range.
Why lumens lie about reach
Lumens sum all output; they say nothing about direction. Two 500-lumen lights can have very different throws: the one with the smaller beam angle produces a higher candela and will illuminate farther, even though total lumens are identical.
Practical takeaways for beam throw flashlight
- For distance, prefer specs that list candela or a throw distance (meters to a given lux) over lumens.
- Look for a tight hotspot (small beam angle) when reach matters; expect reduced spill but much greater read-distance.
- Use the lux = candela ÷ distance² relation to estimate how far a stated candela will be useful.
A modest-lumen light with a tight hotspot often out throws a higher-lumen floodlight.
When lumens matter — and when they don't
What lumens measure
Lumens quantify the total visible light a source emits in all directions, weighted to human eye sensitivity. That makes lumens a good indicator of how much light a lamp produces overall, but not how that light is distributed or how intense it is at a distance.
Where lumens are the right metric
Lumens are most useful for flood or scene illumination: lanterns, work lights, room lighting, or any task requiring even, wide-area brightness. For close- to mid-range tasks, higher lumens generally translate to higher perceived brightness and better-illuminated surfaces.
Why high-lumen floods can still lack reach
A floodlight with many lumens can have a wide beam angle that spreads light thinly. Because usable range depends on candela (luminous intensity) and lux at distance, a 3,000-lumen wide flood can produce low candela and poor long-range illumination.
Takeaway: prioritize lumens for broad, even coverage and perceived brightness; prioritize candela/beam throw when long-range spotting or reach is the objective. When possible, compare lumens, beam angle, and candela (or lux at distance) together.
How optics turn lumens into candela and throw
Key components and how they shape the beam
Lumens measure total light; candela measures intensity in a direction. The optical system — the LED emitter size, reflector or TIR optic, lens geometry, and coatings — determines how much of those lumens are steered into a narrow cone (high candela) or spread widely (low candela, wide spill).
- Emitter size and die: Smaller LED dies or concentrated phosphor areas behave more like point sources and are easier to collimate. Large dies or multiple emitters increase etendue (source area × angular spread), limiting how tightly light can be focused and producing wider hotspots and stronger spill.
- Reflector geometry: Deep, smooth parabolic or shaped reflectors direct light into a narrow hotspot. Shallow or textured reflectors produce broader, softer beams with larger spill. Precise shaping controls hotspot diameter and minimizes rings or artifacts.
- TIR optics and lenses: Total internal reflection (TIR) optics combine refraction and reflection to shape beam profiles with compact form factors and high efficiency. Aspheric or collimating lenses can concentrate light for throw, while simple diffusers spread it. Optical coupling between emitter and optic (gap, position, orientation) strongly affects beam symmetry.
- Lens coatings and materials: Anti‑reflective coatings increase transmission; internal surface finish and refractive index affect beam homogeneity and color mixing. Imperfect coatings cause losses or stray corona.
Practical read: a small emitter + deep smooth reflector or well-designed TIR optic yields a tight, high candela hotspot. Larger emitters, multiple LEDs, or shallow optics favor wide spill and area illumination. Beamshots reveal these traits more reliably than lumen numbers alone.
Etendue (source area × divergence) is conserved through passive optics. That means a physically larger LED or multiple emitters cannot be focused to the same narrow cone as a tiny point source without losing flux, so design choices set hard limits on achievable candela.
Key units and beam terms
Lumen
Total visible light output from a source, measured over all directions; describes quantity, not direction or reach.
Candela
Luminous intensity in a specified direction (lumens per steradian); higher candela concentrates light and extends beam throw.
Lux
Illuminance on a surface (lumens per square meter); depends on distance and angle—drops with the square of distance.
Beam distance
Nominal distance where illuminance reaches a set threshold (ANSI uses 0.25 lux); determined by peak candela and optics.
Hotspot
Central, high-intensity area of the beam that produces the longest visible reach.
Spill
Lower-intensity peripheral light surrounding the hotspot, useful for close-range awareness and peripheral illumination.
How candela and beam distance are measured
Measurements use a calibrated photometer or integrating receiver to find peak on-axis intensity; results depend strongly on test setup.
-
Candela measurement
Measure peak on-axis illuminance at a known distance with a calibrated sensor, then convert to candela (cd = lux × distance²).
-
Beam-distance calculation and ANSI/FL1
ANSI/FL1 defines beam distance as the range to 0.25 lux; using the peak candela, distance (m) ≈ sqrt(cd / 0.25).
-
Why test conditions matter
Battery state, emitter temperature, alignment, ambient reflections and measurement distance all alter candela and computed throw—lab results can differ from field performance.
ANSI/FL1 uses a 0.25 lux threshold for beam distance; other contexts may use different thresholds.
Pick the one metric that matters per mission
-
Close work — Illuminance (lux) at task distance
For near tasks, the key is usable illuminance where the task sits: lux measured at typical working distance. High lux with a wide, even spill yields readable detail; the trade-off is less long-range candela and often higher total lumen draw (shorter runtime).
-
Trail / EDC — Balanced candela (moderate throw)
Prioritise peak candela that gives object recognition a few dozen metres away while retaining a useful spill angle. Technically, moderate candela concentrates enough lux on obstacles without tunnel vision; the compromise is accepting lower total lumen flood or slightly reduced throw for peripheral visibility.
-
Search / observation — Maximum candela (tight hotspot)
For target detection at distance, maximize candela/throw: concentrate lumens into a narrow hotspot so lux at range is high (inverse‑square benefit). Trade-offs include almost no close‑range spill, higher thermal and battery demands, and poorer situational awareness nearby.
-
Signaling / emergency — Peak intensity and flash modulation
Signal effectiveness depends on short‑term peak intensity (candela) and the flash pattern (duty cycle and frequency) for human/optical detection. Accept reduced continuous-illumination utility and heavier battery consumption in exchange for visibility and recognizability at long ranges.
Think in terms of illuminance at the task for close work and candela/beam shape for anything that needs reach. • Check measured candela/ANSI throw for distance claims. • Expect compromises: more throw usually means less spill and runtime; more spill means lower long‑range lux. • Real-world tests at night are the best verification.
Debunking common beam‑and‑brightness myths
Not true — candela (beam intensity) and beam shape govern practical distance.
Lumens measure total output; candela concentrates those lumens into a direction. Because illuminance falls with distance squared, a small focused hotspot produces much higher lux at range than a high‑lumen flood. Optics and emitter size determine how many lumens become candela, so lumen counts alone are misleading.
Beamshot photos are often misleading due to camera settings and scene conditions.
Long exposures, high ISO and post‑processing amplify hotspots while the human eye perceives less; atmospheric clarity, reflective backdrops, and camera dynamic range distort apparent reach. Standardized candela or ANSI/FL1 measurements give reproducible reach estimates unlike variable photography.
Not always — extremely tight beams reduce usable target area and become unforgiving to aim.
Very narrow beams concentrate intensity into a tiny hit zone; misalignment, jitter, or moving targets then receive little usable illumination. Practical throw balances a strong hotspot with a controlled spill so targets are both visible and identifiable at range.
Prioritized buying checklist
- Candela / ANSI beam‑distance
Prioritise candela and the ANSI/FL1 listed beam distance for any long‑range requirement; these numbers predict usable lux at range better than lumens. Confirm the manufacturer lists peak candela and an ANSI distance measured to the standard.
Look forHigh peak candela and a clear ANSI/FL1 beam‑distance figureAvoidRelying on lumen claims alone or vague “throw” marketing without candela data - Beam profile photos and measurements
Examine real photos and beamshots showing hotspot size and spill at multiple distances — a tiny high‑candela hotspot behaves differently than a broader midrange beam. Look for lab charts or lux‑at‑distance tables when available.
Look forClose‑up beamshots and lux vs distance plots or candela mapsAvoidOnly product renders or single‑distance photos that hide hotspot shape - Runtime at the intended output (and thermal behavior)
Check runtime curves at the exact output level planned for use; many lights start high but step down quickly as they thermally regulate. Seek published step‑down times and evidence of sustained output.
Look forRuntime graphs at target mode and stated thermal regulation dataAvoidShort burst specs or runtime quoted at a non‑sustained peak - Aiming ergonomics, switch and mounting
Evaluate how the head, bezel, and switch aid precise aiming under real conditions; head shape, beam centering, and intuitive switching matter for rapid target acquisition. Consider switch type, detents, and hands‑free mounting options.
Look forPositive switch feedback, an easy aiming arc, and secure mounting optionsAvoidFlimsy switches, poor bezel control, or awkward aiming ergonomics
One simple decision rule
- Verify candela Prioritize candela (or ANSI/FL1 beam‑distance) when the goal is visible range. Lumens matter for spill and area illumination, not reach.
- Check runtime Confirm runtime at the output level actually required for the task — not just the brief turbo claim. Check regulated modes and thermal throttling.
- Inspect optics Inspect optics: reflectors and TIR lenses shape hotspot vs. spill. Match reflector size/type to whether a tight beam or wide flood is needed.
If candela or ANSI/FL1 data are missing, treat quoted lumens and photos with caution.
Frequently Asked Questions
What is beam throw on a flashlight?
Beam throw is the effective distance a flashlight can project usable illumination. It is governed by candela (luminous intensity in a particular direction) and beam shape — specifically the hotspot size and concentration — rather than total lumen output.
Why do lumens not determine how far a flashlight reaches?
Lumens measure total visible light output summed in all directions and say nothing about how that light is directed. Two flashlights with identical lumens can have very different throw depending on how tightly the beam is focused. A narrower hotspot produces higher candela and therefore higher lux at long range, even if total lumens are the same.
What does candela measure and how does it relate to beam distance?
Candela measures luminous intensity in a specific direction (lumens per steradian). Illuminance at a target follows the relation lux = candela ÷ distance², meaning the beam distance to any given lux threshold can be estimated from the peak candela figure. ANSI/FL1 defines beam distance as the range to 0.25 lux, calculated as approximately the square root of candela divided by 0.25.
What is the difference between hotspot and spill?
The hotspot is the central, high-intensity area of the beam that produces the longest visible reach. Spill is the lower-intensity peripheral light surrounding the hotspot, which is useful for close-range awareness and peripheral illumination. Lights optimized for throw have a tight, high-candela hotspot with limited spill, while flood lights spread light evenly and have little throw.
How do optics affect beam throw?
The optical system — including the LED emitter size, reflector geometry, and TIR or lens design — determines how many lumens are concentrated into a narrow cone (high candela) versus spread widely (low candela, wide spill). Deep, smooth parabolic reflectors and small emitters produce tight hotspots with long throw, while shallow or textured reflectors and larger emitters produce broader, softer beams.
How to decide, fast
- Favor candela/beamshot for long‑range tasks and lumens for area work.
- Require realistic runtime figures at the target output — usable minutes matter more than peak bursts.
- Choose reflector/TIR/lens design to produce the hotspot profile the mission demands.
Memorable rule: prioritize candela for distance, lumens for flood, and always verify runtime and optics before committing. Practical use: compare candela or beamshots, confirm sustained output at the needed brightness, and inspect the reflector or lens type to ensure hotspot shape matches the mission.
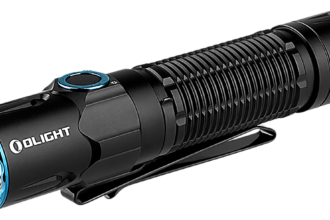
Throw is far easier to judge with two lights side by side than in the abstract. Our Olight Warrior vs Fenix PD35 comparison puts two well-known throwers against each other, with the candela figures that decide how far each one actually reaches.
Beam throw is the spec worth shopping on, so five tactical flashlights compared on reach and switch layout puts real beam distances next to real prices.