
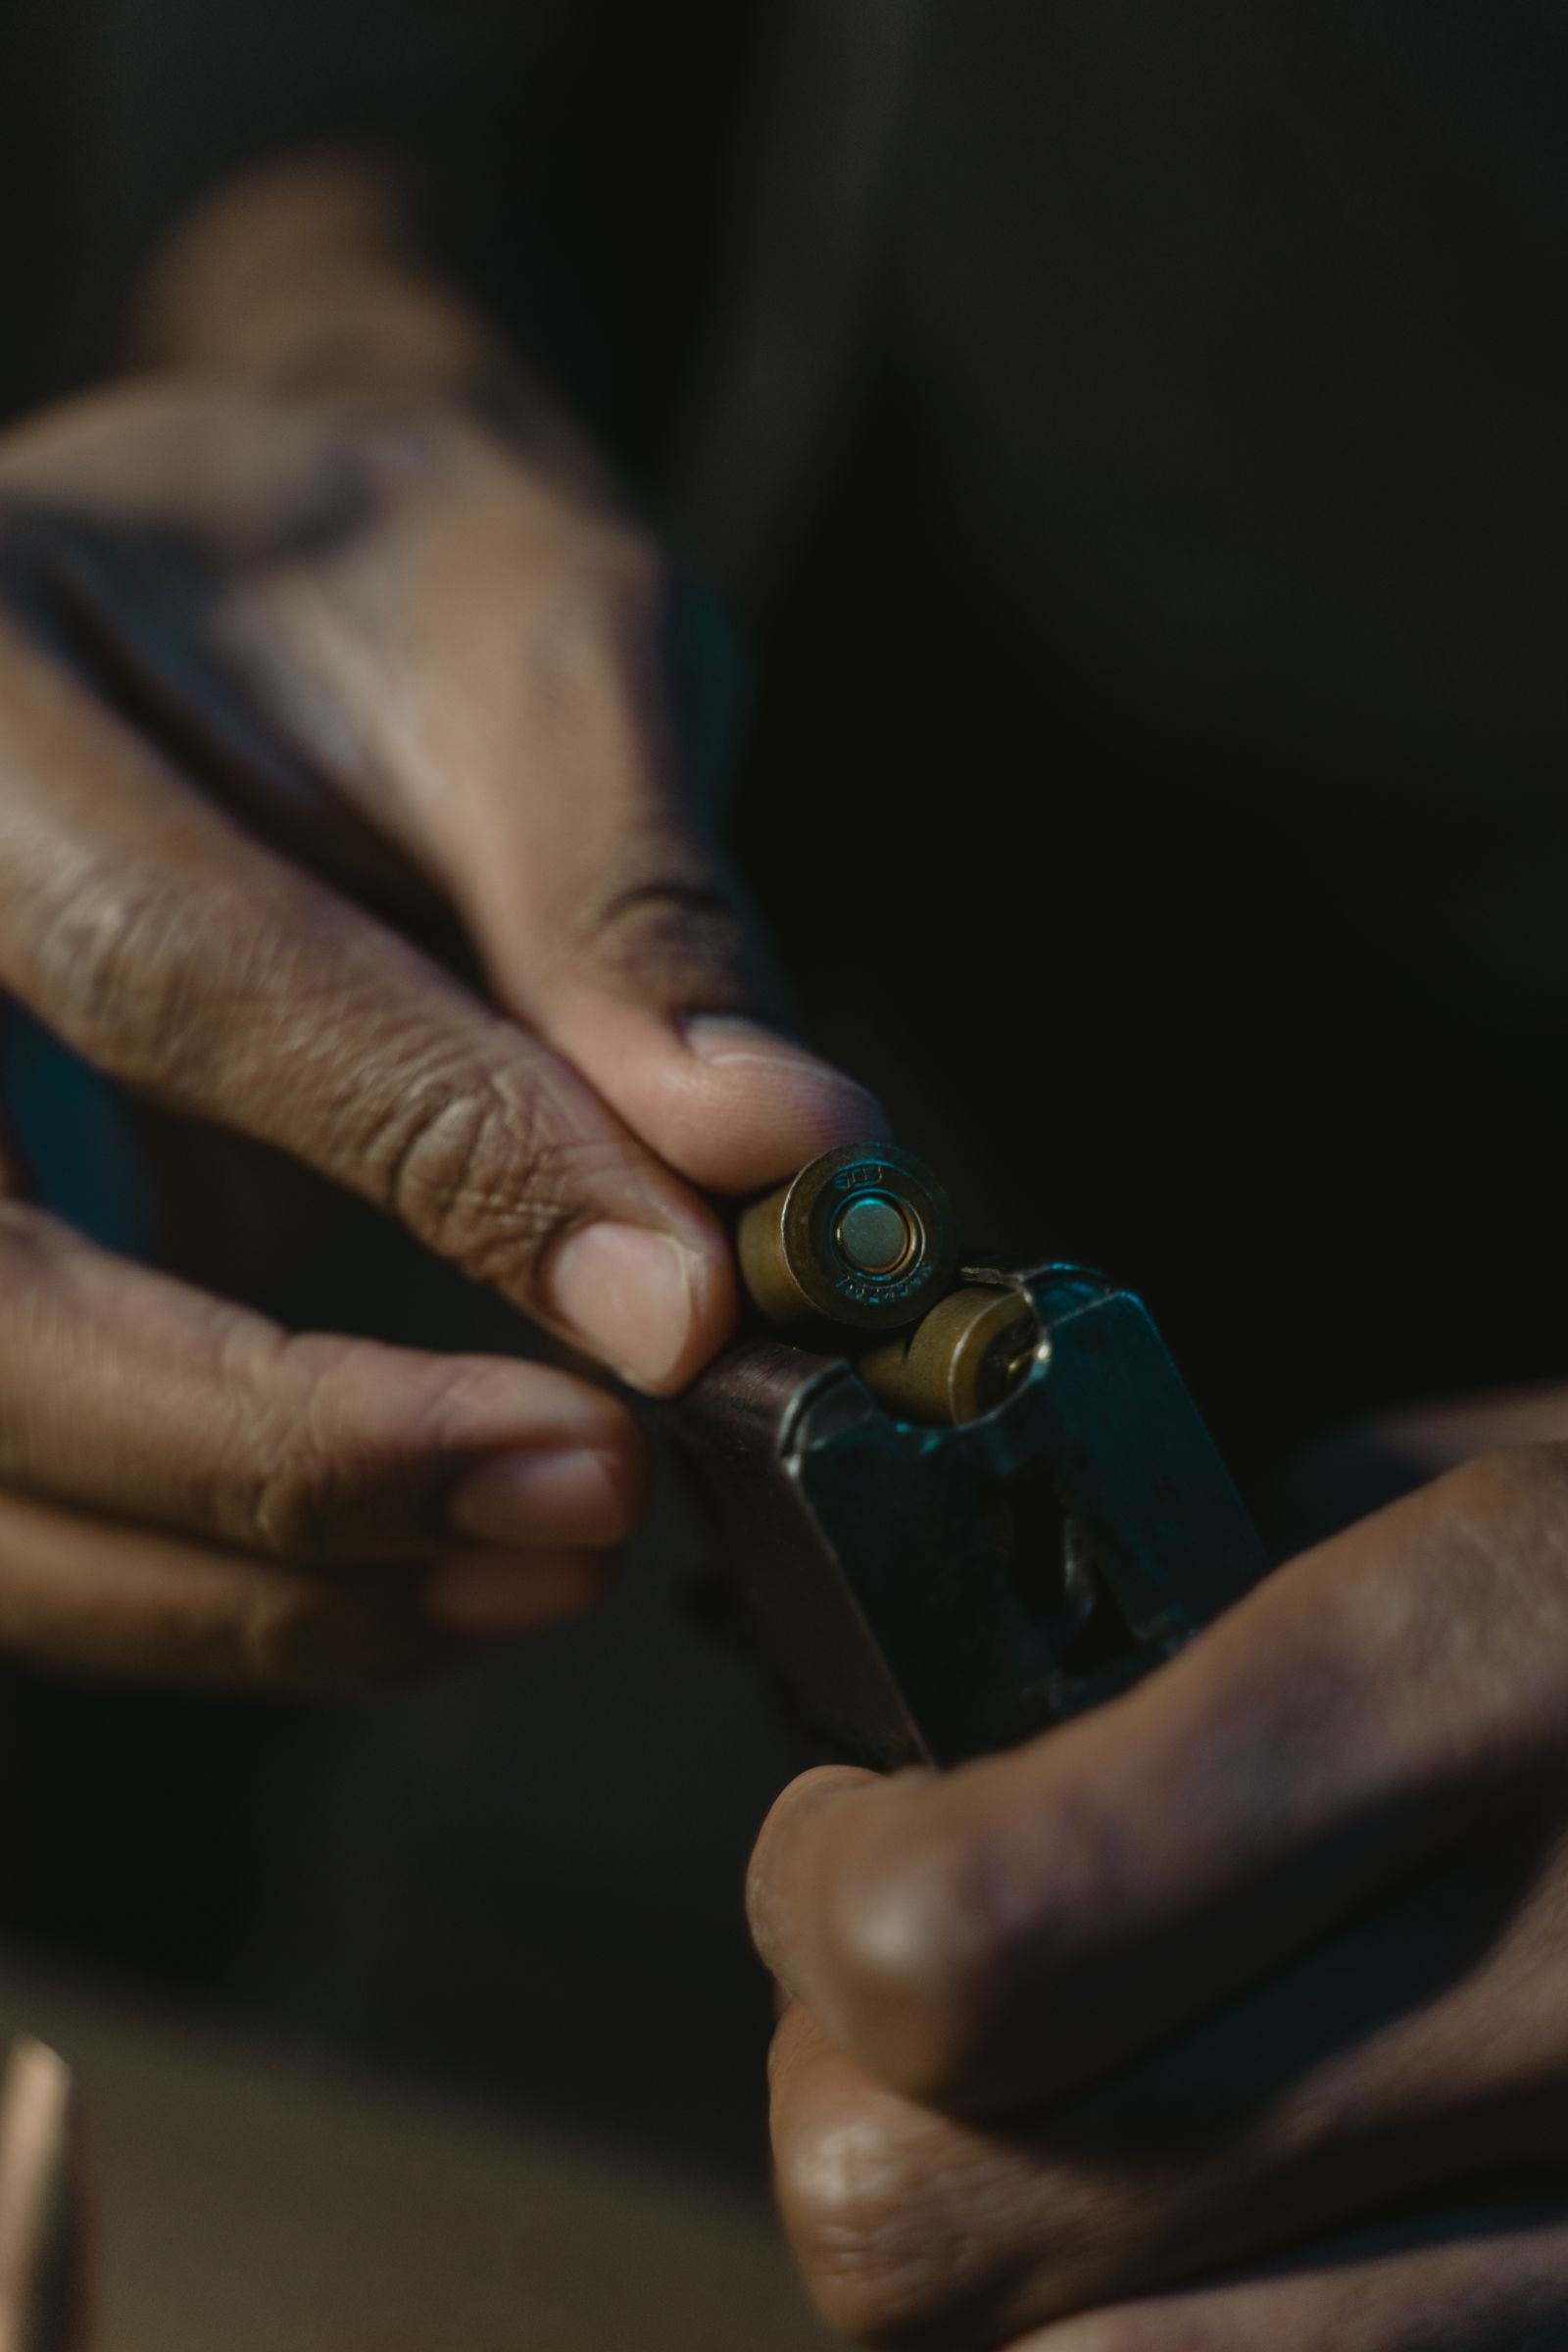
A magazine can look merely dusty while its internals are already slowing down.
After a long, dusty range session, the exterior often tells only part of the story. Powder residue, unburned granules, windblown grit, and lubricant migration can collect beneath the floorplate, where they interfere with the spring, follower, and feed-lip area. The concern is not cosmetic: even slight drag can delay follower rise or alter how the top cartridge presents to the action.
That does not make every magazine a full-disassembly project. Wiping the outside and checking the feed lips may be enough after a clean indoor session. Deeper cleaning becomes more useful when magazines were dropped in sand or mud, exposed to rain, ejected repeatedly onto a filthy surface, or begin showing sluggish follower movement. Excess oil and aggressive scrubbing can attract debris, damage some polymer components, or mask wear that deserves inspection. The goal is a dry, freely moving interior—not a polished, heavily lubricated one.
- Press the follower through its travel: it should move smoothly without binding or delayed return.
- Inspect feed lips for cracks, spreading, burrs, or embedded grit before loading again.
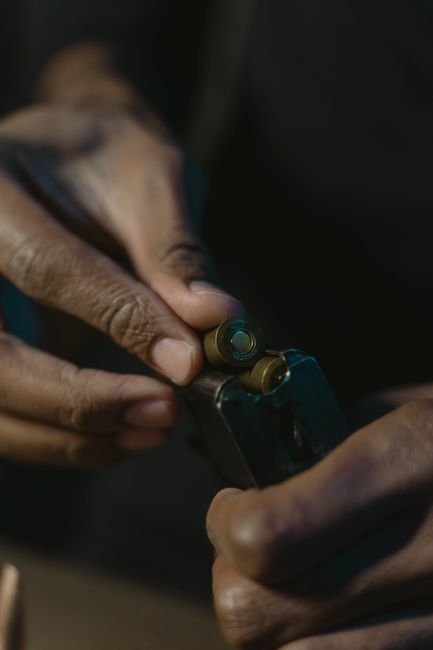
Make the bench safe first
A magazine is easier to service safely when it is treated as a component of a complete firearm system, not as an isolated part. First, isolate the firearm in accordance with its manual: keep its action open, visually and physically verify the chamber and feeding path are empty, and place it where it cannot be handled inadvertently.
Move all live ammunition—loose cartridges, loaded magazines, and boxed ammunition—out of the cleaning area. This eliminates the most serious maintenance error: introducing a live round while attention is on springs, followers, solvents, or reassembly. Dummy rounds, if used for later function checks, belong in a clearly separate area and are not needed for cleaning.
Consult the magazine and firearm manufacturer’s instructions before removing a baseplate or retainer. Some designs use captive floorplates, unusually strong springs, or proprietary locking plates; forcing a familiar method onto an unfamiliar magazine can damage the retaining features or release parts unexpectedly.
Keep the magazine pointed into a clear area while easing the baseplate and spring free. A thumb over the baseplate can contain the spring, but the exact release method depends on the magazine design.
Inspect before taking anything apart
A magazine coated in loose bench dust may need only a wipe-down and a clean follower channel. By contrast, visible sand, unburned powder, mud, congealed lubricant, or water residue inside the body calls for full disassembly and cleaning. Look through witness holes and around the baseplate seam; contamination often collects where a quick exterior wipe cannot reach.
Cycle the follower with a non-marring tool only as far as the design permits. It should travel smoothly, return positively, and sit squarely beneath the feed lips. Hesitation, scraping, uneven spring pressure, a follower that tilts or binds, cracked polymer, dented magazine walls, spread feed lips, and a loose baseplate are defect signals, not merely cleaning issues.
Separate suspect units from routine-cleaning magazines before parts are mixed. A small numbered tag or paint-pen mark supports tracking magazines during troubleshooting across later range sessions. Record the symptom, ammunition type, and whether the malfunction repeats after cleaning; a recurring pattern can distinguish a contaminated magazine from a worn spring, damaged body, or firearm-related feeding problem.
Disassemble only as designed
With the magazine confirmed empty, follow the specific manufacturer procedure for its baseplate, locking plate, spring, and follower. Many conventional detachable box magazines are intended to be field-stripped by depressing a retaining tab and controlling the baseplate as it slides off. Keep a thumb over the baseplate: the spring is stored under tension and can launch parts or bend if allowed to escape abruptly.
Lay each component on a clean mat in removal order. Note the follower’s front and rear, the spring’s top and bottom, and any offset or differently shaped spring leg. A quick reference photo before removal can prevent an upside-down spring, reversed follower, or incorrectly seated locking plate during reassembly.
Do not treat every magazine as serviceable. Riveted, sealed, drum, rotary, bonded, or unfamiliar proprietary designs may contain captive springs, timing parts, feed mechanisms, or non-user-serviceable retainers. If the manual does not explicitly describe disassembly, external cleaning and inspection are the safer limits; forcing seams, pins, or covers can damage the magazine or alter its function.
Restore a dry, free-moving path inside the magazine
- Clear loose grit from the tube
Hold the empty body with the open end downward and tap out sand, unburned powder, and debris. A soft nylon brush or dry, lint-free patch on a nonmarring rod can reach the lower corners; work from both ends rather than forcing debris deeper into the tube.
- Wipe the internal rails and follower track
The important surfaces are the long interior walls and guide features that keep the follower square. Remove residue until a clean patch comes out without black grit or visible particles. A barely damp patch may be useful for stubborn fouling, followed by dry patches until no moisture remains.
- Treat polymer bodies gently
Polymer tubes generally need dry brushing and a mild cleaner approved for the material. Strong petroleum solvents, aggressive degreasers, and abrasive pads can haze plastic, affect markings, or leave a surface that drags on the follower. Never scrape molded guide rails with metal tools.
- Clean coated-steel bodies without cutting the finish
For coated steel, use a nylon brush and patches before considering a cleaner. Rust-colored residue or packed carbon can be lifted with a nonmetallic pick wrapped in cloth. Steel wool, sandpaper, and hard scraping can breach the protective coating, creating rough spots that collect fouling and may later corrode.
- Detail the feed lips and catch notch
Wipe the underside and inside edges of the feed lips with a cloth, removing residue without bending, polishing, or burnishing them. Clean the magazine-catch notch separately, since compacted grit there can interfere with seating or release. Its edges should remain sharply defined, not rounded by abrasion.
- Leave the body clean and dry
Finish with a dry patch through the tube and a dry wipe around the feed-lip area and catch notch. Magazine interiors normally benefit from low friction created by cleanliness, not from oil: wet lubricant attracts powder residue, dust, and grit.
If a patch repeatedly snags, or the tube shows dents, cracked polymer, peeling coating, or damaged feed lips, cleaning alone is unlikely to restore reliable movement.
A serviceable magazine body has clean walls, intact guide surfaces, and no loose debris. Light staining that does not transfer grit or impede the follower is usually less important than an oily film that turns range dust into abrasive paste.
Examine the spring and follower
With the magazine apart, wipe the follower, spring, locking plate, and baseplate with a clean, lint-free cloth. A nylon brush can lift stubborn carbon or fine sand from follower rails, the spring coils, and the recesses that retain the plate. Parts should be dry before reassembly; oil inside a magazine traps abrasive debris and can slow the follower in cold or dusty conditions.
Check each part under good light
- Follower: Look for chipped rail edges, cracks around the spring seat, gouges, or polished areas that suggest it is rubbing or tilting in the tube. It must travel freely without binding.
- Spring: Check for rust, bent coils, kinks, collapsed sections, or uneven coil spacing. Surface discoloration that wipes away differs from pitting, which removes material and warrants replacement.
- Locking plate and baseplate: Confirm that tabs, rails, and retaining ledges are intact, not rounded or cracked. The baseplate must seat fully and remain positively retained.
Stretching a weak spring does not restore its original temper or reliable force; it merely changes its shape temporarily. Likewise, lubrication cannot correct wear, corrosion, or a follower that binds. Replace damaged components with parts intended for that specific magazine model.
Rebuild the magazine, then prove its movement
-
Confirm component orientation
Match the follower’s front, rear, and side rails to the magazine body, using the pre-disassembly reference or manufacturer diagram. Install the spring in its original direction; a reversed spring can create drag or leave the follower without proper support.
-
Seat the spring and follower
Guide the follower into the tube without forcing it past rough spots. Compress the spring evenly and keep the locking plate or retainer centered so it does not cant inside the body.
-
Engage the baseplate completely
Slide or press the baseplate on its intended rails until the retainer locks into its witness hole or notch. Confirm that both baseplate rails are captured, with no lifted corner, gap, or partial engagement.
-
Check follower travel dry
With no ammunition present, depress the follower through most of its travel using a suitable nonmarring tool, then release it. It should rise smoothly, without scraping, hesitation, or a weak return near the feed-lip end.
-
Reinspect the exterior
Verify that the baseplate is flush, the body is not bowed, and the feed lips were not disturbed during handling. A magazine that passes visual inspection but feels inconsistent is not yet verified.
Avoid using lubricant as a cure for drag; it can retain fouling and conceal an unresolved mechanical defect.
Mark the magazine clearly and keep it out of the normal rotation if it has a cracked follower, damaged feed lips, a loose baseplate, corrosion, or repeatable binding after cleaning.
A labeled hold-out group prevents a questionable unit from being mistaken for a serviceable one. Further evaluation can compare it against the manufacturer’s parts guidance or a known-good magazine; cleaning alone does not correct bent metal, worn locking surfaces, or weakened components.
Set a rotation that follows exposure
A magazine carried through dust, rain, sand, or lint-heavy daily use merits inspection after that exposure, even if it was not fired. After an ordinary indoor range session, a wipe-down and function check may be enough; full disassembly is most useful when debris is visible, follower travel changes, or the magazine has contacted dirt or moisture.
Cleaning interval is not spring-life interval. Modern magazine springs are generally stressed by repeated compression-and-release cycles, corrosion, heat, damage, and poor manufacture—not simply by remaining loaded. A clean, dry magazine that loads and feeds consistently does not become suspect solely because it has spent time loaded. Track actual behavior rather than calendar anxiety.
Use three rotation bins
- Clean/ready: dry interior, intact feed lips and baseplate, smooth follower travel, no corrosion or deformation.
- Monitor/marked: minor finish wear, uncertain history, or a one-time sluggish feel that disappeared after cleaning. Mark it, retest it, and keep it out of the primary rotation until confidence returns.
- Replace: cracked body or feed lips, distorted spring, persistent binding, recurring feeding faults, or a baseplate that will not lock securely.
A simple marker code or log ties a fault to one magazine instead of blaming the pistol or ammunition.
Frequently Asked Questions
How do I know if a magazine needs full disassembly?
A magazine coated in loose bench dust may need only a wipe-down. Visible sand, unburned powder, mud, congealed lubricant, or water residue inside the body calls for full disassembly and cleaning.
Should I oil the inside of a magazine?
No. Magazine interiors benefit from a dry, low-friction surface, not oil. Wet lubricant attracts powder residue, dust, and grit that can slow the follower.
What are signs a magazine spring or follower needs replacement?
Rust, bent coils, kinks, collapsed sections, chipped rail edges, cracks around the spring seat, or a follower that binds or tilts in the tube are defect signals that cleaning alone will not fix.
How should I clean feed lips without damaging them?
Wipe the underside and inside edges with a cloth, removing residue without bending, polishing, or burnishing them, so their edges stay sharply defined rather than rounded by abrasion.
How often should magazines be inspected?
Inspect after exposure to dust, rain, sand, or repeated drops, even if not fired. After an ordinary indoor range session, a wipe-down and function check is often enough; full disassembly is most useful when debris is visible or follower travel changes.
Keep condition visible
- Exposure determines cleaning depth; function determines serviceability.
- A marked monitor bin prevents doubtful magazines from quietly returning to regular use.
A magazine rotation works when each unit has a visible status and a reason for it. Clean, mark, or replace based on inspection and repeatable function—not appearance alone.





9 Comments
I wish the article had been a little more specific about what counts as harsh solvent. Some people read “avoid harsh solvents” and then have no clue whether their normal cleaner is okay.
Otherwise, the warning about proprietary or sealed magazines is important. Forcing a baseplate because a video made it look easy is a great way to launch parts into another dimension.
Fair point. “Harsh” is intentionally broad because magazine materials and finishes vary by maker, but the safest general approach is to avoid anything that leaves an oily film, attacks polymer, or is not approved by that manufacturer. When the instructions do not call for a liquid cleaner, dry debris removal is the conservative default; check the magazine maker’s documentation before using a specific product.
The “another dimension” part is real. I lost a retainer in the garage once and found it months later stuck to a magnetic tray.
Glad you specifically said not to hose the inside with oil. I’ve seen that advice passed around forever, then it turns into a lint-and-powder sludge collector. Dry and clean makes much more sense.
Good checklist. The ammunition-free bench step sounds obvious until someone has loose rounds rolling around next to a spring under tension.
The reminder to inspect before disassembly is the part people skip. A little dust on the outside doesn’t automatically mean the mag needs to come apart, but a follower that hangs up definitely gets my attention.
Exactly. The goal is to identify a function issue or meaningful internal exposure, rather than turning every range trip into a full teardown. Repeated sluggish movement is a much better trigger for inspection than cosmetics.
Yep. I used to strip every mag after every outing and mostly just made a mess of my bench. Now I check movement first.
“Verified” instead of merely “reassembled” is a good way to put it. A baseplate can look seated while the follower is still doing its best impression of an elevator with a bad cable 😅