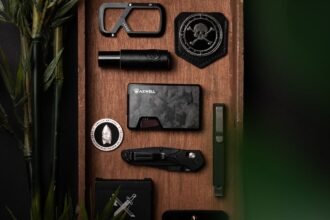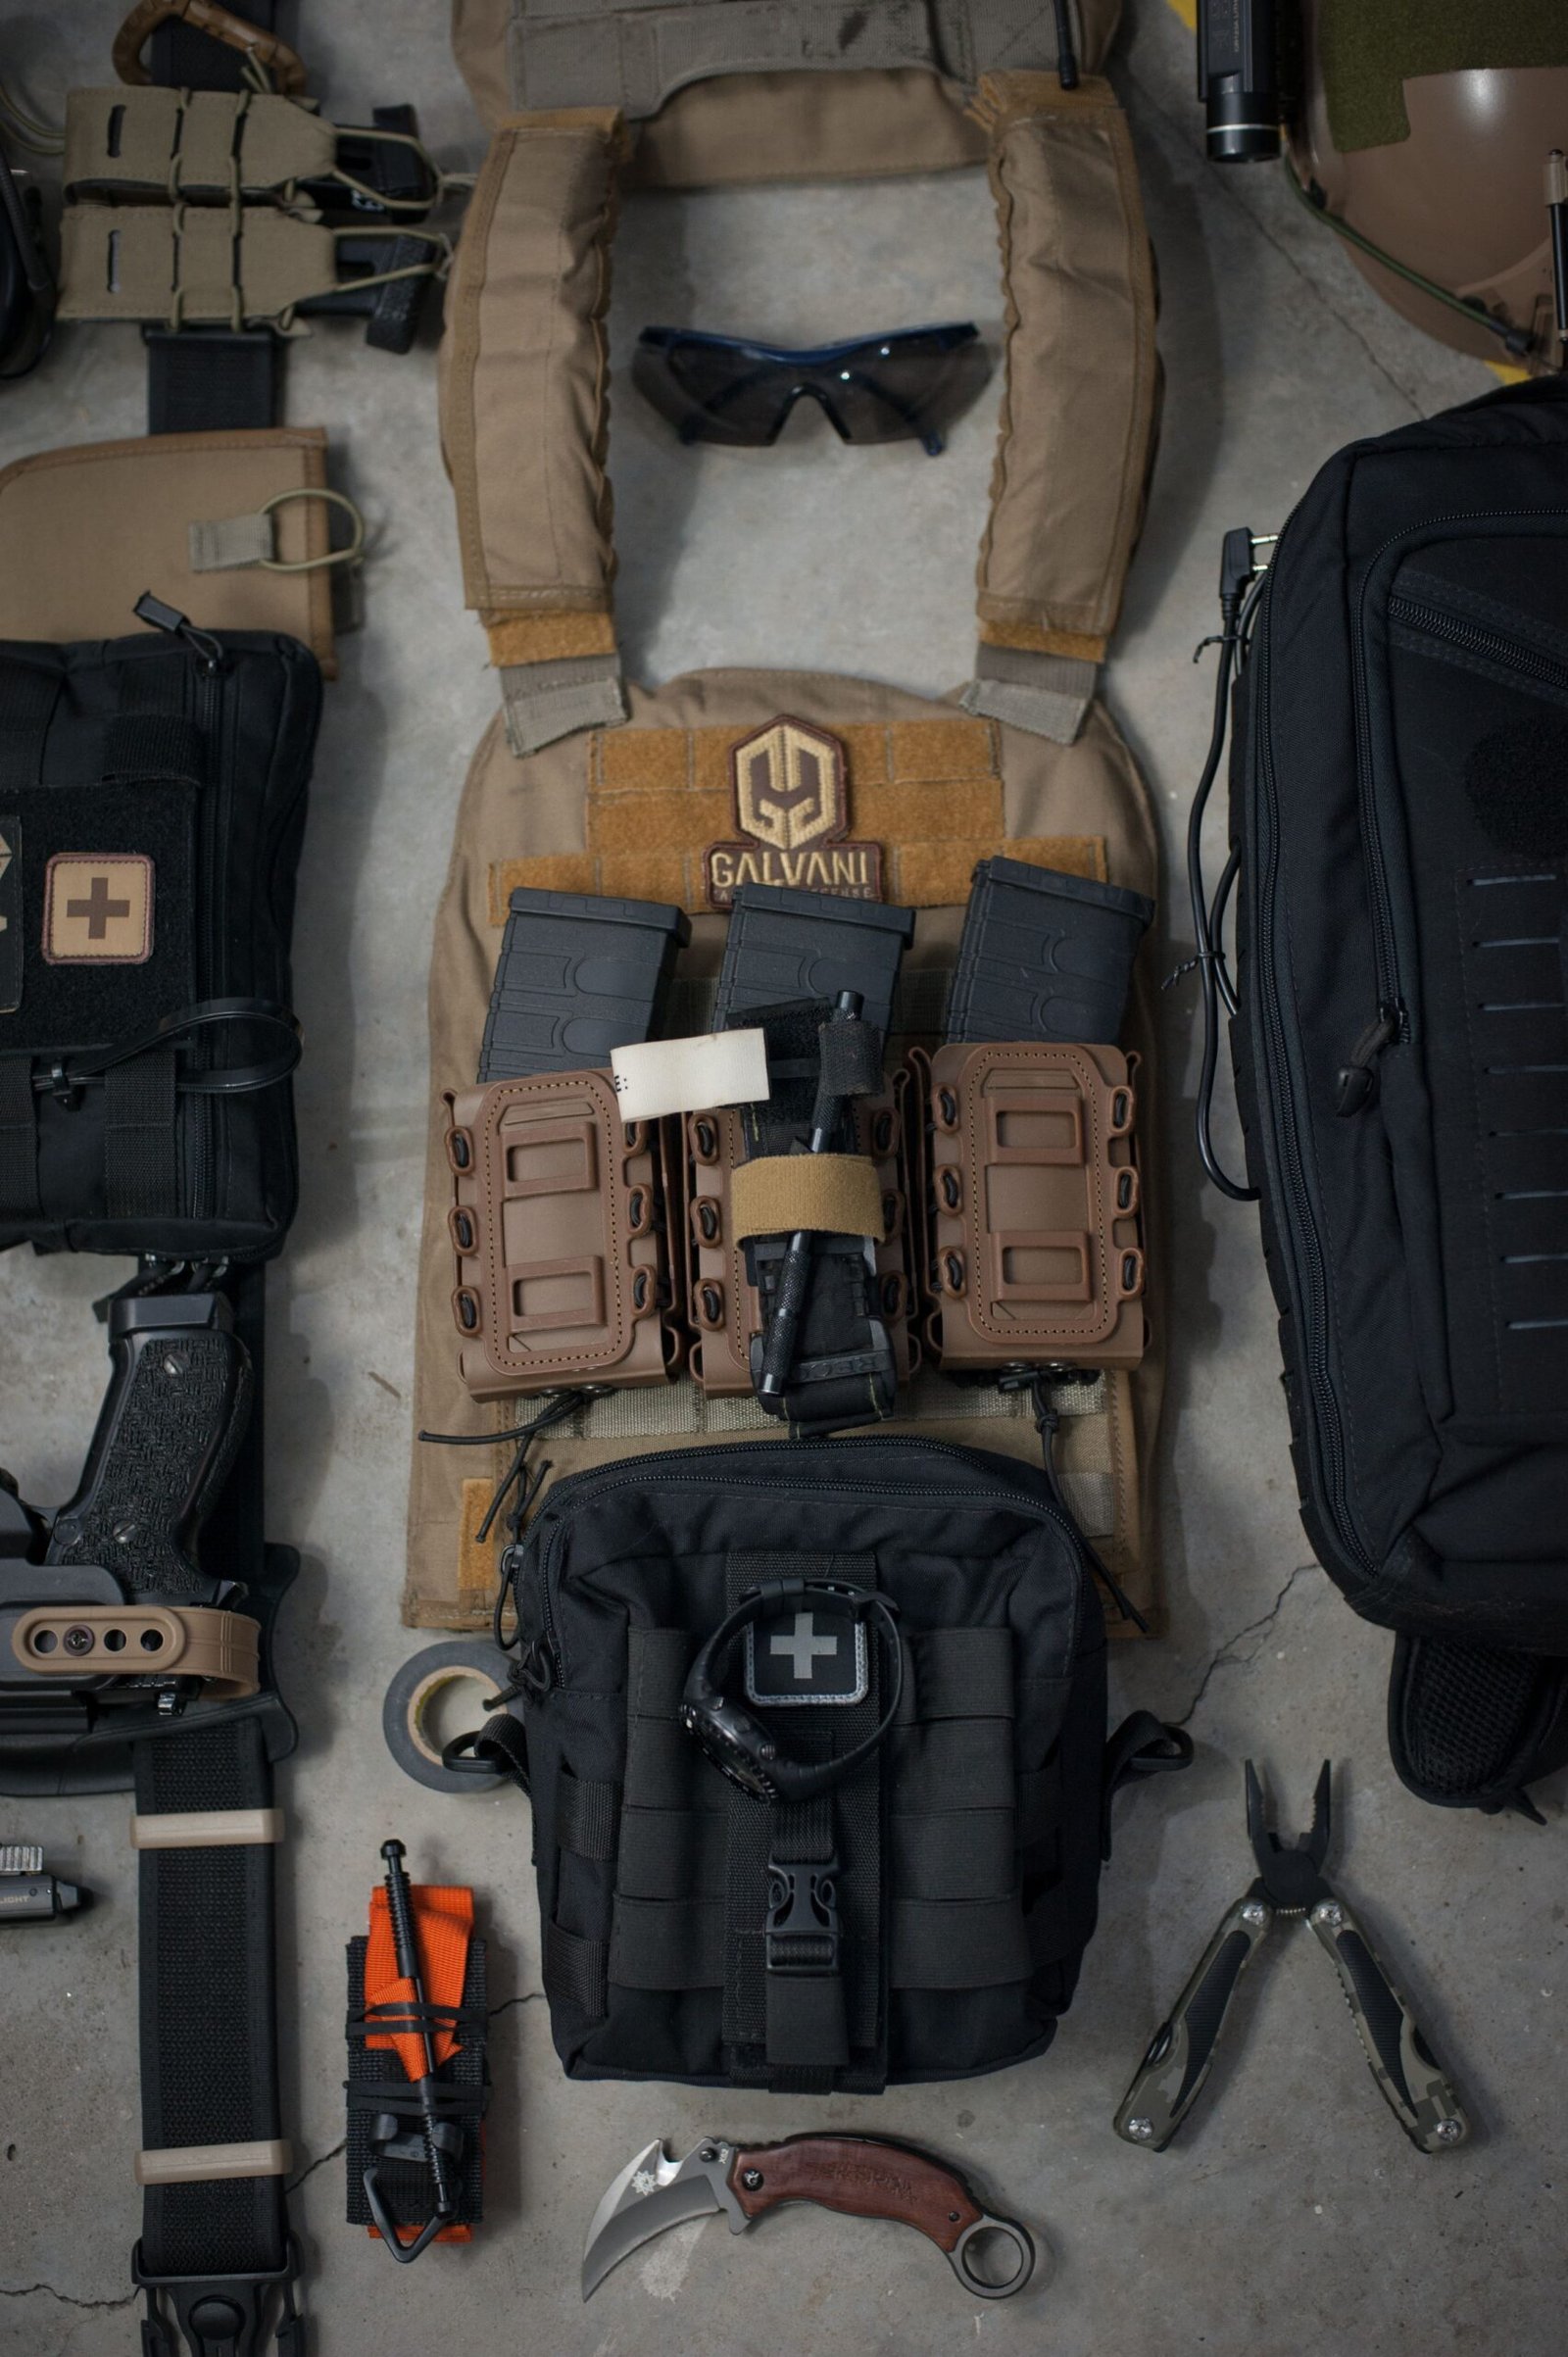
One bag should survive rush-hour, client meetings and a sudden downpour—without complaint.
Mid-commute squeeze: a shoulder strap digs in, a zipper snaps, and a phone slips into a rain puddle. Choosing the wrong bag multiplies daily friction across four axes — capacity, comfort, appearance and security.
Common failure modes: overloaded straps and poor weight distribution, messy interiors that waste time, styles that undermine professionalism, exposed pockets that invite theft, and inadequate water resistance. Clarifying realistic must-haves — typical load, commute type, wardrobe expectations and theft exposure — converts urgency into a compact checklist and makes the final choice straightforward.
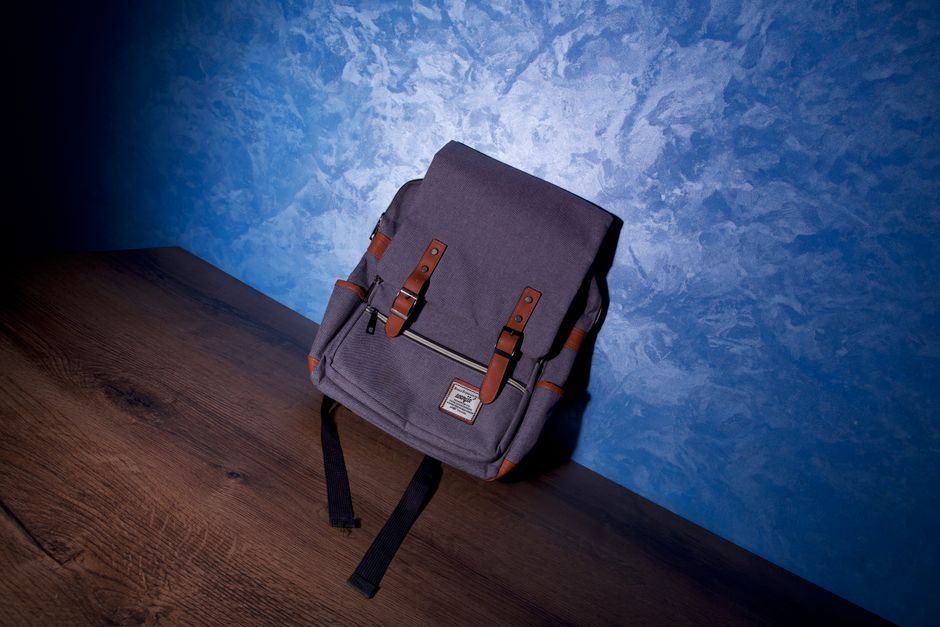
A working decision framework
Bag choice becomes clearer when treated as a small dataset. Next, score each option on four orthogonal axes and compare weighted totals as part of everyday carry bag selection. Define the axes precisely so comparisons are repeatable.
The four axes
- Form factor — quantify by volume (liters) and silhouette score (1–5) where 1=flat folio and 5=large duffle. Note dimensions (H×W×D) for fit checks.
- Typical load — estimate average carried weight (kg) and item count (laptop, charger, water bottle, etc.). Convert to a load score (1–5) where 1=<2 kg and 5=>8 kg.
- Commute mode — express as percentage split (walking/cycling/public/vehicle). Convert exposure to elements and motion into a mobility score (1–5) where higher means more active transit.
- Social/office context — rate formality (1=casual, 5=formal) and visibility tolerance (how conspicuous a logo or bulky pack can be).
Assign weights (sum=100) reflecting priorities, multiply each axis score by its weight, and compare totals.
Additionally, repeat with real packed items to validate the final choice.
Convert an item audit into bag dimensions
Start by listing and physically measuring the largest items from the audit—length, width, and thickness for each.
Additionally, treat rigid cases (lunchboxes, hard laptop sleeves, water bottles) differently from compressible clothing.
Measure the rigid item’s outermost dimensions and add clearance for padding.
Use a simple rule to estimate volume for box-shaped items: multiply L×W×H in centimeters, then divide by 1,000 to get liters. That gives a baseline capacity for the main compartment; remember it assumes a rectangular shape, so curved or tapered items will change fit.
When accounting for laptops and sleeves, check actual device dimensions rather than screen size—many 13-inch laptops differ in chassis size. For laptop-specific guidance and compact backpack options, consult the 13-inch laptop EDC backpacks comparison.
Internal pockets matter as much as total volume. Measure pocket openings and depth; a shallow zip pocket may hold cables but not a power bank. Add a small buffer—typically 1–2 cm per side or about 10–20% extra volume—to account for padding and daily variation.
Finally, interpret liters as a rough comparator, not an exact fit. Shape, paneling, and external constraints—such as under-seat carry limits—determine real usability. See the explainer on EDC backpacks that fit under a plane seat for sizing nuances when travel rules matter.
Backpack vs. Sling vs. Messenger
Different shapes favor different priorities. A backpack scores highest for load distribution—wide straps, sternum straps, and hip belts spread heavy loads and reduce fatigue. Access is often slower (top or front zip), but organization and volume make backpacks the default for bulky daily kits.
Sling bags excel at quick access and urban nimbleness; swinging them forward exposes contents without removing the bag. Load limits are low and weight sits asymmetrically, so they suit light, frequently accessed essentials. For low-profile concealment, consider a slim sling under a jacket.
Messenger bags balance access and capacity: large flap openings give fast reach to documents and laptops, while a crossbody strap distributes weight better than a sling but not as well as a backpack.
Quick comparison
- Access: sling > messenger > backpack
- Load distribution: backpack > messenger > sling
- Concealment: sling > messenger > backpack
- Wardrobe fit: messenger (business-casual) > sling (casual/urban) > backpack (functional)
For hybrid or multi-mode commutes, prioritize these features: weatherproof materials, a quick-access pocket, removable or convertible straps, and modular organizers. If modes change day-to-day, pick a bag with adaptable carry options or pair a slim day-sling with a small technical backpack for heavier loads.
Fit, hardware, and a quick in-store test
Key fit and hardware features
Day-long comfort comes from how a bag moves with the body and spreads load. Prioritize torso-fit (shoulder strap anchor height and strap length), a supportive hip belt or load-bearing waist strap, and a contoured back panel with some rigidity or frame sheet to resist collapse. Look for wide, layered shoulder padding, non-slip covers, and robust adjustment points; consult the guide to shoulder strap designs for padding shapes and edge treatments.
Also check hardware quality: low-profile quick-release buckles, reinforced attachment points, and compression straps that keep the load close to the back. Ventilation channels and a slightly curved hip belt improve stability on long walks.
Simple in-store test protocol
Prepare a representative load (laptop, charger, water bottle, lunch, and any daily tools). Then:
- Fasten the hip belt so it sits on the top of the pelvic bones (iliac crest), not the waist.
- Tighten shoulder straps until the pack’s weight transfers to the hips; note pressure points.
- Walk briskly, climb two flights of stairs, bend and twist for 2–3 minutes.
- Re-adjust: if shoulder straps dig, edges cut in, or the pack swings, test a different model or strap geometry.
Record which adjustments fixed discomfort; good designs tolerate small errors in fit.
Loosen shoulder straps before tightening the hip belt — this helps the hip belt carry weight.
Use the sternum strap to stop shoulder straps from slipping, not to lift heavy loads.
Expect minor initial pressure; persistent hotspots signal a fit mismatch.
Match pockets and attachments to audited items
-
Tech sleeve — match device dimensions
Allocate a padded sleeve sized to the largest laptop or tablet from the audit; allow 10–20 mm clearance and decide on vertical vs. horizontal fit based on access frequency.
-
Everyday essentials — shallow quick-access
Map wallet, phone, transit card and keys to a front shallow pocket with internal dividers for one-handed retrieval.
-
Small organization — elastic loops and pen slots
Reserve multi-slot panels for pens, flash drives, and small tools; elastic retention prevents rattling and keeps items visible.
-
Chargers and toiletries — gusseted compartment
Group chargers, cables, and basic hygiene items in a gusseted pocket or small pouch so bulk and spills remain contained.
-
External attachments — webbing, daisy-chain, MOLLE
Choose external lash points and anchor types to suit bottles, tripods or quick-access pouches; review the attachment-system comparison when selecting compatibility.
-
Security pockets — concealment and RFID
Assign passport, cash and sensitive cards to a hidden or RF-shielded pocket placed against the body-facing panel.
-
Modularity — removable organizers and panels
Prefer Velcro-backed panels, zip-out organizers or divider systems so pockets can be reconfigured as daily loads change.
Ready-to-swap inserts save time. Consider dedicated pocket organizers — trays, zip pouches, or panel inserts — to move a kit between bags in seconds. Benefits:
Faster bag swaps and consistent layout across bags. Easier measurement: match insert dimensions to pocket openings for reliable fit.Explore specific pocket organizer options when deciding which insert style suits the audited items.
Waterproofing: approaches and recommended exposure levels
Compare common waterproofing approaches
Firstly, three mainstream strategies dominate bag design.
They include DWR-coated fabrics, laminated or welded shells with taped seams, and roll-top or dry‑bag systems.
Additionally, DWR repels light showers but relies on overlapping flaps and water-resistant zippers for protection.
Additionally, laminated shells and taped seams (often with waterproof zippers) block ingress under sustained exposure.
They also add weight and reduce fabric breathability.
Finally, roll-tops or internal dry bags guarantee dryness by isolation, at the cost of extra packing steps.
Match protection to commute exposure
- Light urban walking or sporadic drizzle: DWR + water-resistant zippers is usually sufficient and keeps the bag lighter and more ventilated.
- Frequent cycling or heavy showers: prefer taped seams or a welded laminate with waterproof zippers, or combine a bag with an internal dry bag; see practical options for cyclists in the waterproof EDC backpacks suited to cycling commutes.
- Constant exposure (motorbike, ferry work): choose fully welded, purpose-built waterproof shells.
Maintenance and trade-offs: heavier waterproof constructions trap condensation and require gentler cleaning; DWR needs periodic reproofing, and seam tape can degrade over years. Balance protection needs against added weight, breathability loss, and upkeep.
Durability, repairs and warranties
Start with the shell: prefer high-denier nylons (500–1000D Cordura/ballistic) or technical laminates (X‑Pac, TPU) for abrasion and delamination resistance. For heavy daily abrasion, look for coated fabrics and welded/taped seams rather than simple DWR.
Hardware matters: insist on YKK or equivalent zippers, metal or reinforced polymer buckles (ITW), bar‑tacked strap anchors, and boxed handles. Check stitching density and seam allowance — long, neat bar-tacks predict fewer pullouts.
Quick maintenance and repair steps:
- Follow the manufacturer’s care instructions and the cleaning guide for nylon backpacks.
- Keep zippers lubricated, treat abrasions with fabric glue, and carry replacement zipper pulls and cord.
Warranty & repairability checkpoints to ask before buying:
- Coverage period and what it excludes (coating vs. stitching).
- Availability of spare parts and authorized repair network.
- Whether straps, hipbelts or panels are replaceable without sewing.
Anti-theft and discretion tactics
Professional settings reward subtlety: opt for low-contrast colors, matte fabrics, and slim silhouettes that don’t telegraph capacity. Prioritize hidden zippers, lockable compartments, and internal organization so valuables remain out of view during meetings or commutes. For backpacks that blend with business attire while concealing gear, consider the models in the discreet EDC backpacks that look professional and hide gear when assessing form and finish.
Keep access predictable and minimal. Place frequently used items in quick-but-covered pockets (inside or behind), route straps across the body to impede snatch attempts, and avoid noisy hardware or external attachment points that draw attention. For tech items, an internal RFID sleeve and a tethered small pouch for keys or a dongle add silent layers of control. When leaving a bag at a desk, use an anchor strap or lightweight cable lock rather than draping it on a chair.
Compact decision checklist (audit → trial)
- Convert audit dimensions to target capacity, then confirm pocket map matches each item category (electronics, documents, chargers). Use organizers like a dedicated cable pouch to keep charging gear tidy and discreet: cable organizers that stop tangling.
- Require at least one concealed main zipper and one internal secure pocket for valuables.
- Match silhouette to setting: slim messenger for client meetings, matte backpack for commuting.
- Verify hardware: YKK-like zippers, solid buckles, and reinforced stitching in high-stress seams.
- In-store test: load typical items and wear for 15–30 minutes; assess comfort and access flow.
- Trial period: carry the bag on routine days, note unexpected friction points, then iterate or return.
This sequence converts an item audit into a discreet, secure choice and a short real-world trial plan.
Purchase checklist
Frequently Asked Questions
How do I calculate how much volume I need in an EDC bag?
Measure the largest items from your daily carry, multiply L×W×H in centimeters and divide by 1,000 to get liters. Then add roughly 15% buffer for padding and daily variation to arrive at your minimum target capacity.
Do I need a waterproof bag for everyday carry?
It depends on your commute. For light urban walking or sporadic drizzle, a DWR coating with water-resistant zippers is usually sufficient. Frequent cycling or heavy rain calls for taped seams or a welded laminate with waterproof zippers.
Can one bag realistically cover all my daily needs?
It’s possible but uncommon. Most people find it more practical to optimize one bag for their primary routine rather than trying to cover every scenario. Prioritize the use case that represents your typical day.
How long should I trial a new everyday carry bag before deciding to keep it?
Seven days of real use with a typical load is a reliable minimum. This gives enough time to identify pressure points, assess pocket flow, and confirm that the bag fits your daily routine without persistent friction.
Final steps
- Score on four axes.
- Field-test seven days.
Pick a top candidate, test for a week, and change if persistent friction remains.