
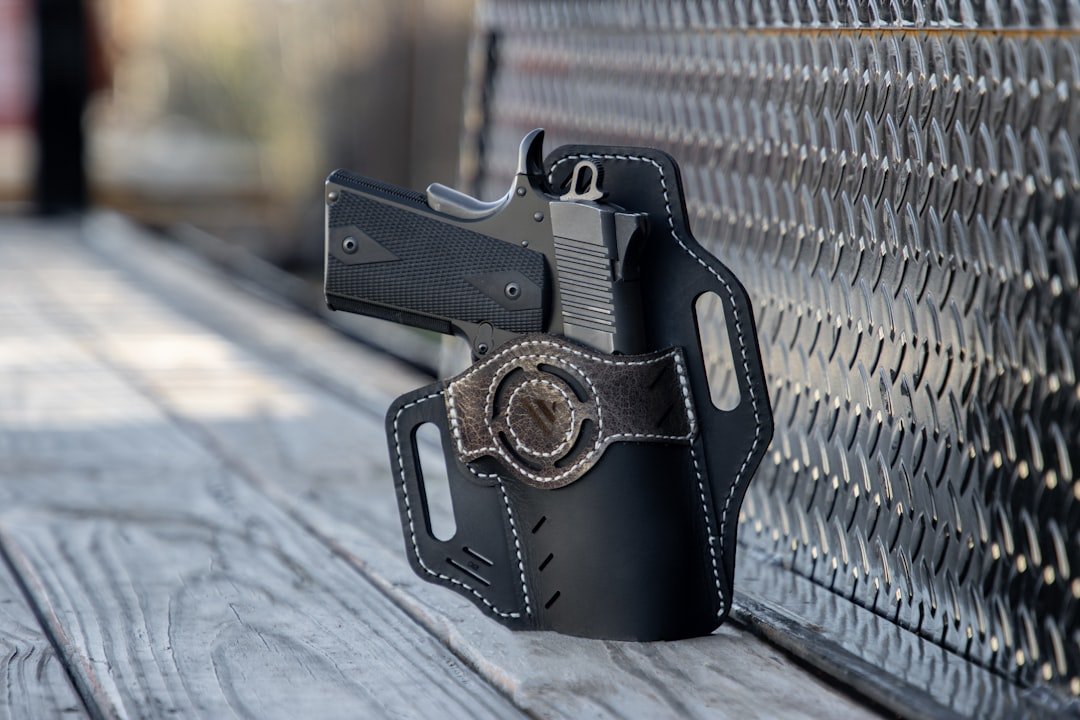
A holster that once held predictably can become unreliable after only a few turns of a tiny screw.
The warning sign is often subtle: the pistol draws with noticeably less resistance, or the retention setting seems different every time it is handled. That is not merely an annoyance. Consistent retention helps keep the firearm seated during ordinary movement while still allowing a deliberate draw.
FIRST, unload the firearm completely and keep all live ammunition away from the work area. Then inspect the holster with the empty firearm or an appropriate inert training replica. A loosening screw may reflect vibration, worn thread engagement, a flattened rubber spacer, a missing washer, or a screw that bottoms out before it can clamp the holster shells. The goal is not maximum tightness; it is a repeatable setting that remains stable without distorting the holster body.
- A sudden change in draw resistance can indicate hardware wear rather than a simple need for tightening.
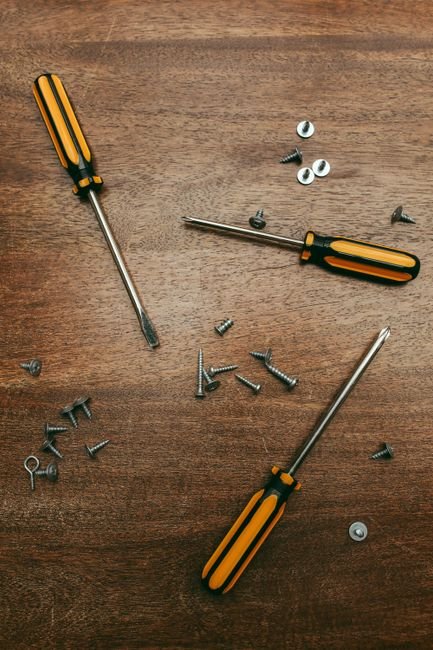
Separate retention faults from mounting hardware
Before changing retention, isolate the hardware. With the holster unloaded, hold the shell near the retention point and move the firearm only enough to assess drag. Then support the shell with a hand and repeat the check while pressing on the belt clip, wing, or mounting plate. A change in feel when an attachment is supported usually points to attachment hardware flex or movement, not the retention fastener.
Check the complete stack
Retention hardware commonly depends on a specific stack: screw head, washer, shell, spacer or rubber bushing, opposing shell, and threaded post or insert. A missing washer can let the screw head gouge the polymer; a flattened rubber spacer can reduce spring tension; an overly long screw can bottom out before clamping the shells. Each can mimic a screw that “will not stay tight.”
Inspect for these signs before adding threadlocker:
- Thread damage: a screw turns freely, binds abruptly, or no longer develops clamp force.
- Distorted material: elongated holes, cracked Kydex, pulled-through inserts, or a permanently compressed spacer.
- Incomplete hardware: absent washers, mismatched posts, or a screw with too little thread engagement.
Threadlocker can help only when clean, compatible threads still clamp intact parts. It cannot restore stripped threads or compensate for warped shells. Replace the damaged screw-and-post pair, spacer, or affected holster component with matching hardware; changing just one mismatched piece can recreate the problem.
Overtightening can crush a spacer, deform polymer around the hole, or strip a threaded post. A secure fastener that produces inconsistent retention still warrants inspection of the shell and hardware stack.
Rebuild the retention stack without over-compressing it
- Record the stack before removing anything
With the firearm unloaded and removed, photograph both sides of the retention screw and lay each part down in removal order. Note the screw direction: a screw head, flat washer, shell, rubber spacer, opposite shell, washer, and threaded receiver is a common arrangement, but the holster’s original sequence controls.
- Inspect every component under tension
Replace a rubber spacer that is split, permanently flattened, glazed, or no longer rebounds. Check flat washers for cupping and screw threads for rounding, corrosion, or stripped sections; a damaged screw can feel tight briefly while providing little usable thread engagement.
- Give each part its mechanical job
Washers spread the screw-head or nut load across the holster material, reducing gouging and allowing smoother adjustment. Rubber spacers act as springs: their compression pulls the shell halves together and creates adjustable friction around the firearm. A washer is not a substitute for a spacer, and adding washers does not restore lost spring travel.
- Reassemble in the documented order
Seat the screw squarely, start the threads by hand, and turn only until the stack begins to compress evenly. If a removable threadlocker is used, apply a small amount to clean, dry engaged threads only; excess can migrate into the spacer or permanently bond hardware not meant to be fixed.
- Set tension within the spacer’s working range
Increase tension in small increments, checking that the holster shell remains aligned and the draw stroke is consistent with an unloaded firearm. Compression has a limit: once the spacer is nearly flat, further tightening mostly stresses the shell, strips threads, or makes adjustment erratic rather than meaningfully increasing retention.
- Recheck after the stack settles
Cycle the unloaded firearm through several insertions and draws, then inspect screw position and spacer shape. If the screw backs out despite intact threads, correct stack order, and modest threadlocker, replacement hardware matched to the original diameter, pitch, head style, and spacer length is typically more reliable than further tightening.
Clean threads before locking them
A retention screw does not seat reliably against contamination. On body-side holsters, skin oil, sweat salts, fabric lint, leather-treatment residue, and traces of old threadlocker can coat both the screw and the insert. The screw may feel tight at first, yet lose clamp load once that film compresses or shifts.
Clean, then dry completely
Remove the screw, washer, and spacer stack. Brush loose debris from the hole, then wipe metal screws with isopropyl alcohol or a residue-free electronics cleaner. A nylon brush or wooden pick can lift old cured compound without damaging threads. Avoid harsh solvents on Kydex, polymer shells, rubber spacers, or painted hardware; they can craze plastic, swell elastomer, or strip finishes.
Let every part air-dry fully before reassembly. Compressed air can clear the threaded hole, but only clean, dry air is suitable. Moisture or solvent trapped in the threads dilutes anaerobic threadlocker and prevents consistent cure.
Use threadlocker selectively
A small amount of medium-strength, removable threadlocker is generally appropriate for metal screw-to-metal insert joints that are set infrequently. It is less useful on screws adjusted often for retention: repeated movement breaks the cured film and adds residue. For polymer threads, threadlocker may damage the material or provide weak, misleading hold; clean threads, correct engagement, and intact hardware matter more. Avoid high-strength formulas on small holster fasteners, since removal can strip inserts or crack surrounding material.
If the screw turns without building resistance, the insert or threads may already be damaged. Cleaning and threadlocker cannot restore lost thread engagement; replacement is the more reliable remedy.
Tune retention through repeatable testing
With the firearm unloaded and verified clear, make adjustments in small, equal increments—about one-eighth turn per screw where a holster uses paired retention hardware. Fully seat the unloaded firearm after each change. A partial insertion can make a holster feel tighter than it is at its normal carry position.
Check the complete draw cycle
Test the same sequence several times: seat the firearm, confirm that it remains retained during ordinary holster movement, then draw straight and consistently. Retention is in a useful range when the firearm is held securely yet releases without a sudden hitch, shell flex, or a need to twist the grip.
Watch for contact that imitates excess retention:
- A sight channel, optic guard, light body, or muzzle plug rubbing the shell
- A belt clip, claw, or mounting screw pressing into the holster body
- Uneven screw tension causing one side of the shell to pinch first
If draw feel changes from one repetition to the next, back off the assumption that tighter is safer. Inspect spacer height and shell alignment before adding compression. Model-specific geometry also matters; Glock 19 IWB holster retention troubleshooting can help distinguish a fit issue from a loose fastener.
Fit the Hardware, Not the Kit
- Thread diameter and pitch
Measure the original screw and post rather than ordering by holster brand alone. Common-looking hardware may use different diameters or metric versus imperial pitch.
MatchA screw that enters the post smoothly by hand for several turns.AvoidForcing a near-match; cross-threading can ruin the post or shell. - Screw length and engagement
Length must account for the shell, washers, spacer, and post depth. Too little engagement loosens easily; excess length can bottom out before clamping the stack.
MatchSeveral fully engaged threads with the stack compressed before bottoming out.AvoidA long screw that feels tight only because it has hit the post’s closed end. - Head profile and bearing surface
Flat, truss, button, and countersunk heads load the shell differently. A mismatched head can dig into Kydex, miss the washer, or interfere with the draw path.
MatchThe original head style and a head diameter supported by its washer or recess.AvoidCountersunk hardware in a non-countersunk hole or an oversized head that rubs the firearm. - Post, spacer, and washer compatibility
Chicago screws, binding posts, rubber spacers, and washers form a working stack, not interchangeable decoration. Post length and spacer bore must suit the screw and the desired compression range.
MatchA matched post-and-screw pair with elastic spacers that remain round and responsive.AvoidMixing metric screws with imperial posts or reusing crushed, split spacers.
Why daily carry loosens hardware
A holster can leave the workbench properly tuned and still loosen during ordinary carry. Body heat and sweat can soften residue on threads and promote corrosion; walking, driving, and sitting add small cycles of vibration and shell flex. Belt pressure is less obvious: as the holster shifts, clips, wings, and loops can lever against the body, repeatedly loading nearby fasteners.
Retention screws are not mounting screws
A retention screw compresses a spacer stack to control friction on the firearm. A mounting screw holds a clip, loop, wing, or platform to the holster. Tightening retention will not stop a loose clip from rocking the shell—and overtightening a mount can distort polymer or strip a threaded post. Each group merits its own unloaded inspection.
To limit repeat loosening, periodically wipe away sweat and lint, check that belt attachments sit flush, and look for polished witness marks around moving hardware. Recheck fasteners after a new belt, ride-height change, or attachment swap; these changes alter leverage. If the holster remains uncomfortable or shifts despite sound hardware, the issue may be placement or attachment geometry rather than screw tension.
-
After adjustment or replacement
Cycle the unloaded holster several times, then recheck screw position and retention before service.
-
After threadlocker cures
Confirm the fastener has not backed out and that the spacer still has elastic compression; curing does not correct a bottomed-out screw.
-
During routine carry
Inspect retention and mounting fasteners weekly, or sooner after sweat exposure, belt changes, or unusually heavy movement.
-
After a hard strike or snag
Pause and inspect immediately for cracked polymer, shifted posts, ovalized holes, bent clips, or altered draw resistance.
-
Treat these as stop signs
Discontinue use if threads spin, a screw will not hold torque, the shell cracks, retention changes abruptly, or any component contacts the trigger guard improperly. Contact the maker or replace the affected equipment.
Matched screws, posts, spacers, and washers restore clamp load more reliably than repeated tightening.
Holster Retention Screws: Common Questions
Why does my holster retention screw keep loosening?
A loosening screw may reflect vibration, worn thread engagement, a flattened rubber spacer, a missing washer, or a screw that bottoms out before it can clamp the holster shells. Body heat, sweat, and the small cycles of movement from walking and sitting can also soften residue on threads and promote corrosion over time.
Will tightening the screw as much as possible fix loose retention?
No. Retention hardware needs controlled preload, not a bottomed-out spacer. Over-compression can crush a rubber spacer, deform polymer around the hole, or strip a threaded post, which makes adjustment less stable rather than more secure.
Should I use threadlocker on a holster retention screw?
A small amount of medium-strength, removable threadlocker is generally appropriate for metal screw-to-metal insert joints that are set infrequently. It’s less useful on screws adjusted often, since repeated movement breaks the cured film, and it cannot restore threads or hardware that are already stripped or damaged.
What's the difference between a retention screw and a mounting screw?
A retention screw compresses a spacer stack to control friction on the firearm, while a mounting screw holds a clip, loop, wing, or platform to the holster body. Tightening retention won’t stop a loose clip from rocking the shell, so each type of hardware needs its own inspection.
When should I replace holster hardware instead of adjusting it?
Replace the hardware if a screw turns freely without building resistance, threads are rounded or corroded, the rubber spacer is split or permanently flattened, or the shell shows elongated holes or cracks. Cleaning and threadlocker cannot restore lost thread engagement, so matched replacement hardware is the more reliable fix.
Keep the Fix From Becoming a Cycle
- A stable retention stack stays stable because its parts fit, not because its screw is forced tighter.
- Hard-use inspections catch shell and hardware damage before a loose fastener becomes a functional problem.
A brief check after adjustment, curing, and hard use makes retention drift easier to catch while it is still a hardware issue. When threads or the holster body are damaged, replacement is more dependable than overtightening.



14 Comments
The bit about separating retention from mounting hardware was the lightbulb moment for me. I kept tightening the retention screw, but the actual problem was the belt clip hardware walking around. Two different problems wearing the same annoying disguise.
Exactly. If the holster body or attachment is shifting, the draw can feel inconsistent even when the retention stack itself is fine. Checking each system independently saves a lot of unnecessary tightening.
Small repeatable unloaded draw tests are useful, but I think people can overthink the “perfect” retention feel. If it is secure during normal movement and releases consistently with a deliberate draw, that seems more important than chasing a tiny difference in tension from side to side.
The “fit the hardware, not the kit” advice should be printed on every assorted fastener pack. I bought one of those universal holster hardware kits and ended up with screws that either bottomed out or barely grabbed. Universal apparently means universally capable of wasting an afternoon 😅
That is a very common experience. The important matches are thread pitch, usable screw length, head profile, and the full stack height—not just whether a screw appears to fit through the hole. Bottoming out can feel tight while providing poor clamp load.
Great reminder to unload before messing with anything. Sounds obvious, but “quick five-minute adjustment” is exactly when people get careless.
I appreciate that this doesn’t recommend overtightening as the solution to every loose screw. Cranking down on soft spacers until they are pancakes is how the adjustment range disappears.
Daily carry definitely changes the equation. Sweat and belt pressure seem to work on mounting screws more than retention screws in my case, especially in summer. I’ve started doing a quick check after range days and after the holster gets knocked around in the car.
Those little rubber spacers are basically consumables, right? Mine looked okay until I took the hardware apart; they were flattened almost like tiny black washers. Replacing them made the adjustment actually respond again.
I have a question about thread compound: would you use removable threadlocker on a screw going into a threaded polymer holster body, or only when there is a metal post/nut on the other side?
I’ve seen people put blue threadlocker on everything and then wonder why the screw feels weird a month later.
Only use it where the manufacturer and materials support it, and generally avoid treating damaged or directly threaded polymer holes with threadlocker as a cure. A metal-to-metal screw/post arrangement is the more typical place for a removable compound. If the polymer threads are worn, replacement of the affected hardware or shell is the reliable answer.
Learned that one the hard way. Blue compound did not magically rebuild the chewed-up polymer threads on my old setup.
What’s the practical sign that a screw is bottoming out versus the spacer stack just being too stiff? On mine the screw stops turning, but retention still feels looser than expected. I don’t want to keep experimenting until I strip something.
A screw that reaches a hard stop while the shell halves or retention components still are not clamped as expected is a strong clue it may be bottoming out. Compare the screw’s threaded length with the full stack—shell, washers, spacer, and post—and inspect whether the spacer is actually being compressed. Do all checks unloaded, and replace mismatched parts rather than forcing the screw tighter.