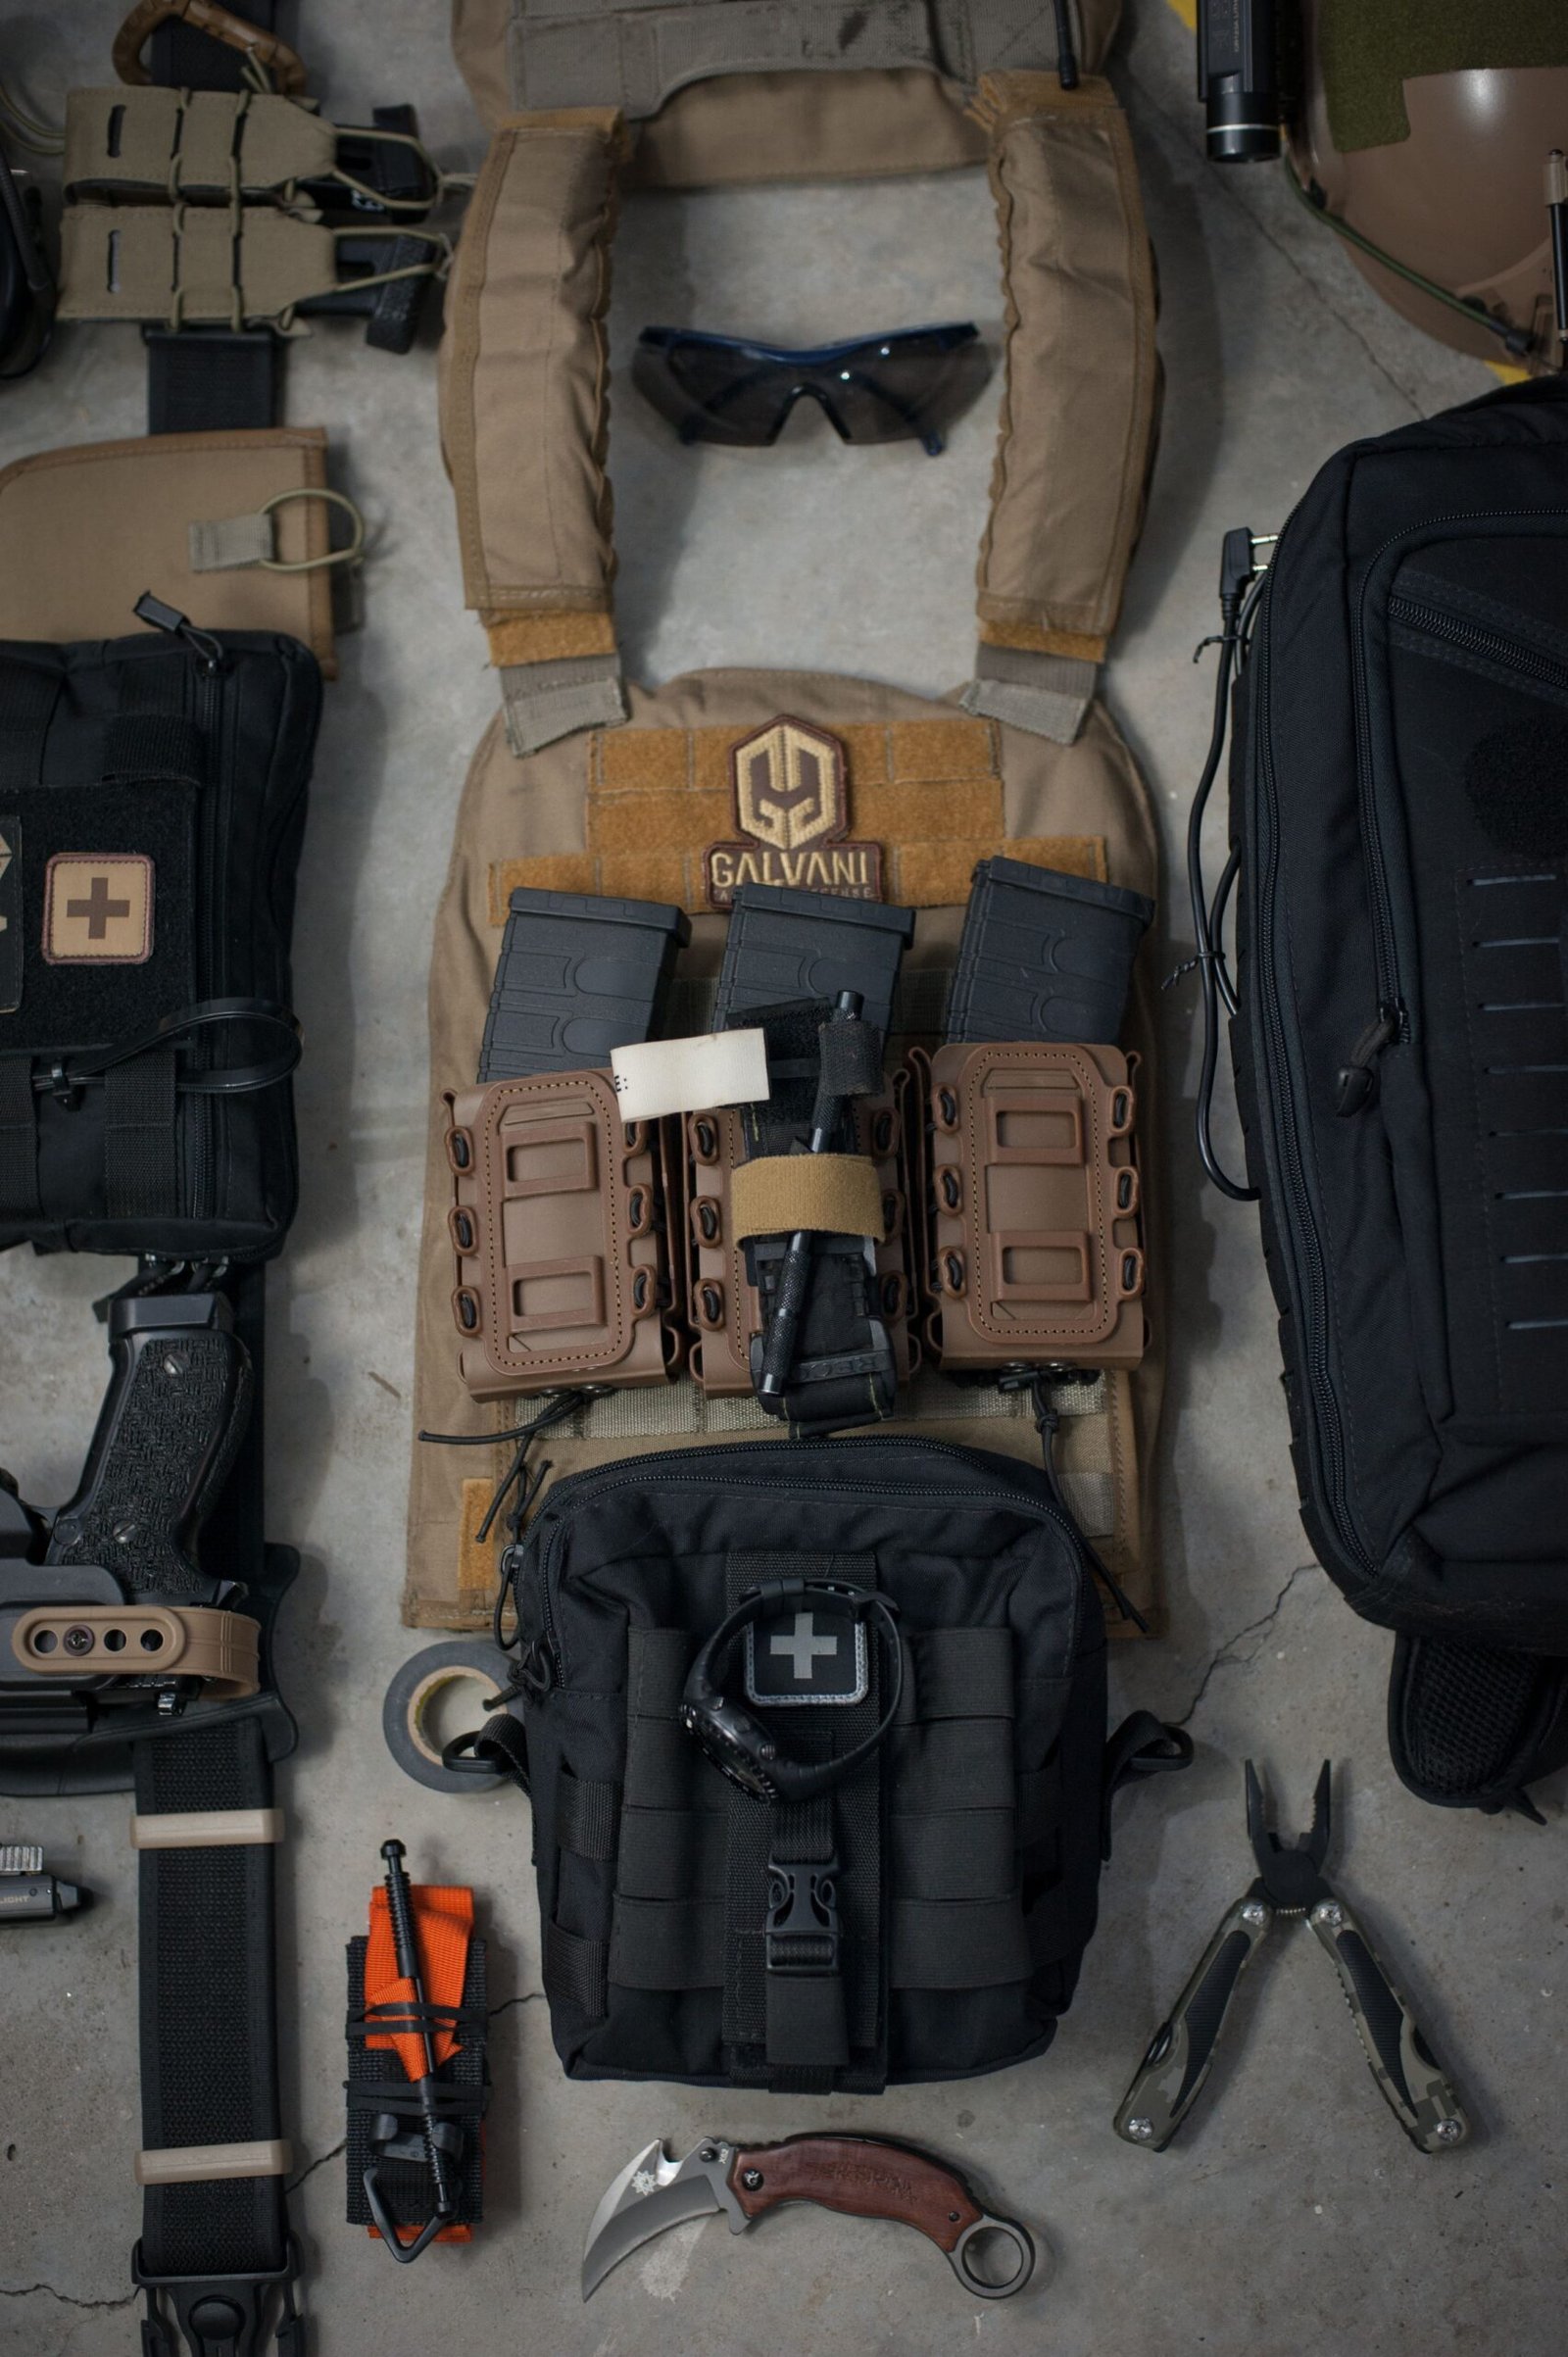
Choose something legal, simple, and likely to be used.
A late-night commuter with groceries pauses under a dim subway entrance, debating whether to carry anything at all.
Key tensions shape that decision: effectiveness vs simplicity (more power often requires practice), visibility vs concealment (a seen item can deter or escalate), and availability vs training (an immediately accessible tool is useless without usable skill). Matching a tool to daily routes, comfort with practice, and local law resolves the trade-off — fit usually beats raw power.
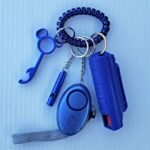
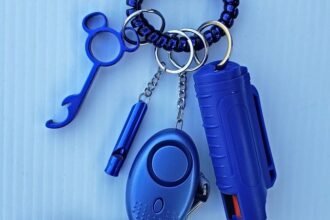
- Pepper spray — compact, needs aim and a legality check.
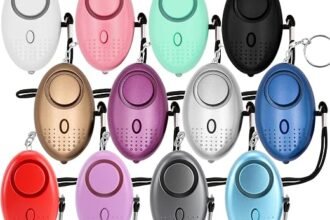
- Personal alarm — draws attention immediately, no training required.
- Tactical flashlight — illuminates, can disorient, and serves everyday use.
Tool categories and trade-offs
A compact taxonomy reduces decision friction. Each category below lists the core trade-offs: range, activation complexity, collateral effects, and legal sensitivity.
- Pepper spray — very short range (a few meters), low activation complexity, high collateral effects in confined spaces, often legally restricted.
- Stun devices (stun guns/TASERs) — contact vs. projectile variants affect range, moderate activation skill, limited lasting injury but close-contact requirement, legal variability.
- Impact tools (batons, kubotans) — contact range, minimal mechanical complexity, focused blunt trauma, possible legal classification as an offensive weapon.
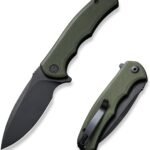
- Edged tools (knives) — contact range, instant activation, high lethality and collateral risk, substantial legal sensitivity and training demand.
- Firearms — extended range and stopping power, high safety/skill requirements, significant collateral risk, heavily regulated.
- Tactical flashlights — short range, trivial activation, temporary disorientation or signaling, low legal sensitivity.
- Personal alarms — no-range deterrent, trivial activation, minimal collateral effects, broadly legal.
How pepper‑spray delivery, pattern and ergonomics change risk
Delivery formats and how they behave
Pepper spray comes in three common delivery formats: stream, fog/mist, and gel/foam. A stream shoots a narrow, concentrated jet that reaches farthest with minimal dispersion — good for aimed shots and lower bystander drift. A fog creates a wide cloud that makes targeting easier at close range but increases the chance of affecting nearby people and being carried by wind. A gel or foam typically delivers a sticky projectile that adheres to a face, reducing airborne drift and cleanup.
A useful deeper comparison is available in the analysis of stream versus fog formats, which breaks range, hit probability, and collateral risk into practical terms.
Pattern, wind and bystander risk
Pattern geometry (narrow vs wide) determines how forgiving an aiming error will be and how much product becomes airborne. Wind, confined spaces, and reflective surfaces dramatically increase unintended exposure: fog in a breeze can travel well beyond the intended target; stream can miss and pass harmlessly but can also ricochet in tight areas.
Ergonomics, can size and regulation
Canister size, nozzle design (continuous-spray vs burst), and grip mechanics affect aim, reaction time, and carry comfort. Smaller cans sacrifice capacity and range but are easier to conceal and present less risk in crowds. Local limits on active ingredient strength change the optimal choice: when maximum concentration is capped, delivery format and accuracy grow more important than raw potency — see the primer on how to choose strength.
Keep a practice trainer to learn aim and recoil. In crowded or windy environments, prefer low‑drift options (gel or compact stream) to reduce bystander exposure.
Contact stun vs cartridge (Taser-style): practical differences
Activation methods differ sharply. Contact stun devices deliver an electrical arc when the electrodes meet the target — many require pressing the device directly against clothing or skin and holding an activation button. Cartridge/taser-style systems fire paired probes from a cartridge; after probes embed, the unit emits pulsed current between them once the trigger activates.
Required proximity and immediate disruption
- Contact: touch required. Effects are strongly localized — intense pain, involuntary muscle contractions and temporary loss of fine motor control at the contact site.
- Cartridge/taser-style: standoff capability. Probes create a wider neuromuscular effect, often producing greater whole‑body loss of voluntary movement and balance when probes connect cleanly.
Maintenance and readiness
- Contact devices: internal rechargeable batteries; frequent charging and occasional arc-testing keep performance reliable.
- Cartridge/taser-style: batteries plus expendable cartridges with shelf lives; periodic function checks and safe cartridge storage are necessary.
How compactness changes everyday carry
Smaller form factors increase concealment but often reduce pulse energy or electrode separation, lowering effectiveness against heavy clothing. For discreet options, consider the trade-off between size and functional range — see the guide to small, concealable models.
Laws and practical context shape which approach is appropriate; training and realistic expectations about range and effect matter more than device branding.
When alarms and low‑force tools are the better choice
When low‑force and alarm tools are preferable
Low‑force, loud tools excel when deterrence, rapid attention, or minimal training matter. Personal alarms, tactical pens and kubotans favor escalation control: they signal danger without committing to a high‑impact strike and reduce collateral injury risk.
Typical scenarios where these tools are advantageous:
- Deterrence and attention: a loud alarm or visible struggle tool can stop an incident by drawing witnesses.
- Crowded or public transport: discreet, non‑escalatory tools avoid alarming bystanders while still offering a defensive option. See the guide for commuting‑friendly discreet options.
- Senior users or limited mobility: small alarms and simple striking tools prioritize usability and low training. Explore choices in alarm options tailored for seniors.
- Low‑force encounters: situations where avoidance and retreat are realistic and preferred.
Compared with force‑based tools, these options demand less training, lower maintenance and usually present fewer legal complications. Many carriers combine a loud alarm with a compact striking tool; both should be routinely tested and kept accessible.
Practice and upkeep: make the tool reliable
Practice drills
Start with short, repeatable drills that build speed and familiarity. For handheld sprays or alarms, practice draw-and-present from the most common carry position for 30–60 seconds twice weekly; combine slow, focused repetitions with one timed attempt. For pepper spray, rehearse aiming and deployment with inert trainers or dry runs away from people and wind — see the pepper spray training for beginners for simple exercises and safety practices.
Maintenance and common failure modes
Create a quick inspection routine before regular use: check retention, activation mechanics, seals, battery charge (if electronic) and nozzle condition. Common failures include clogged nozzles, dead batteries, seized triggers, corrosion and expired propellant. Avoid these by storing in moderate temperatures, exercising mechanical parts monthly, replacing power sources on a schedule, and following the manufacturer’s replacement timeline — learn when replacement is needed by reading guidance on pepper spray can expiration and replacement.
Simple checklist to carry: pouch, inert trainer or dummy, microfiber cloth, spare battery (if applicable), and a written replacement date. Regular, short practice sessions plus the checklist keep equipment dependable when it matters.
How often should beginners practice?
Short, focused practice two to three times per week builds muscle memory without burnout. Monthly full inspections should accompany the practice routine.
What’s a safe way to practice pepper spray?
Use inert or training units and simulate environmental factors like wind direction. Perform live aerosol practice only in designated, controlled classes.
Which parts fail most often?
Batteries, seals, nozzles and mechanical triggers are the most frequent failure points. Visual checks and routine actuation reduce surprise failures.
What if a device malfunctions during an incident?
Treat a malfunction as a degraded tool and prioritize escape, distance or alarm options instead. Familiarity with alternative responses reduces reliance on any single device.
How should defensive tools be stored?
Store in a dry, moderate-temperature location with access for regular checks; avoid tight pockets where springs or seals can compress. Keep storage consistent with manufacturer guidance and replacement intervals.
Legal, travel and situational limits
Defensive tools are often subject to hard boundary conditions: state and local statutes, landlord or building policies, and transportation or airline rules can outright disqualify certain items regardless of effectiveness or preference.
Check authoritative sources before acquiring or transporting a device. Useful starting points include:
- state statutes and municipal codes (official government websites)
- local police or prosecutor policy pages
- lease, HOA covenants, or building management rules
- transit authority regulations and airline/TSA guidance
Some real-world examples make the point: consult state-specific guides like California restrictions for pepper spray size and composition limits; similarly, projectile stun devices or Tasers may be restricted or prohibited in certain jurisdictions. For travel, airline and federal screening rules regularly determine whether a device may be carried aboard or transported in checked baggage — see current airline and TSA restrictions before flying.
Treat these constraints as decisive. If a source disallows an item in a destination or property, that rule overrides effectiveness or preference—plan tool selection and practice around what is actually permitted.
Step-by-step checklist to pick a primary tool and a low‑force backup
-
1. Assess exposure
List regular routes, times, and likely distances to threats (close contact vs open‑space). Note mobility needs: running, biking, or commuting by transit.
-
2. Screen legal constraints
Check local statutes, employer/landlord rules and transit or airline bans that could restrict certain devices before narrowing options.
-
3. Prioritize concealability versus reach
Decide whether concealment (pen, key‑tool) or reach/stopping power (spray, cartridge) matters more for the identified exposure and clothing choices.
-
4. Estimate training commitment
Match tool complexity to available practice time: simple activations need less training; cartridges or taser‑style systems require deliberate drills and maintenance.
-
5. Pick a primary and a low‑force backup
Choose a primary that fits exposure, legality and training bandwidth. Pair with a low‑force backup (alarm, whistle, gel spray) to deter without escalation.
-
Factor runner-specific weight and format
Prefer compact, secure mounts and minimal bulk for running. Review running‑specific form factors and options in the running-specific pepper spray options.
Keep the chosen pair simple enough for reliable deployment under stress; rehearse monthly.
Small habit checks:
Legal tag: have jurisdiction notes accessible. Function: test mechanical activation monthly. Practice: short scenario drills twice a month.Consistent carry and predictable activation save more risk than an unfamiliar high‑force device.
Action plan: pick, check, practice, maintain
- Choose the category that fits daily routine and likely environments.
- Confirm local laws and transport rules before purchase or carriage.
- Pick a compact, easy‑activate model with secure retention and simple ergonomics.
Follow five concrete steps. Choose the category that matches daily routine and likely environments; confirm legal and transport status before purchase or carriage; pick a compact, easily accessible model with simple activation and secure retention; commit to short regular drills—draw, presentation, malfunction response—and weekly maintenance checks including batteries, seals, and expiry dates; keep a low‑force backup for places where primary tools are restricted.
Begin with one reliable tool, practice 5–10 minutes three times weekly, log inspections on a calendar, and read the linked deep dives for technique, local rules and model comparisons.