
A routine trip can turn into a long wait with very little warning.
The engine cuts out on a wet shoulder, traffic stops behind a closure, or snow turns a familiar road into a slow crawl. In those moments, a car is no longer simply transport: it becomes a small, exposed waiting space.
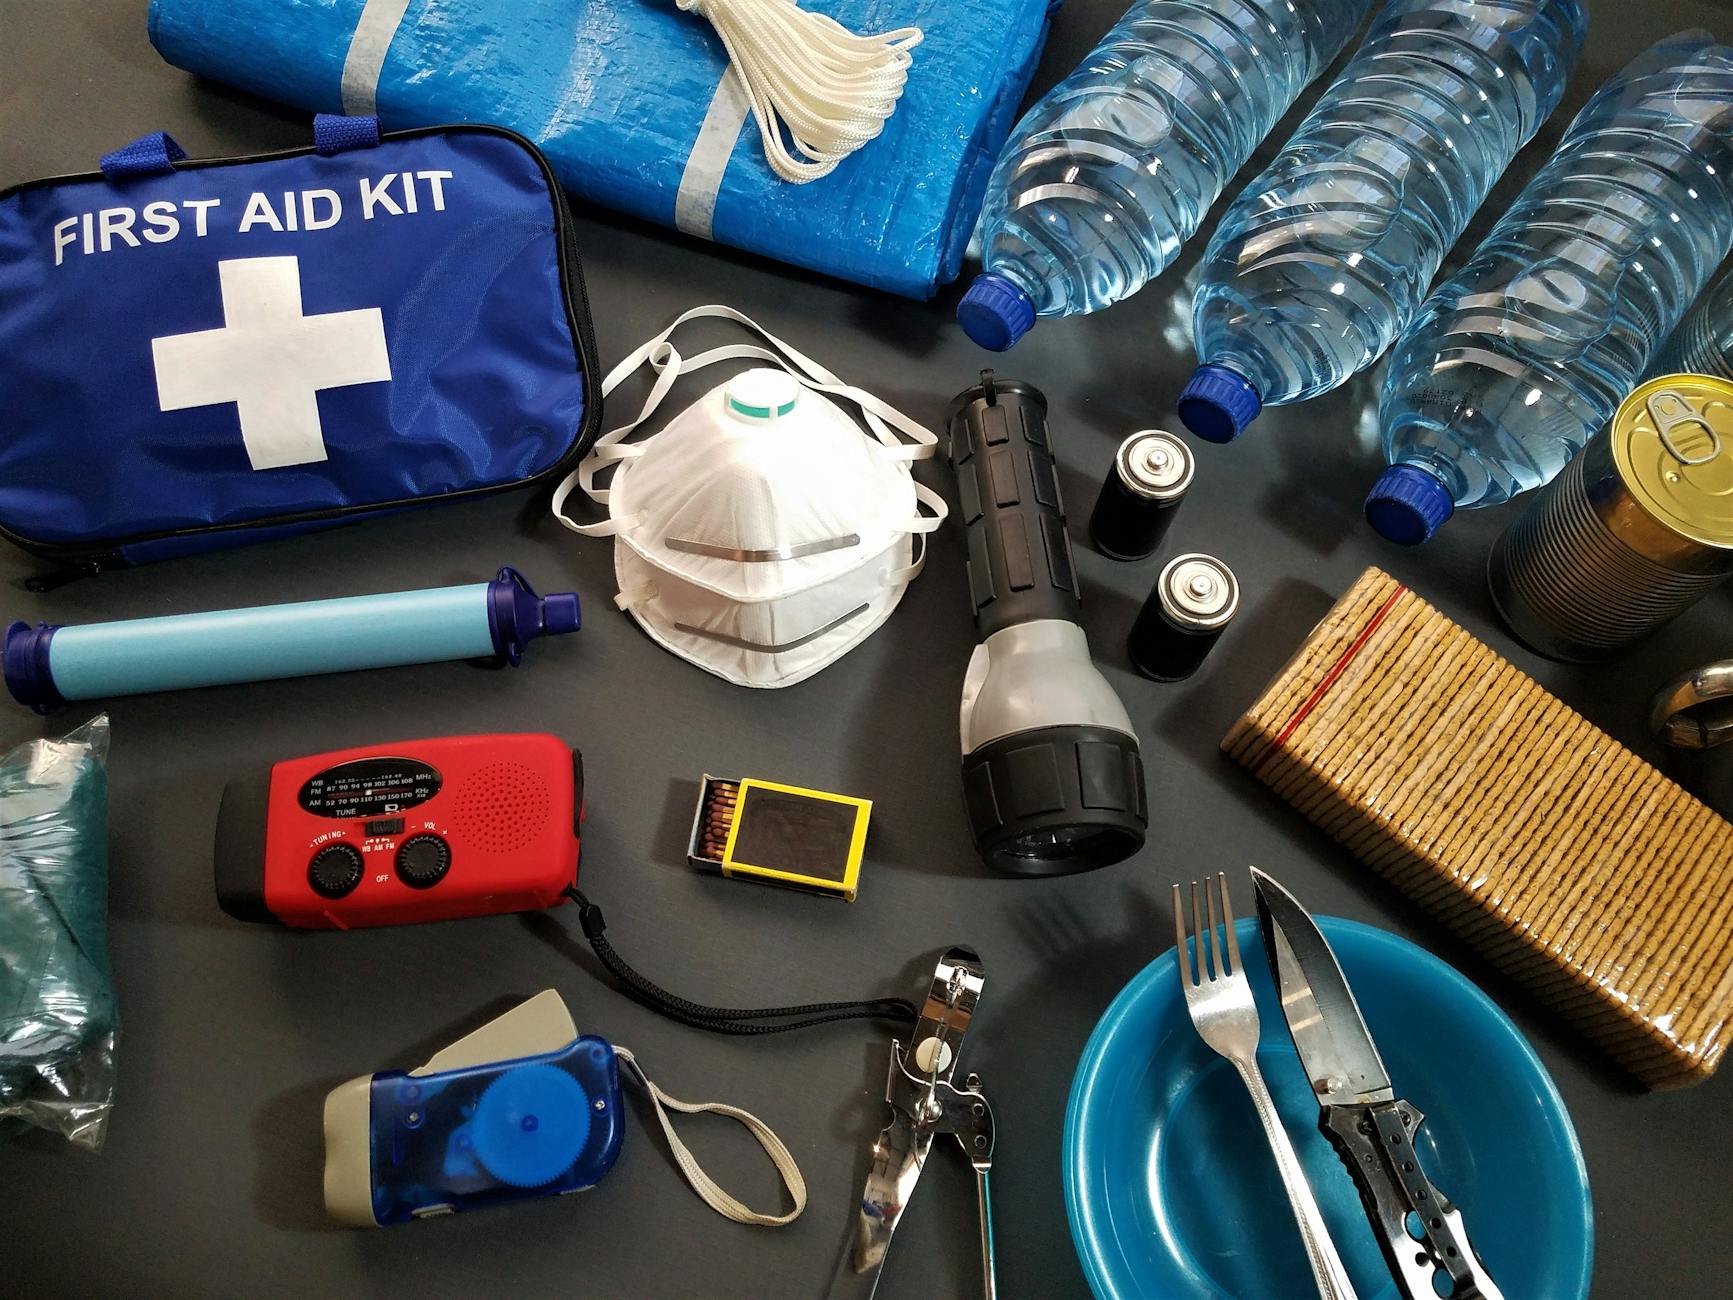
A useful emergency kit earns its room by reducing three pressures: risk from the roadside, uncertainty when conditions change, and the discomfort that drains attention and patience. It need not be a giant plastic bin. The most practical setup combines items that make the vehicle easier to see, keep occupants warm and hydrated, provide light and power, and handle minor mechanical setbacks—without filling the cargo area with rarely useful duplicates.
- Favor multipurpose gear: a headlamp keeps hands free, while a power bank can support a phone and small USB light.
- Store weather-sensitive batteries, water, and electronics where seasonal temperature swings are less severe.
Build for the delay, not every possible disaster
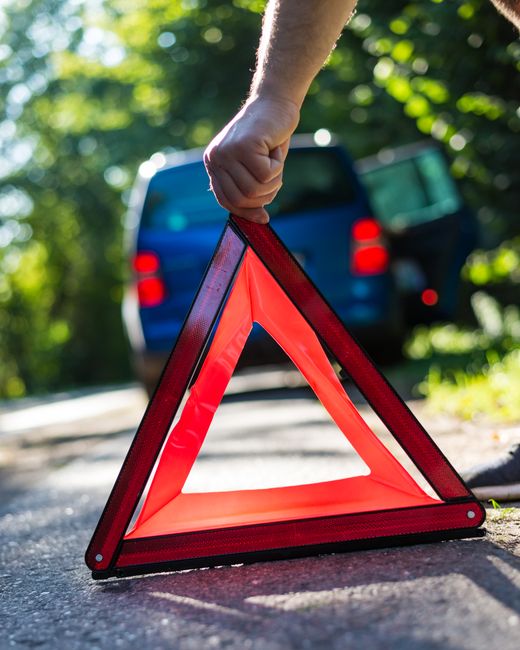
- Make the stopped car visibleThe first job is to make a disabled vehicle easier to notice: reflective vest, warning triangle or roadside flares where permitted, flashlight, and charged phone power. These items matter most on dark, fast, or poorly sighted roads.Fits the tripHigh-visibility items that can be reached before unpacking the trunk.Adds bulk without valueWarning gear buried beneath luggage or dependent on a dead battery.
- Cover an ordinary waitWater, shelf-stable food, warm layers, rain protection, a blanket, and basic lighting can make a weather delay tolerable. The quantity depends on occupants, climate, and how long assistance may take to arrive.Fits the tripComfort supplies matched to passenger count and local temperatures.Adds bulk without valueA fixed one-size list that ignores heat, cold, children, or pets.
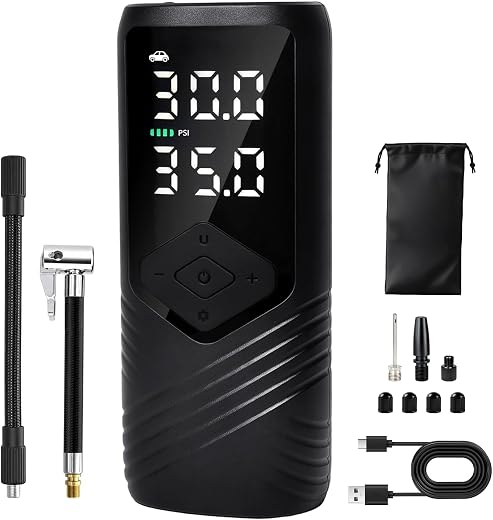
- Allow limited self-helpA tire inflator, tire-pressure gauge, jumper power source, work gloves, and simple hand tools can address minor problems when conditions are safe. They are not substitutes for training, recovery gear, or roadside assistance.Fits the tripEquipment the driver understands and can use without entering traffic.Adds bulk without valueSpecialized tools with no clear purpose or practice.
- Scale the kit to the routeA short urban commute may emphasize visibility and phone power. Remote travel can justify more water, navigation backup, and communications redundancy; winter travel often adds traction aids and insulation.Fits the tripSupplies expanded for distance, isolation, season, and expected delays.Adds bulk without valueCopying an expedition loadout for routine local driving.
Store the kit for the first five minutes
A fully stocked tote is of limited use if it sits beneath luggage.
It cannot be opened in blowing snow.
Divide supplies by when they are needed, rather than keeping every item in one deep container.
A pouch that stays in the same place every trip becomes a habit rather than a search.
Keep a small cabin-access pouch within reach of a seated occupant.
Include a flashlight or headlamp, reflective vest, power bank, window breaker or seat-belt cutter if carried, and essential information.
This pouch is particularly useful after a collision.
Opening the trunk may be difficult or unsafe.
This layout keeps a seated occupant from having to exit the vehicle or open the trunk after a collision.
The trunk or cargo area suits bulkier equipment—warning triangle, blanket, shovel, traction aids, compressor, and tools.
It needs restraint.
A lidded bin or soft bag secured to tie-down points prevents equipment becoming a projectile during hard braking.
Vehicle interiors experience heat, freezing temperatures, moisture, and vibration. Store batteries away from devices where practical; inspect power banks for swelling; and keep electronics, matches, and paper documents in sealed bags. Rotate seasonal items and check expiration dates during routine vehicle maintenance.
Pack in layers: door/cabin pouch for immediate access, top of cargo kit for roadside setup, and bottom for heavy or rarely used gear. Put the most time-sensitive item—the reflective vest—where it can be reached before stepping into traffic.
Be visible, protected, and prepared to wait
A stopped vehicle is often most vulnerable in the first minutes. Hazard flashers, a charged phone, and a high-visibility vest help, but none makes a shoulder safe—especially beside fast traffic, around blind curves, or in blowing snow. If the vehicle can be moved without creating a greater hazard, a wide, firm location away from moving lanes is generally preferable to stopping on a narrow shoulder.
Make the vehicle easy to notice
Carry a reflective vest where it can be reached before leaving the vehicle. A flashlight or headlamp with spare batteries. A headlamp keeps both hands free for checking a tire or placing warning devices. Reflective triangles are reusable and work without flame. They need spacing to give drivers time to react, and placement should avoid walking into live traffic. Road flares can be conspicuous in severe weather. Their heat and flame make them unsuitable near fuel spills, dry vegetation, or leaking fluids.
Turn a delay into a tolerable wait
A compact weather layer can make an unexpected wait feel less punishing.
A warm blanket or insulated wrap, rain poncho, hat, gloves, and a ground sheet round out the kit.
Keep drinking water and shelf-stable snacks in a separate pouch, rotating them for heat, freezing, and expiry.
A battery bank and charging cable preserve communication without relying on a running engine.
That reserve can matter most when a breakdown extends into hours rather than minutes.
In extreme cold or heat, cabin conditions can change quickly. Idling in an enclosed or snow-obstructed area can introduce exhaust risks; a clear tailpipe and awareness of local conditions matter. Sharing the location, vehicle description, and direction of travel with roadside assistance or a trusted contact can reduce uncertainty while help is arranged.
Warning devices are useful only when they can be deployed without entering dangerous traffic. On a high-speed road, in poor visibility, or where there is no protected space, remaining secured in the vehicle and contacting emergency or roadside services may present less exposure than walking along the roadway.
Useful tire tools have clear limits
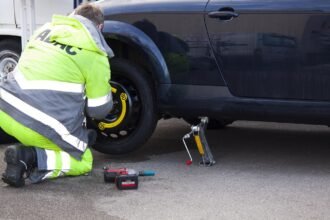
They may help with a small, accessible tread puncture after the tire is inspected; they cannot safely restore a cut sidewall, damaged bead, bent wheel, or tire that has been driven flat.
A gauge and 12-volt inflator are practical for slow leaks and pressure changes. Plugging is only a temporary measure where permitted, and sealant can complicate later tire service or affect some pressure-monitoring systems.
Many newer vehicles have no spare, a temporary spare with speed and distance limits, or run-flat tires instead.
The kit needs to match the vehicle: confirm the spare’s condition and pressure, jack points, lug-wrench fit, and whether locking wheel nuts require a key. A missing lock key can stop an otherwise routine wheel change.
Run-flats can sometimes travel a limited distance after pressure loss, but the allowable distance and speed depend on the tire, load, and manufacturer guidance.
They can still suffer damage that makes continued driving unsuitable. An inflator, gauge, and roadside-assistance contact remain relevant even when there is no spare.
Traction mats, a compact shovel, gloves, and wheel chocks can assist with minor snow, mud, or loose-ground situations, but not deep snow, flooding, unstable ground, or traffic exposure.
Mats need contact with the driven wheels, while chocks are for stabilization on firm ground—not for holding a vehicle during unsafe improvised repairs.
Choose the right electrical backup
Match the tool to the job
A phone power bank keeps a phone alive; it cannot crank an engine. Jumper cables transfer energy from a second vehicle, so they work only when a compatible donor vehicle can be positioned safely. A lithium jump pack carries its own reserve and is the more independent option, but it needs charging, periodic checks, and temperature-aware storage.
Read ratings in context
Peak-amp figures are marketing shorthand, not a guarantee of starting ability. Compare the pack’s stated engine-size guidance with the vehicle’s engine, leaving margin for diesels, large-displacement engines, and cold conditions. Cold slows battery chemistry in both the vehicle and the pack; a partly discharged or aging starting battery demands more from the booster.
Clamp design and protection matter as much as headline output. Reverse-polarity protection can reduce connection errors; vehicle-manufacturer and jump-pack instructions remain especially important for hybrids, EVs, and vehicles with designated jump terminals. A successful start does not correct an underlying battery or charging-system fault.
For cables, conductor size and insulation matter more than inflated amp claims. Long, thin cables lose voltage; shorter, heavier-gauge cables generally deliver more useful cranking current. Keeping a separate USB power bank preserves the jump pack’s starting reserve.

Adjust the kit when the season changes
A year-round kit does not need to carry every winter and summer item at once. A compact core can remain in the vehicle, while a seasonal pouch changes with the forecast, route, and likelihood of being stranded away from services.
Cold, snow, and ice
Cold turns a short delay into an insulation problem. Add a warm outer layer, hat, gloves, compact blanket or sleeping bag, and chemical hand warmers kept within their stated storage conditions. A folding shovel, windshield scraper, traction boards or sand, and a tow strap rated for the vehicle can be useful—but none substitutes for winter tires, adequate fuel, or a road that is safe to travel.
Food and fluids need different handling in freezing conditions. Water can freeze, split containers, and become inaccessible; insulated bottles or rotating stored water before cold spells can reduce that problem. Keep the traction and digging tools where they can be reached without unloading snow-covered cargo.
Heat, sun, and long waits
Heat shifts the emphasis to shade, hydration access, and protecting electronics. A reflective sunshade, breathable hat, sunscreen, and extra drinking water are sensible additions for exposed routes. Water containers need periodic inspection for leaks, odor, and heat damage; glass can become hazardous in a crash, while thin disposable bottles degrade quickly in hot cabins.
High cabin temperatures also shorten the practical life of batteries, adhesive-backed supplies, and some lithium jump starters. Check each device’s manufacturer storage range, move sensitive gear indoors during prolonged heat when practical, and rotate seasonal contents at the same time as tire-pressure and fluid checks.
Put the kit on the maintenance calendar
-
Use one recurring trigger
A check at each seasonal clock change, plus before a long trip, makes inspection less dependent on memory. Pairing it with a familiar service reminder can help keep the routine consistent.
-
Restock after every use
A used blanket, flare, tire sealant, snack, or phone cable is no longer emergency equipment. Return the item—or a suitable replacement—to its assigned pouch as soon as practical.
-
Refresh after vehicle changes
A different vehicle can mean a different spare-tire arrangement, jack-point procedure, wheel-lock key, battery location, towing-eye location, or jump-pack capacity requirement. Confirm that the kit still fits the vehicle rather than assuming it transfers intact.
-
Recount people and regular journeys
A new driver, child seat, pet, frequent passenger, rural commute, or longer school run changes the amount of water, warm layers, lighting, and charging capacity that may be useful during a delay.
-
Rebuild when the climate turns
Swap seasonal pouches before sustained heat, freezing weather, wildfire smoke, or heavy-rain periods arrive. Check stored water, batteries, lithium jump packs, and adhesives especially closely after temperature extremes.
-
Test the working gear
Inflate a tire only if the inflator still runs, and charge a phone only if the cable and power bank still work. Check flashlight output, jump-pack charge, tire pressure gauge accuracy, and the spare’s pressure during the same review.
Packaging dates, battery charge indicators, and vehicle manuals provide useful refresh cues when an item has no obvious expiration date.

Build the kit in stages, then make it personal
- Start with visible, reachable basics: light, signaling, phone power, water, and weather protection.
- Add tire, battery, and recovery tools only when they match the vehicle’s equipment and the driver’s familiarity.
- Expand for recurring conditions—remote routes, children, winter closures, or intense heat—rather than hypothetical extremes.
A credible kit does not need to arrive in one purchase. A small core can cover the first difficult minutes; roadside tools and seasonal gear can follow as travel patterns reveal real needs.
Prepacked bundles can be a useful container, not a finished plan. Contents deserve scrutiny for vehicle fit, storage limits, expiry dates, and the conditions the car actually encounters.



7 Comments
Could you clarify the advice on tire plugs? If I find a nail in the middle of the tread and the tire is still holding some air, is a plug meant to get me safely to a tire shop, or can it be considered a normal repair?
I ask because the plug kits are cheap and tempting, but I don’t want to turn a repairable tire into an unsafe one.
For most drivers, a roadside plug should be treated as a temporary, limited solution to get out of an unsafe location and to a qualified tire shop. It may work for a small, straight puncture in the repairable tread area, but it cannot assess internal damage, previous repairs, or damage caused by driving while underinflated.
A shop can remove the tire and inspect it from the inside. Follow your vehicle and tire manufacturer guidance, and do not plug sidewall or shoulder damage, cuts, blowouts, or a tire that has been driven flat.
Also check whether you actually have room for the jack/plug process. I learned the hard way that doing tire work beside fast traffic is way more stressful than it looks in YouTube videos.
For the “first five minutes” setup, what do you actually keep in the cabin versus the trunk? I have a small hatchback, so everything tends to migrate into one giant pile back there.
A good cabin layer is the stuff you may need before opening the cargo area: charged phone/power bank, flashlight or headlamp, reflective vest, and perhaps a small rain shell. Keep it somewhere secure and reachable, not loose under a seat.
The trunk can hold the larger items: inflator, tire tools, warning devices, blanket, water, and seasonal pouch. In a hatchback, a zippered tote or two labeled bags helps prevent the “mystery pile” problem.
I use a small seat-back organizer for the immediate stuff and it has made a huge difference. Just don’t put anything hard in a spot that could become a projectile.
One small criticism: reflective triangles are great in theory, but I’m nervous about walking behind my car to place them on a busy highway. I’d rather stay behind a guardrail and call for help. The article does mention traffic-aware choices, but that part can’t be emphasized enough.